


ESP
AÑOL
ENGLISH
FRANÇAIS
DEUTSCH
POR
TUGUÊS
DS6638 Manual-Eng (086-002975-015)
POR
TUGUÊS
ENGLISH
FRANÇAIS
DEUTSCH
IT
ALIANO
IT
ALIANO
ESP
AÑOL
8
9
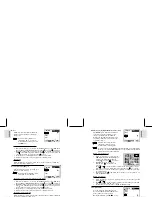
Toggling Between On-Screen Display Settings
To toggle between Flash Modes, press the button on the camera and observe the
Flash Icon on the On-Screen Display. When a picture with flash has been taken, the
Status Lamp will blink while the flash is recharging. Once it stops blinking, you can
resume taking pictures again.
Inital Flash Settings
When you turn on your camera, the inital flash setting will vary depending on the
level of your battery.
Battery Status
Inital Flash Setting
or
The flash setting is always on Auto at these battery levels
when the mode switch changes to camera mode.
or
The inital flash setting is
. However, you can manually
set the flash to other settings.
Toggling Between Flash Modes
A
B
C
Legend:
OSD with All Shooting
Information Displayed
OSD with Only Key
Information Displayed
OSD is turned off
Press
Press
Press
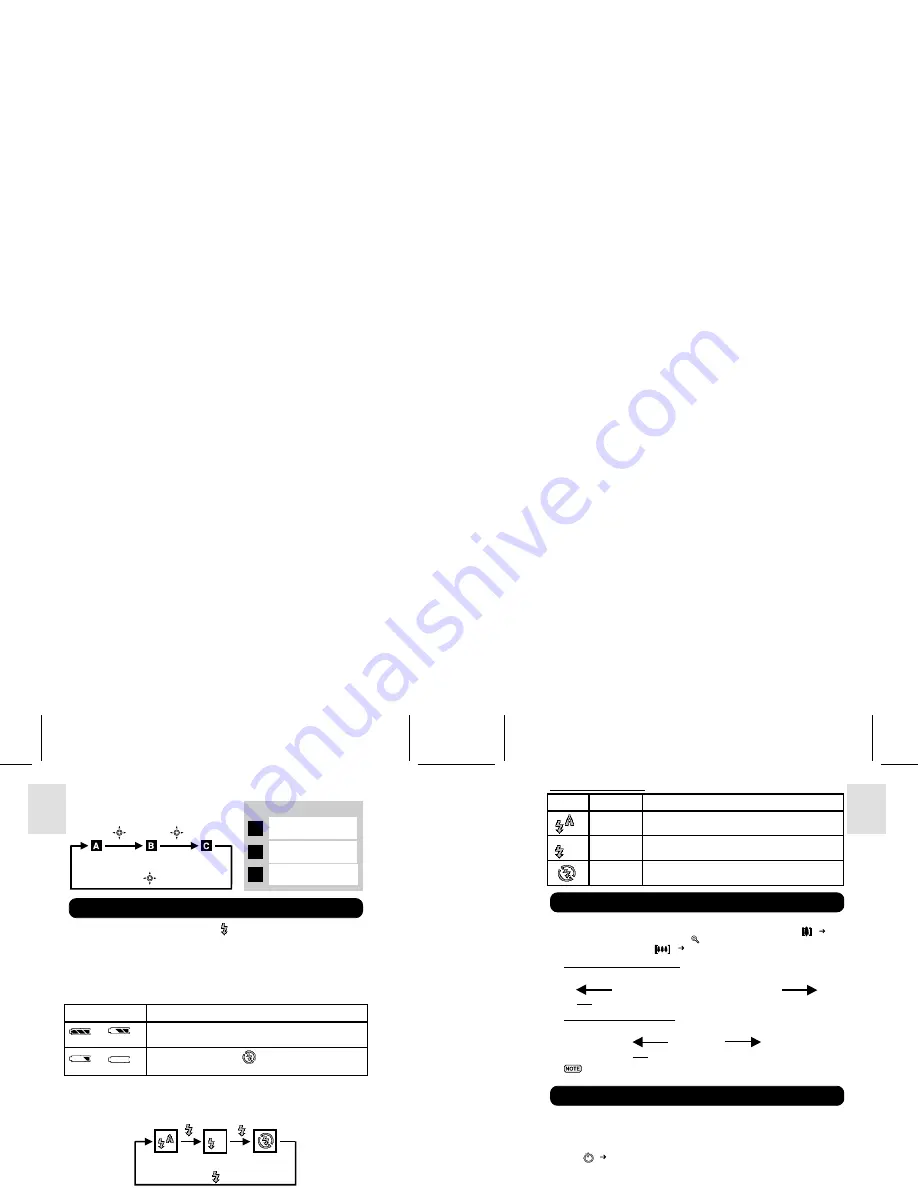
Selecting a Flash Mode
Zooming
Using the Self-Timer
Press
Press
Press
Flash Mode Options Table
Icon
Function
Description
Auto
The flash may discharge automatically, depending on
the light conditions.
Flash On
The flash discharges regardless of lighting condition.
Flash Off
The flash will not discharge.
Your digital camera comes with a x2 zooming function. By default, the zooming is
not enabled. In Camera, or Movie mode, increase zooming by pressing
( p.4).
The Digital Zoom Icon on the OSD,
, indicates the current zoom level. To
decrease the zooming, press
( p.4).
Camera Mode Zooming Options
Default
Zoom Larger
x1.0
/ x1.1 / x1.2 / x1.3 / x1.4 / x1.5 / x1.6 / x1.7 / x1.8 / x1.9 / x2.0
Movie Mode Zooming Options
Default
Zoom Larger
x1.0
/ x1.2 / x1.4 / x1.6 / x1.8 / x2.0
In movie mode, once the shutter button is pressed and recording starts,
zooming cannot be further adjusted for the duration of the recording.
The Self-Timer function counts down before the camera automatically takes a picture
by itself. This is useful when you want to be in the picture, and there is no one else
to press the Shutter Release Button.
1. Slide the Mode Switch to Camera Mode.
2. Press
( p.4). The Self-Timer will engage. The front blue Self-Timer Lamp lights up.
3. Press the Shutter Release Button. Audible beeps can be heard, and the front blue
Self-Timer Lamp will start blinking. The number displayed next to the OSD’s
Self-Timer icon will appear and start counting down.
To hasten the countdown to 3 seconds, press the Shutter Release Button once again.


