


ESP
AÑOL
ENGLISH
FRANÇAIS
DEUTSCH
POR
TUGUÊS
DS6638 Manual-Eng (086-002975-015)
POR
TUGUÊS
ENGLISH
FRANÇAIS
DEUTSCH
IT
ALIANO
IT
ALIANO
ESP
AÑOL
24
25
Delete
The Delete options within the Playback
Menu can delete multiple or all images
and movies.
Protected images and movies
(indicated with ) cannot be
deleted and must be unprotected
first ( p.24).
Deleting Selected Images and Movies
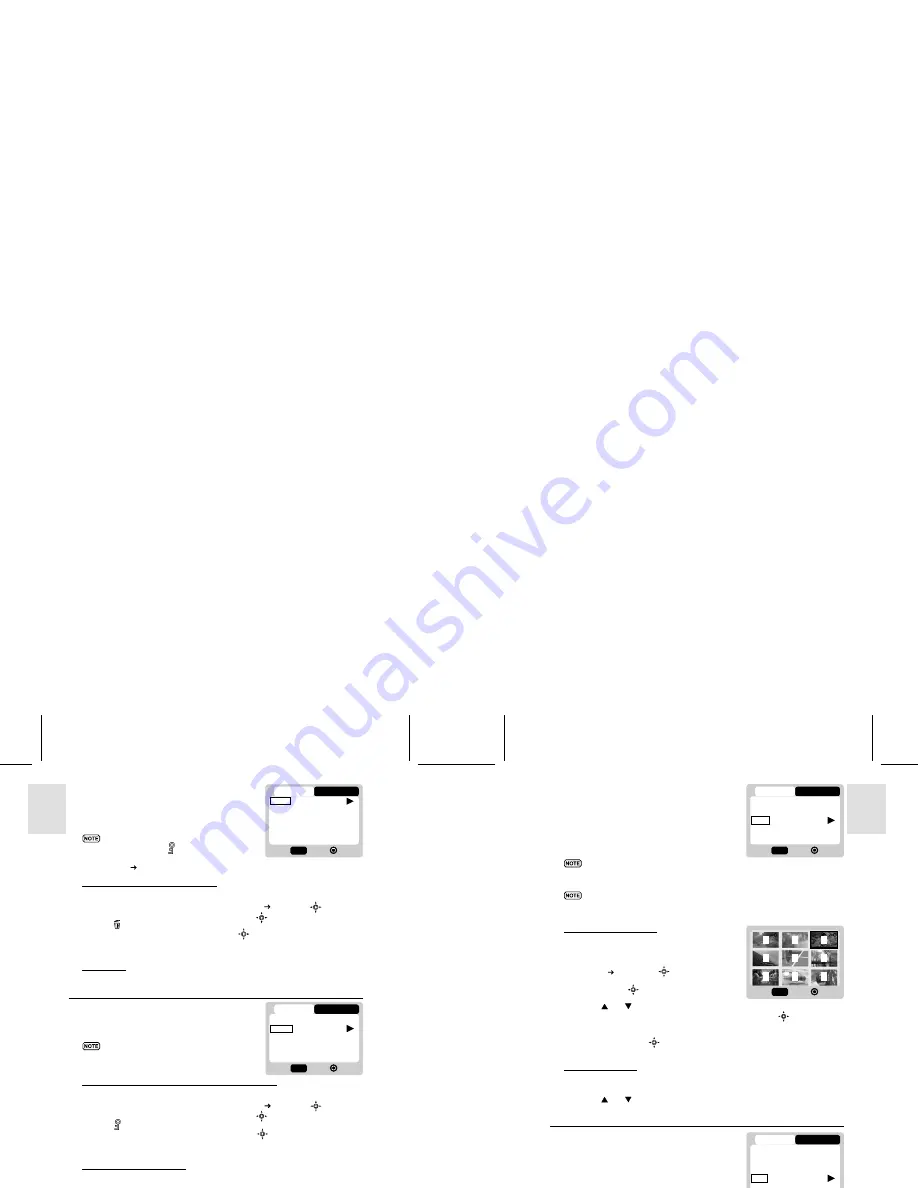
1. When “Select Images” is selected, the OSD displays up to nine thumbnail
images similar to the Multi-Frame Review setting ( p.23). Use
to navigate.
2. Highlight an image, then press directly onto
to confirm your selection.
The icon will then appear to indicate that the image is set for deletion. To
cancel the deletion, press directly onto
again.
3. Repeat Step 2 to set multiple images or movies for deletion.
4. Follow the rest of the on-screen options to confirm deletion.
Deleting All
When “All Images” is selected, follow the rest of the options to confirm the
deletion of all images and movies.
Protect (Protecting Images)
This option can be used to protect images
and movies from deletion.
Protected files will still be erased
if the memory is formatted.
Protecting / Unprotecting Selected Images and Movies
1. When “Select Images” is selected, the OSD displays up to nine thumbnail
images similar to the Multi-Frame Review setting ( p.23). Use
to navigate.
2. Highlight an image, then press directly onto
to confirm your selection.
The icon will then appear to indicate that the image is set for protection.
To cancel the protection, press directly onto
again.
3. Repeat Step 2 to set multiple images or movies for protection.
4. Follow the rest of the on-screen options to confirm protection.
Protecting / Unprotecting All
•
When “All Images” is selected, select the “Set Protect All” to
On
to confirm the
protection of all images and movies.
•
To unprotect all images and movies, select the “Set Protect All” to
Off
.
1/1
Playback
Setup
Exit
OK
MENU
Delete
Protect
DPOF
Slide
1/1
Playback
Setup
Exit
OK
MENU
Delete
Protect
DPOF
Slide
DPOF (Specifying Digital Print Order Format)
The
DPOF
option in the Playback Menu
is used to specify the quantity of each
image for printing from the SD Card.
When used, the SD card can then be used
in printers or taken to specialists in order
to print the images.
This function is only used for
still pictures. Movies cannot
be transferred to digital prints.
You can only specify the DPOF of the internal memory by transferring
the images to a blank SD /MMC Card via a Secure Digital card / Multi-
Media card reader (sold separately).
DPOF of Selected Images
1. When “Select Images” is selected, the
OSD displays up to nine thumbnail images
similar to the Multi-Frame Review
setting ( p.23). Use
to navigate.
2. Highlight an image, then press
directly onto
to confirm your
selection.
Press or to set the number of prints for the selected image (up to a
maximum of 9 copies). When done, press directly onto
once again.
3. Repeat Step 2 to select more images for printing or change the previously
specified numbers.
4. Press directly onto
and follow the rest of the on-screen options to con
firm the DPOF setting.
DPOF of All Images
1. When “All Images” is selected, all images will be set to the same specified
printing number.
2. Press or to set the number of prints of all stored images in the SD
card, for up to a maximum of 9 copies.
3. Follow the rest of the options to confirm the DPOF setting.
Slide (Slideshow)
You can play back all the images and
movies in a slideshow format. The interval
between images can be specified.
During the slideshow, press
MENU
to stop.
From here, you may choose to continue or
exit the current slideshow.
1/1
Playback
Setup
Exit
OK
MENU
Delete
Protect
DPOF
Slide
0
0
1
0
0
3
0
0
4
Set
Next
MENU
1/1
Playback
Setup
Exit
OK
MENU
Delete
Protect
DPOF
Slide


