


9
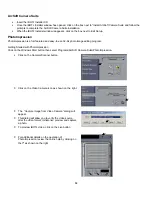
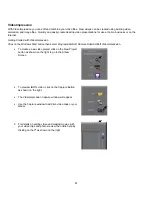
Step 4
•
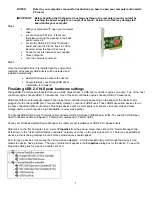
With your computer off, open your computer
case.
•
Locate an open PCI slot. If there is a
faceplate covering the opening to the back
panel, remove it.
•
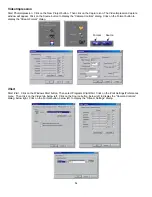
Locate the USB 2.0 PCI Host Controller
board and insert it into the free slot. Once
inserted, screw the board in securely.
•
Connect your internal devices as needed.
•
Close
computer.
•
Turn the computer power on.
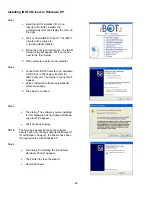
Step 5
Once the OrangeUSB card is installed and the computer is
restarted, all necessary USB drivers will be detected and
installed automatically.
•
Restart Windows to activate the drivers.
•
Congratulations your OrangeUSB driver
installation is complete!
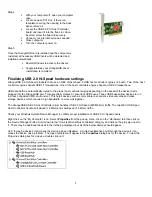
Finalizing USB 2.0 Hi-Speed hardware settings
OrangeUSB 2.0 Hi-Speed products that use an NEC chipset have 3 USB host controller engines on board. Two of the host
controller engines handle USB 1.1 transactions. One of the host controllers engines handle, USB 2.0 transactions.
USB data traffic is automatically routed to the proper host controller engine depending on the speed of the device that is
plugged into the OrangeUSB port. This essentially creates 3 concurrent USB buses. These USB buses allow devices to run
in a less congested traffic environment. This helps devices such as color printers, scanners, video cameras and mass
storage devices, which require a high bandwidth, to work well together.
The OrangeUSB USB 2.0 Host Controller driver handles USB 2.0 Hi-Speed (480 Mbits/s) traffic. The two NEC USB Open
Host Controllers handle Full-Speed (12 Mb/s) and Low-Speed (1.5 Mb/s) traffic.
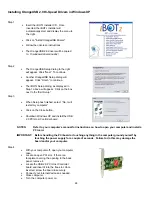
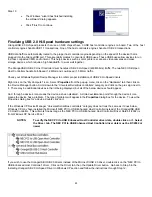
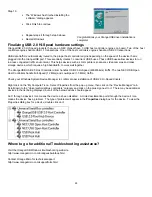
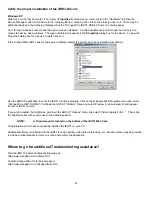
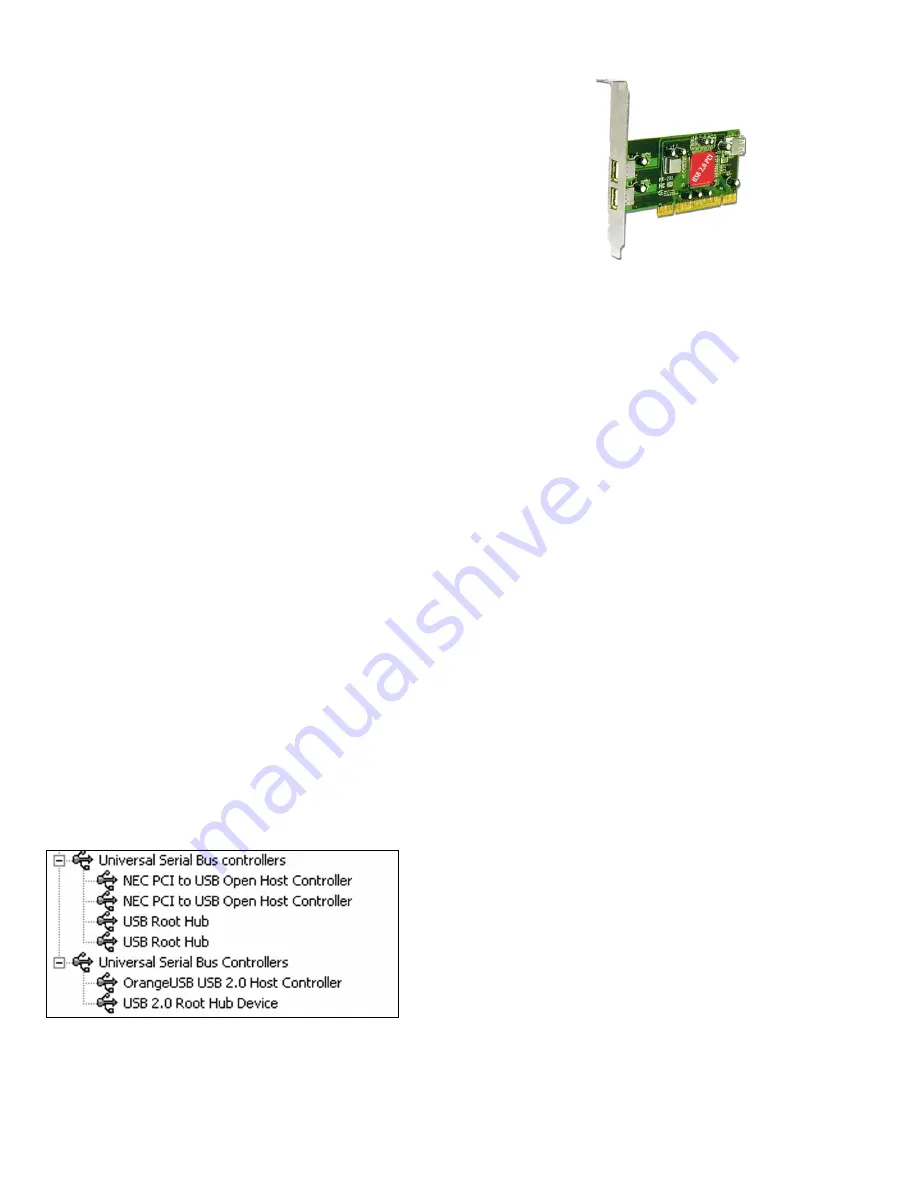
Check your Windows System/Device Manager to confirm proper installation of USB 2.0 Hi-Speed drivers:
Right click on the “My Computer” icon. Select
Properties
from the pop up menu, click on the “Hardware” tab then click on
the Device Manager button. Scroll down to the “Universal Serial Bus controllers” category and click on the plus sign next to
it. There may be additional devices in the list being displayed, but all of the below devices should appear.
An X through a device’s icon means the device as been disabled. A circled exclamation point through the device’s icon
means the device has a problem. The type of problem will appear in the
Properties
dialog box for the device. To view the
Properties dialog box for a device, double click on it.


