USING THE SDK ON WINDOWS 7 AND VISTA
PCI-AC51 User’s Guide
10
5.
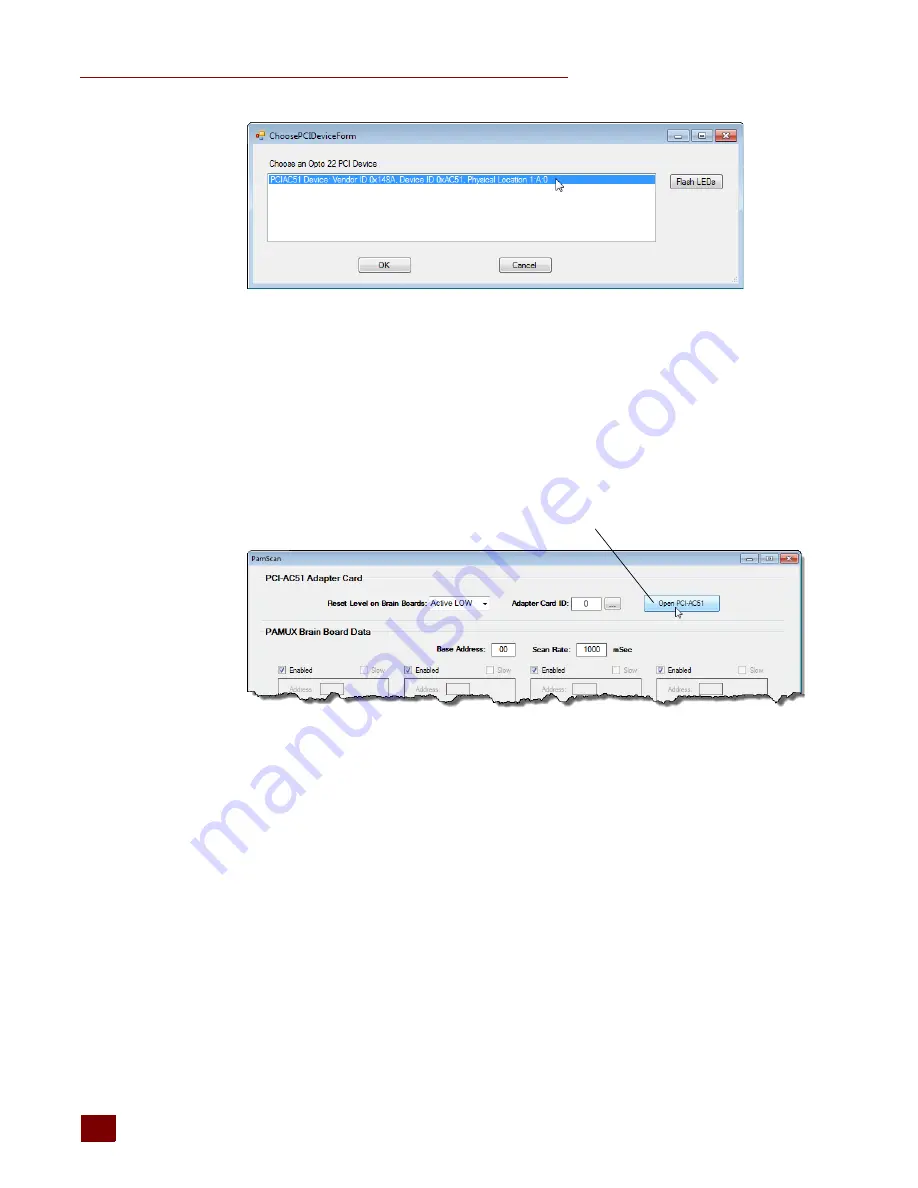
Optional Step—Flash LEDs: This step is optional because it requires you to open your computer in
order to see the LEDs on the PCI-AC51 card.
a.
With your computer open so that you can see the LEDs, choose the PCI-AC51 card, and
then click the Flash LEDs button.
b.
Notice the result on the card’s LEDs.
The program flashes the LEDs five times. If no flashing occurs, you may have selected the
wrong card. Select the next card in the list and click the Flash LEDs button again.
6.
Click OK to close the dialog box. In the PamScan graphical user interface (GUI), click Open
PCI-AC51.
This screen shows all four banks available on a 32-channel Pamux board. Each bank has eight
I/O points and has a unique address. For example, the banks shown here have addresses 0, 1, 2,
and 3 on the attached I/O mounting rack.
Click Open PCI-AC51
Содержание PCI-AC51
Страница 8: ...FOR HELP PCI AC51 User s Guide 4 ...
Страница 30: ...SPECIAL PRECAUTIONS FOR THE SOFTWARE DEVELOPER PCI AC51 User s Guide 26 ...
Страница 34: ...ERROR CODES FOR WINDOWS 2000 XP PCI AC51 User s Guide 30 ...
Страница 38: ...LEDS PCI AC51 User s Guide 34 ...
Страница 40: ...CONVERTING APPLICATIONS THAT USE INP AND OUTP PCI AC51 User s Guide 36 ...


