Setting up for Measurements
Beam Cube User Guide
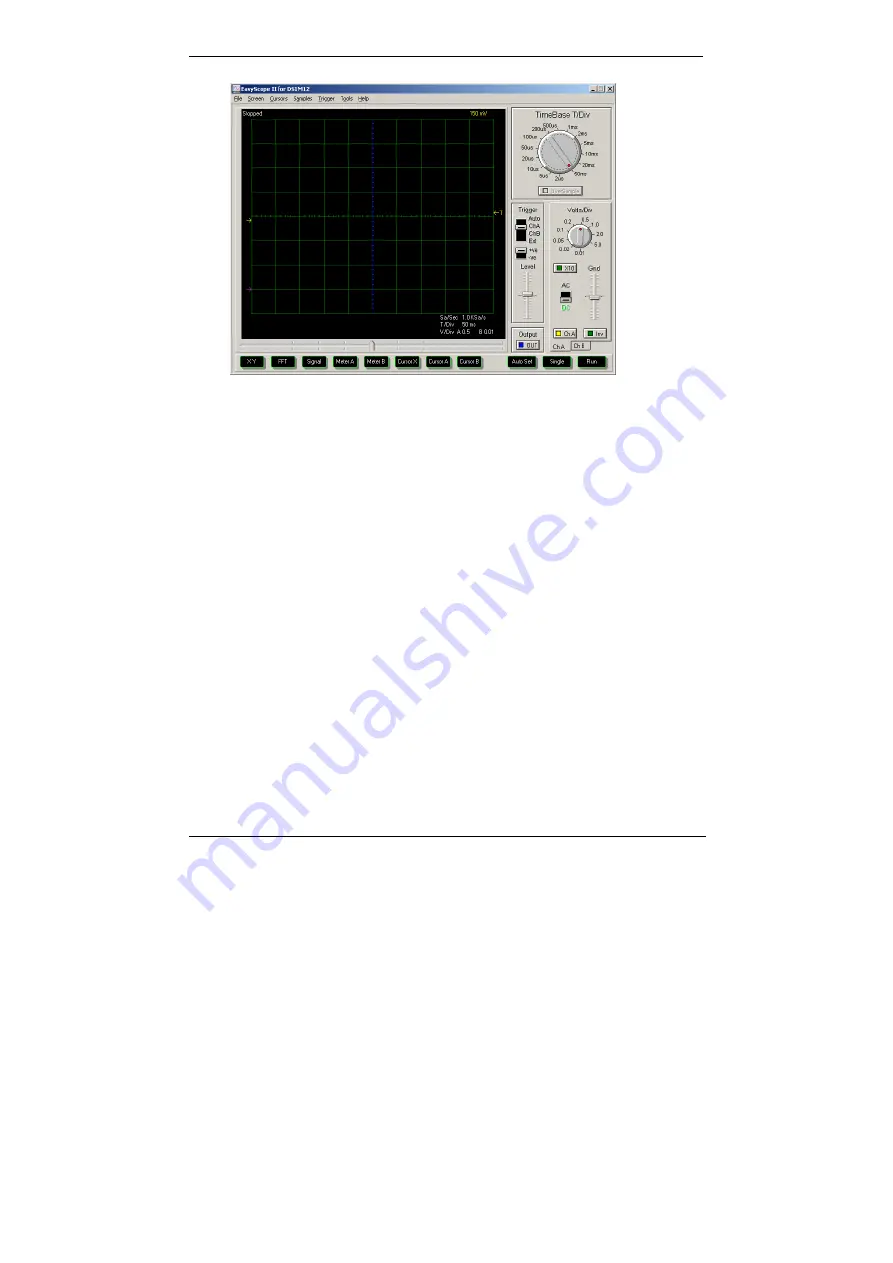
Figure 8: PC Scope screen
3.
Start the PC oscilloscope program from its icon.
4.
With the laser operating and the Beam Cube
measuring, set the time scale to a value several
times the laser pulse width, the voltage scale to
auto, the input to DC and channel B to off. Set the
trigger to Auto.
5.
After you see the pulse shape, set the voltage scale
to the best value. Set the trigger to ChA and the
trigger level to a point that insures stable readings.
6.
If the signal is too high, attenuate it using the
Variable Attenuator levers that are on the side of
the Beam Cube.
7.
As a further check that everything is working
properly, lower the time scale so you can see
several pulses on the screen.
20


