11
10
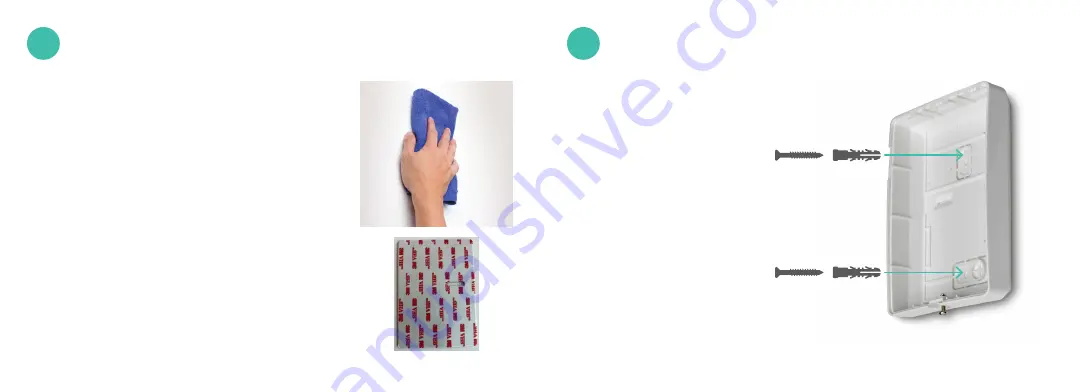
Mount with Adhesive Pads (Optional)
a.
Use a damp cloth to clean the area where
you want your Ooma Keypad to be so that
the adhesive pads stick properly.
b.
If you had to remove the Ooma Keypad’s back
cover during the pairing process, place it back
on the Ooma Keypad now and secure the screw.
c.
Peel the backing off of one of the included
adhesive pads. Align it with one edge of the
Ooma Keypad back cover and press firmly.
Repeat this process with the other adhesive pad.
d.
Peel off the other backing from the adhesive
pads. Firmly press the Ooma Keypad against
the desired surface for 30 seconds.
9
Mount with Screws (Optional)
a.
If you haven’t already,
unscrew the back cover
from the Ooma Keypad.
b.
Using the back cover as
a stencil, mark the screw
holes on the desired
mounting surface with
a pencil. If you’re using
the optional anchors,
use a drill to bore holes
and place the anchors
in the holes.
10
(optional)
(optional)
Содержание Smart Security Keypad
Страница 1: ...Keypad Quick Start Guide...


