Onkyo TX-SR353 Скачать руководство пользователя страница 25

Listening to your system

5

5

25

2

31

4

Setting the Audio options

There are a number of additional sound settings you can 
make using the 

QUICK MENU

 menu. The defaults, if not 

stated, are listed in bold.

Important

Note that if a setting doesn’t appear in the 

QUICK MENU


menu, it is unavailable due to the current source, settings 
and status of the receiver.
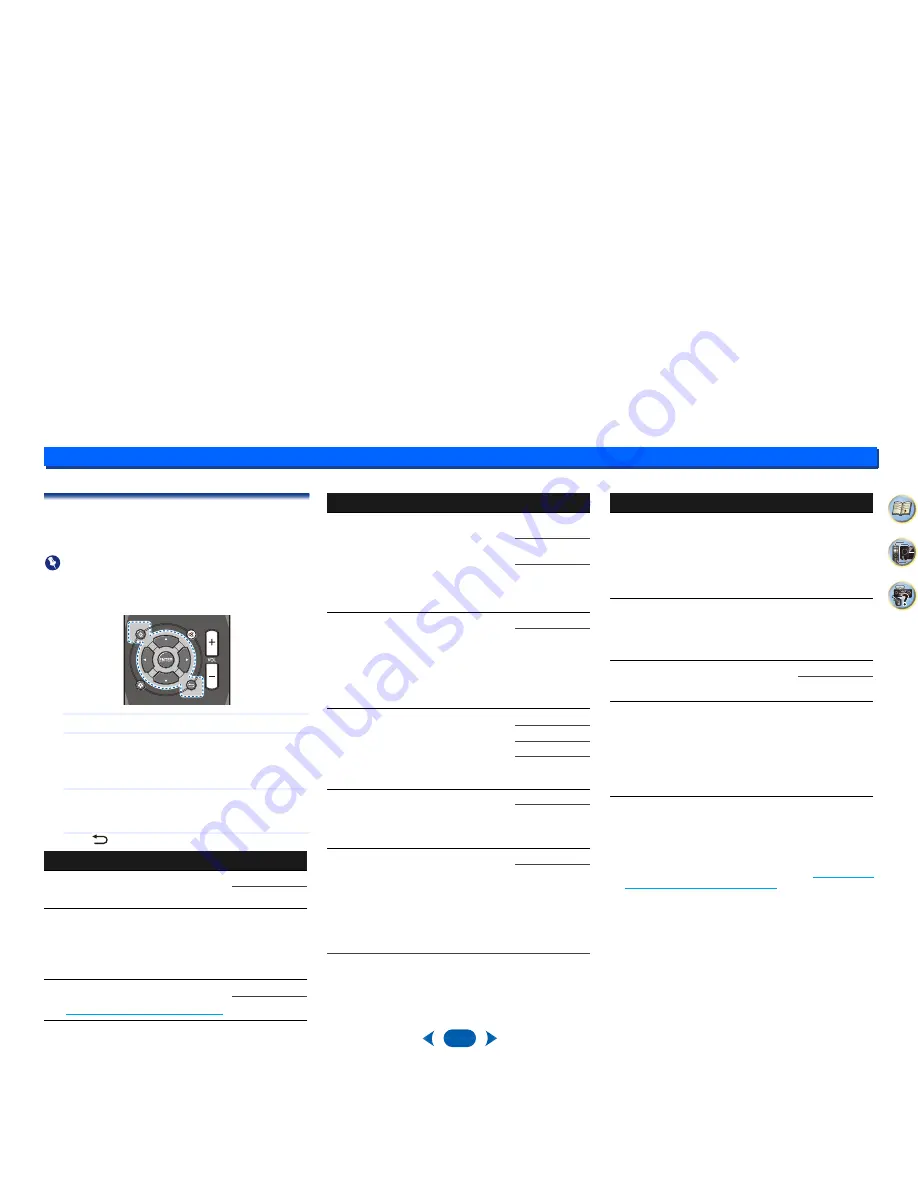
1

Press 

QUICK MENU

 button.

2

Use 

/

 to select the setting you want to adjust.

Depending on the current status/mode of the receiver, 
certain options may not be able to be selected. Check 
the table below for notes on this.

3

Use 

/

 to set it as necessary.

See the table below for the options available for each 
setting.

4

Press 

 to confirm and exit the menu.

a.

You can change the Music Optimizer feature at any time by 
using 

M.OPT

 button.

b.

The default setting when the 

USB

 input is selected is 

ON

.

c.

This setting works only with dual mono encoded Dolby Digital 
and DTS soundtracks.

d.

This is not displayed by default. You need to change some 
settings on this unit to display the menu. (see 

Displaying the 

Fixed PCM Setting menu

 on page 26

).

e.

The initial set 

AUTO

 is only available for Dolby TrueHD 

signals. Select 

MAX

 or 

MID

 for signals other than Dolby 

TrueHD.

f.

This feature is only available when the connected display 
supports the automatic audio/video synchronizing capability 
(‘lip-sync’) for HDMI. If you find the automatically set delay 
time unsuitable, set 

A.DLY

 to 

OFF

 and adjust the delay time 

manually. For more details about the lip-sync feature of your 
display, contact the manufacturer directly.

g.

Only available with 2-channel sources in 

DOLBY PLII MUSIC


mode.

h.

Only when listening to 2-channel sources in 

NEO:6 CINEMA


and 

NEO:6 MUSIC

 mode.

Setting/What it does

Option(s)

EQ

 (Acoustic Calibration EQ)

Switches on/off the effect of Acoustic 
Calibration EQ.

OFF

ON

AV. SYN

 (A/V SYNC)

Some monitors have a slight delay when 
showing video, so the soundtrack will be 
slightly out of sync with the picture. By adding 
a bit of delay, you can adjust the sound to 
match the presentation of the video.

0 ms to 500 ms

(1 step : 5 ms)

Default: 

0

M.OPT

 (Music Optimizer)

a

Switches on/off the effect of Music Optimizer.
(see 

Using the Music Optimizer

 on page 24

)

OFF

b

ON

SURR

DSP

QUICK MENU

QUICK MENU

QUICK MENU

QUICK MENU

DUAL MONO

c

Specifies how dual mono encoded Dolby 
Digital soundtracks should be played.

CH1

 – Channel 1 

is heard only

CH2

 – Channel 2 

is heard only

CH1 CH2

 – Both 

channels heard 

from front 

speakers

F.PCM

 (Fixed PCM)

d

This is useful if you find there is a slight delay 
before 

OFF

 recognizes the PCM signal on a 

CD, for instance.
When 

ON

 is selected, noise may be output 

during playback of non-PCM sources. Please 
select another input signal if this is a 
problem.

OFF

ON

LATE NIGHT

Adjusts the level of dynamic range for movie 
soundtracks optimized for Dolby Digital, DTS, 
Dolby Digital Plus, Dolby TrueHD, DTS-HD 
and DTS-HD Master Audio (you may need to 
use this feature when listening to surround 
sound at low volumes).

AUTO

e

OFF

MID

MAX

HDMI

 (HDMI Audio)

Specifies the routing of the HDMI audio 
signal out of this receiver (

AMP

) or through to 

a TV (

THRU

). When 

THRU

 is selected, no 

sound is output from this receiver.

AMP

THRU

A.DLY

 (Auto Delay)

f

This feature automatically corrects the audio-
to-video delay between components 
connected with an HDMI cable. The audio 
delay time is set depending on the 
operational status of the display connected 
with an HDMI cable. The video delay time is 
automatically adjusted according to the audio 
delay time.

OFF

ON

Setting/What it does

Option(s)

C.WIDTH

 (Center Width)

g

(Applicable only when using a center speaker)
Spreads the center channel between the front 
right and left speakers, making it sound wider 
(higher settings) or narrower (lower settings). 
Making the C.WIDTH setting “7” may cause no 
sound to be output from the center channel.

0 to 7

Default: 

3

DIMEN.

 (Dimension)

g

Adjusts the surround sound balance from 
front to back, making the sound more distant 
(minus settings), or more forward (positive 
settings).

–3 to +3

Default: 

0

PNRM.

 (Panorama)

g

Extends the front stereo image to include 
surround speakers for a ‘wraparound’ effect.

OFF

ON

C.IMG

 (Center Image)

h

(Applicable only when using a center 
speaker)
Adjust the center image to create a wider 
stereo effect with vocals. Adjust the effect 
from 

0

 (all center channel sent to front right 

and left speakers) to 

10

 (center channel sent 

to the center speaker only).

0 to 10

Default: 

3


(NEO:6 MUSIC), 

10

 (NEO:6 

CINEMA)

Setting/What it does

Option(s)

Содержание TX-SR353

Страница 1: ...AV RECEIVER Operating Instructions TX SR353...

Страница 2: ...the AccuEQ Room Cal setup 17 4 Basic playback Playing a source 18 Selecting the audio input signal 18 Playing a USB device 20 Basic playback controls 20 Compressed audio compatibility 20 Music playbac...

Страница 3: ...ng Required setting item Setting to be made as necessary 1 Connecting the speakers Where you place the speakers will have a big effect on the sound Placing the speakers page 8 Connecting the speakers...

Страница 4: ...quencies page 22 PRESET Use to select preset radio stations page 23 These are also used to move the cursors when displaying the Setup for example 8 MASTER VOLUME dial 9 PHONES jack Use to connect head...

Страница 5: ...encoded audio signals is detected HD Lights when a source with DTS EXPRESS or DTS HD encoded audio signals is detected 96 24 Lights when a source with DTS 96 24 encoded audio signals is detected NEO...

Страница 6: ...ode is set to DIRECT When the front speaker is set at SMALL in the Speaker Setting or automatically via the AccuEQ Room Cal setup and the X Over is set above 150 Hz the subwoofer channel level will be...

Страница 7: ...sides of the batteries properly according to the marks in the battery case Batteries with the same shape may have different voltages Do not use different batteries together When disposing of used batt...

Страница 8: ...m your CRT TV If you re using a center speaker place the front speakers at a wider angle If not place them at a narrower angle Place the center speaker above or below the TV so that the sound of the c...

Страница 9: ...nnections CAUTION These speaker terminals carry HAZARDOUS LIVE voltage To prevent the risk of electric shock when connecting or disconnecting the speaker cables disconnect the power cord before touchi...

Страница 10: ...ions Video CD Super VCD and CD This receiver incorporates High Definition Multimedia Interface HDMI technology This receiver supports the functions described below through HDMI connections Digital tra...

Страница 11: ...so use a standard RCA video cable for coaxial digital connections Standard RCA video cables These cables are the most common type of video connection and are used to connect to the composite video ter...

Страница 12: ...ions on connections and setup for the TV Important When the ARC function is ON and the receiver is connected to a compatible TV with an HDMI cable and you switch the input of the TV to composite the i...

Страница 13: ...st switch to the BD DVD Blu ray Disc DVD player or CBL SAT set top box then press AUDIO SEL to choose the audio signal O1 OPTICAL1 see Selecting the audio input signal on page 18 You can only connect...

Страница 14: ...he AM antenna on a flat surface and in a direction giving the best reception 4 Connect the FM wire antenna into the FM antenna socket For best results extend the FM antenna fully and fix to a wall or...

Страница 15: ...et CAUTION Handle the power cord by the plug Do not pull out the plug by tugging the cord and never touch the power cord when your hands are wet as this could cause a short circuit or electric shock D...

Страница 16: ...ear level at your normal listening position Otherwise place the microphone at ear level using a table or a chair 4 Press BD DVD button on the remote control to switch to BD DVD entry 5 Press button T...

Страница 17: ...p has finished then the Setup screen is automatically displayed The settings made in the AccuEQ Room Cal setup should give you excellent surround sound from your system but it is also possible to adju...

Страница 18: ...ound is coming from the speakers connected to this receiver Selecting the audio input signal The audio input signal can be selected for each input source Once it is set the audio input that was select...

Страница 19: ...d with your DVD player a The HDMI terminals can be used for the TV input by turning ON the ARC function in the HDMI setting page 30 b In order to listen to the audio from the TV that is connected to t...

Страница 20: ...th the receiver switched off Select another input source like BD DVD then switch back to USB Use a dedicated AC adapter supplied with the device for USB power For more information on error messages se...

Страница 21: ...OTH capable device 1 Press the BLUETOOTH The unit will switch to BT Audio input 2 A BLUETOOTH connection will be created between the BLUETOOTH capable device and the unit Procedures for connecting to...

Страница 22: ...tening to the radio The following steps show you how to tune in to FM and AM radio broadcasts using the automatic search and manual step tuning functions Once you are tuned to a station you can memori...

Страница 23: ...r how to do this 2 Press EDIT twice The cursor at the first character position is blinking on the display 3 Input the name you want Choose a name up to eight characters long Use PRESET to select chara...

Страница 24: ...rious soundtracks to see which you like Using Direct Use the Direct modes when you want to hear the truest possible reproduction of a source All unnecessary signal processing is bypassed Using the Mus...

Страница 25: ...t of Music Optimizer see Using the Music Optimizer on page 24 OFFb ON SURR DSP QUICK MENU QUICK MENU QUICK MENU QUICK MENU DUAL MONOc Specifies how dual mono encoded Dolby Digital soundtracks should b...

Страница 26: ...Standby Through is not set to OFF you may not be able to set the switching of the Fixed PCM The functions that can be set differ depending on the input signal or speaker settings DIRECT STEREO SURR D...

Страница 27: ...put signal to Standby Through output or not during standby see The HDMI Setup menu on page 30 Manual speaker setup This receiver allows you to make detailed settings to optimize the surround sound per...

Страница 28: ...nt speakers X Over Default setting 100Hz This setting decides the cutoff between bass sounds playing back from the speakers selected as LARGE or the subwoofer and bass sounds playing back from those s...

Страница 29: ...minal is assigned to CD under factory settings but this can be changed to TV input 1 Select Input Assign from the Setup 2 Select Analog Input from the Input Assign menu 3 Select the desired input opti...

Страница 30: ...ompatible TV using HDMI 4 Press If certain source devices that do not support 4K 60p 4 4 4 24 bit are used and the HDMI terminal is set to 4 4 4 video output from the source device may turn red no aud...

Страница 31: ...tly see Connecting your equipment on page 8 Check the audio output settings of the source component Refer to the instruction manual supplied with the source component No image is output when an input...

Страница 32: ...atible If they are not please connect them using the composite video jacks Depending on the connected source component it s possible that it will not work with this receiver even if it is HDCP compati...

Страница 33: ...more than 0 08 total harmonic distortion Front stereo 80 W 80 W Power output 1 kHz 6 1 140 W per channel Guaranteed speaker impedance 6 to 16 Measured pursuant to the Federal Trade Commission s Trade...

Страница 34: ...os are registered trademarks owned by Bluetooth SIG Inc and any use of such marks by Onkyo Pioneer Corporation is under license Other trademarks and trade names are those of their respective owners Ma...

Страница 35: ...rranty keep intact all the notices that refer to this License and to the absence of any warranty and give any other recipients of the Program a copy of this License along with the Program You may char...

Страница 36: ...conditions are different write to the author to ask for permission For software which is copyrighted by the Free Software Foundation write to the Free Software Foundation we sometimes make exceptions...

Страница 37: ...a Tsui Kowloon Hong Kong Tel 852 2429 3118 Fax 852 2428 9039 http www hk onkyo com PRC 302 Building 1 20 North Chaling Rd Xuhui District Shanghai China 200032 Tel 86 21 52131366 Fax 86 21 52130396 htt...

Отзывы: