


Basic playback
4
4
22
2
31
4
In the following locations, poor condition or inability to receive
radio waves may cause the audio to be interrupted or
stopped:
•
In reinforced concrete buildings or steel framed or iron-
framed buildings.
•
Near large metallic furniture.
•
In a crowd of people or near a building or obstacle.
•
In a location exposed to the magnetic field, static electricity
or radio wave interference from radio communication
equipment using the same frequency band (2.4 GHz) as
this unit, such as a 2.4 GHz wireless LAN device
(IEEE802.11b/g) or microwave oven.
•
If you live in a heavily populated residential area
(apartment, townhouse, etc.) and if your neighbor’s
microwave is placed near your system, you may
experience radio wave interference. If this occurs, move
your unit to a different place. When the microwave is not
in use, there will be no radio wave interference.
Radio wave reflections
The radio waves received by this unit include the radio wave
coming directly from the device equipped with BLUETOOTH
wireless technology (direct wave) and waves coming from
various directions due to reflections by walls, furniture and
building (reflected waves). The reflected waves (due to
obstacles and reflecting objects) further produce a variety of
reflected waves as well as variation in reception condition
depending on locations. If the audio cannot be received
properly due to this phenomenon, try moving the location of
the device equipped with BLUETOOTH wireless technology
a little. Also note that audio may be interrupted due to the
reflected waves when a person crosses or approaches the
space between this unit and the device equipped with
BLUETOOTH wireless technology.
Precautions regarding connections to products
supported by this unit
•
Complete connections for all devices supported by this
unit, including all audio cords and power cables before
connecting them to this unit.
•
After completing connections to this unit, check the audio
and power cables to confirm that they not twisted together.
•
When disconnecting this unit, confirm that you have
sufficient working space in the surrounding area.
When changing connections of audio or other cables for
products supported by this unit, confirm that you have
sufficient working space in the surrounding area.
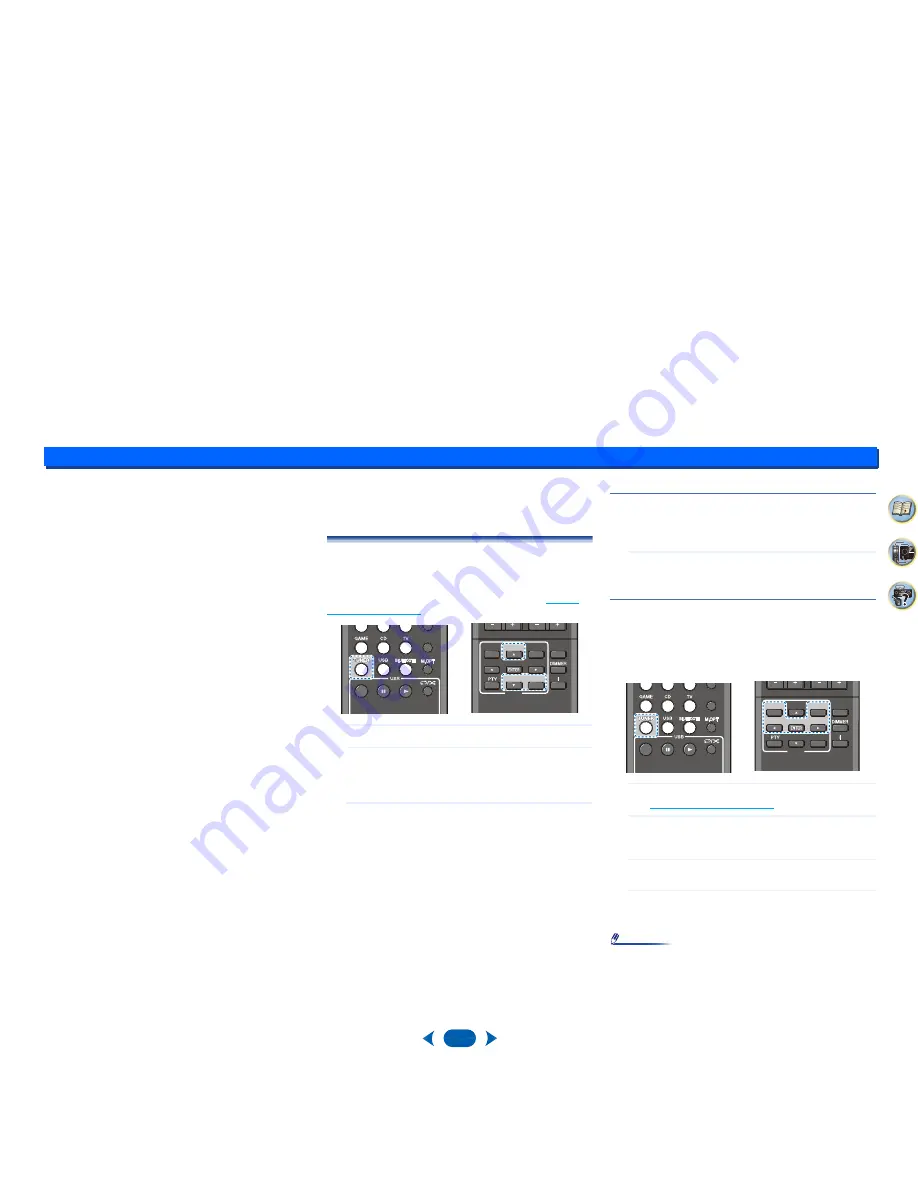
Listening to the radio
The following steps show you how to tune in to FM and AM
radio broadcasts using the automatic (search) and manual
(step) tuning functions. Once you are tuned to a station you
can memorize the frequency for recall later—see
Saving
station presets
below
for more on how to do this.
1
Press
TUNER
to select the tuner.
2
Use
BAND
to change the band (FM or AM), if
necessary.
Each press switches the band between FM (stereo or
mono) and AM.
3
Tune to a station.
There are three ways to do this:
Automatic tuning
To search for stations in the currently selected band,
press and hold
/–
for about a second. The
receiver will start searching for the next station, stopping
when it has found one. Repeat to search for other
stations.
Manual tuning
To change the frequency one step at a time, press
/–
.
High speed tuning
Press and hold
/–
for high speed tuning.
Improving FM sound
If the
TUNE
or
ST
indicators don’t light when tuning to an FM
station because the signal is weak, set the receiver to the
mono reception mode.
…
Press
BAND
to select FM MONO.
This should improve the sound quality and allow you to
enjoy the broadcast.
Saving station presets
If you often listen to a particular radio station, it’s convenient
to have the receiver store the frequency for easy recall
whenever you want to listen to that station. This saves the
effort of manually tuning in each time. This unit can
memorize up to 30 stations.
1
Tune to a station you want to memorize.
See
Listening to the radio
above
for more on this.
2
Press
EDIT
.
The display shows
PRESET
, then a blinking
MEM
and
station preset.
3
Press
/–
to select the station preset you
want.
4
Press
ENTER
.
The preset number stop blinking and the receiver stores
the station.
Note
•
If the receiver is left disconnected from the AC power
outlet for over a month, the station memories will be lost
and will have to be reprogrammed.
•
Stations are stored in stereo. When the station is stored in
the FM MONO mode, it shows as
ST
when recalled.
AUDIO SEL
LATE NIGHT
LATE NIGHT
TOP MENU
TOP MENU
TREBLE
DISPLAY
DISPLAY
TUNER
TUNER
EDIT
EDIT
SLEEP
SLEEP
TUNING
TUNING -
TUNING -
TUNING -
TUNING -
PRESET
PRESET -
PRESET
BAND
BAND
BAND
BAND
AUDIO SEL
LATE NIGHT
LATE NIGHT
TOP MENU
TOP MENU
TREBLE
DISPLAY
DISPLAY
DISPLAY
DISPLAY
TUNER
TUNER
EDIT
EDIT
EDIT
EDIT
SLEEP
SLEEP
TUNING
TUNING -
TUNING -
TUNING -
TUNING -
PRESET
PRESET -
PRESET -
PRESET -
PRESET
BAND
BAND
BAND
BAND


