24
General Operation
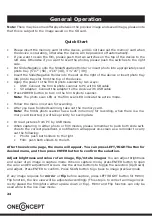
Note:
There may be some difference between the preview image and saved image, please note
that this is subject to the image saved on the SD card.
Quick Start
•
Please insert the memory card into the device, and do not take out the memory card when
the device is operating, otherwise the device will be powered off automatically.
•
If you want to scan the film, please push the two switches on the top of the device to the
left side. Otherwise if you want to scan the photos, please push the switches to the right
side.
•
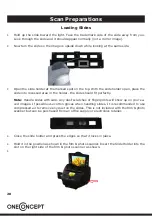
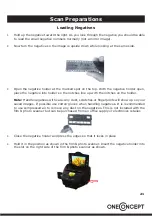
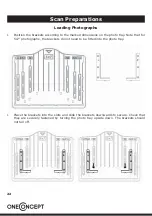
Put Slide/Negative onto the Slide/Negative Holder or insert photo into appropriately sized
photo tray (5”x7” (5R), 4”x6” (4R), 3 ½”x5” (3R))
•
Insert the Slide/Negative Holder into the slot on the right of the device or insert photo tray
into photo tray slot from the top of the device.
•
Apply the power to the film & photo scanner by two ways:
•
USB: Connect the film & photo scanner to PC with USB cable
•
5V adapter: Connect the adapter to the device with USB cable
•
Press POWER button to turn on the film & photo scanner.
Note:
The photo scan LED or the film scan LED indicate the active mode.
• Follow the menu on screen for scanning.
•
After you have finished scanning, take out the memory card.
Note:
The film & photo scanner has a built-in memory for recording, when there is a me
-
mory card inserted, it will take priority for saving data
•
Or read pictures from PC by USB mode
•
When capturing in either photo or film modes, please remember to push both slide swit
-
ches to the correct placement. A notification will appear on-screen as a reminder to carry
out the following:
•
Photo: push both sliders to the right
•
Film: push both sliders to the left.
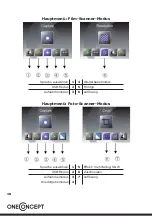
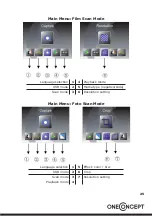
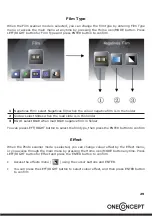
After the welcome page, the menu will appear. You can press LEFT/RIGHT button for
desired menu, and then press ENTER button to confirm the selection.
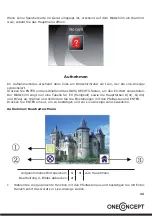
Adjust brightness and colour of an image, flip/rotate images:
You can adjust brightness
and colour of an image in capture mode. When in capture mode, press ENTER button to open
the color and EV adjustment screen. Use the arrow buttons to toggle the selection (Up/Down)
and adjust. Press ENTER to confirm. Press SCAN button to go back to image preview mode
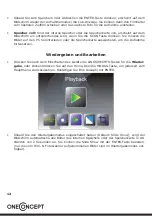
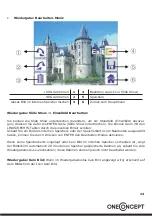
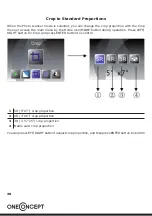
If any image requires for
mirror
or
flip
before capture, press LEFT/RIGHT button for Mirror/
Flip function, the live view will be adjusted accordingly (This step is to correct an image incor
-
rectly placed the film/photo either upside down or flip). Mirror and Flip function can only be
used while in the live view mode.
Содержание 10029475
Страница 1: ...DiaScanner 979GY 10029475...
Страница 4: ...4 Teile bersicht Ger t Diahalter Negativ Halter Foto Halter USB Kabel...
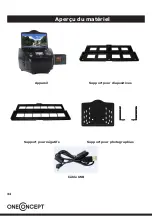
Страница 19: ...19 Parts Overview Device Positive slides holder Negative film holder Picture frame USB cable...
Страница 49: ...49 Partes descripci n Dispositivo Soporte para diapositivas Soporte para negativos Soporte para fotos Cable USB...
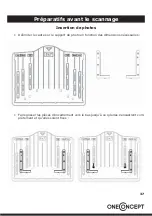
Страница 53: ...53 Introduzca una foto Desplace la foto junto con el marco en la ranura de la parte superior del aparato...
Страница 64: ...64 Descrizione dei componenti Dispositivo Porta diapositive Porta negativi Porta foto Cavo USB...
Страница 68: ...68 Inserire una foto Far scorrere la foto con il supporto nell apposito alloggiamento del dispositivo...

