1
Ge
ttin
g S
tar
te
d
1
2
3
button
9
0
button
`
/
OK
button
LIST
button
MENU
button
[
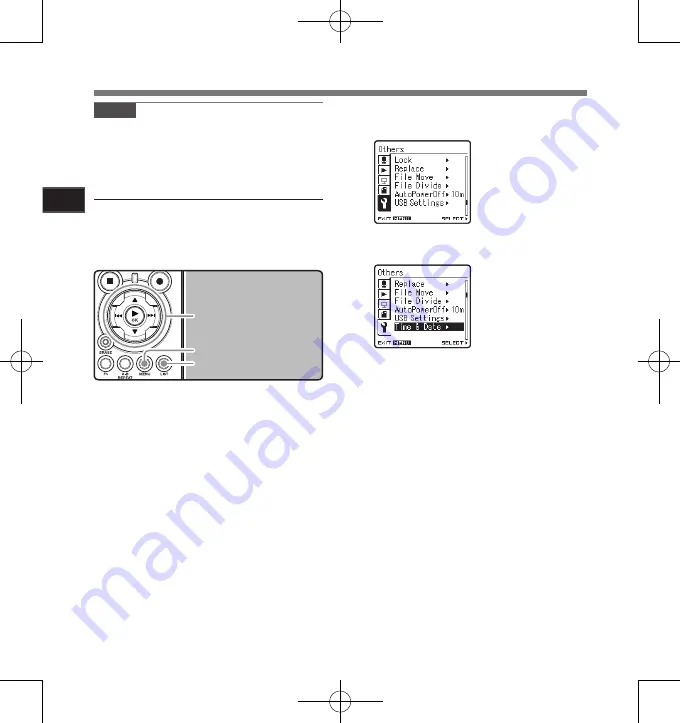
Time & Date
] will appear
on the display
[
Others
] will appear on
the display
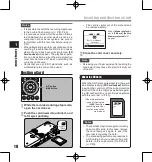
1
While the recorder is during stop
mode, press the
MENU
button.
• The menu will appear on the display (
☞
P.41).
Press the
2
or
3
button to select [
Time
& Date
].
Changing the Time and Date
While the recorder is during stop mode, press and
hold the
STOP
4
button to display the Time and
Date, Remaining Memory and File Format.
If the Time and Date is not correct, set it using the
procedure below.
Note
• If you press the
`
/
OK
button during the setup
operation, the recorder will save the items that
were set to that point.
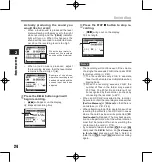
Press the
2
or
3
button to select
[
Others
] tab.
• You can change the menu display by mov-
ing the settings tab cursor.
Press the
`
/
OK
or
9
button to move
the cursor to the item to set.
Press the
`
/
OK
or
9
button.
• The “
hour
” will flash on the display, indicat-
ing the start of the Time and Date setup
process.
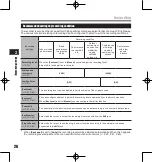
The following steps are the same as Step 1
through Step 3 of “
Setting Time and Date [Time
& Date]
” (
☞
P.15).
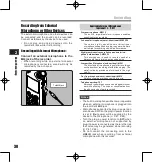
Press the
MENU
button to close the
menu screen.
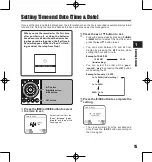
Setting Time and Date [Time & Date]


