109
F. Confirming the Settings
1
Press the OK/SELECT button.
The display returns to the card printing
preview menu.
Caution
• The stamp may be clipped if it is
positioned too close to an edge.
Tip
• When a stamp has been selected, the area indicated by the black square surrounded by a white
frame indicates the stamp.
○ ○ ○ ○ ○ ○ ○ ○ ○ ○ ○ ○ ○ ○ ○ ○ ○ ○ ○ ○ ○ ○ ○ ○ ○ ○ ○ ○ ○ ○ ○ ○ ○ ○ ○ ○ ○ ○ ○ ○ ○ ○ ○ ○ ○ ○ ○ ○ ○ ○ ○ ○ ○ ○
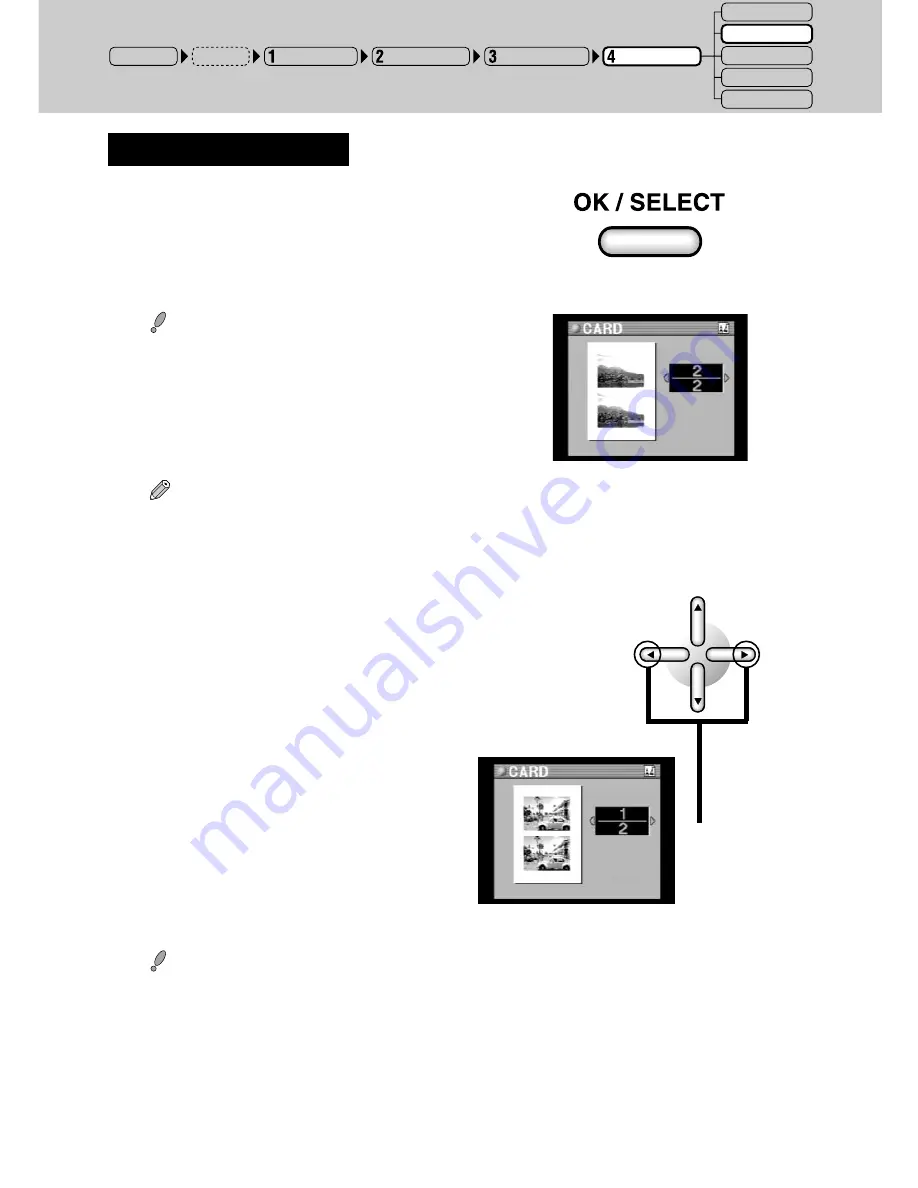
2
Review the pictures that have been
selected for printing with the left or right
arrow button.
Previews of pictures selected for printing are
sequentially displayed each time the left or
right arrow button is pressed, making it
possible to check pictures before they are
printed.
Caution
• Select the number of cards with the picture selection procedure. (The number of prints cannot be
designated when the printing mode is set to CARD.)
○ ○ ○ ○ ○ ○ ○ ○ ○ ○ ○ ○ ○ ○ ○ ○ ○ ○ ○ ○ ○ ○ ○ ○ ○ ○ ○ ○ ○ ○ ○ ○ ○ ○ ○ ○ ○ ○ ○ ○ ○ ○ ○ ○ ○ ○ ○ ○ ○ ○ ○ ○ ○ ○
3
Print the picture.
Proceed to “5. Printing” (page 138).
➜
➜
POWER ON
Input Selection
Paper Selection
Picture Selection
Printing Modes
STANDARD
CARD
PHOTO-ALBUM
PASSPORT
INDEX
Setup
Содержание CAMEDIA P-440
Страница 1: ...DIGITAL COLOR PRINTER P 440 REFERENCE MANUAL ENGLISH...
Страница 47: ...47 Printing Procedure When Printing from a Card...
Страница 156: ...2003 OLYMPUS CORPORATION VT615701...


