Direct printing (PictBridge)
127
P
rin
tin
g
pi
ct
ur
es
8
(
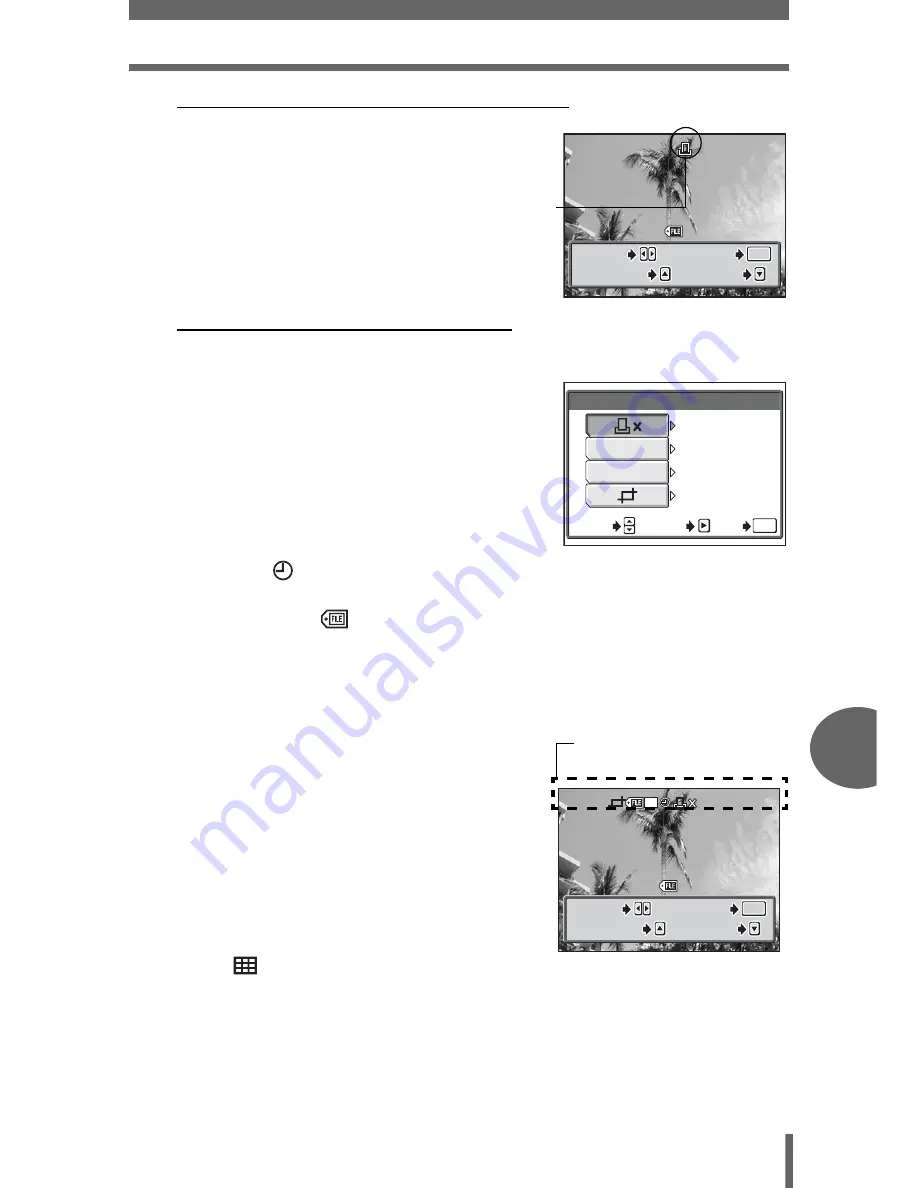
Set a [SINGLE PRINT] reservation
c
Press
a
.
• Press
a
when a picture with
<
is
displayed to cancel the reservation.
d
Go to Step5.
(
Set [MORE] print reservations
c
Press
c
.
d
Select the printing data that
you want included by
pressing
d
and then set each
item.
<
×
Sets the number of
prints. You can select
up to 10 prints.
DATE (
)
If you select [WITH], pictures are printed with the
date and time.
FILE NAME (
)
If you select [WITH], pictures are printed with the file
name.
P
Crops part of a recorded picture so that only the
enlarged section is printed.
g
“Trimming” (P.129)
• [DATE] and [FILE NAME] are not available in [MULTI PRINT] mode.
e
When you have completed
setting the printing data,
press
e
.
• The screen displayed in Step 2
appears.
• To print more than one picture in
[PRINT] or [MULTI PRINT] mode,
repeat Steps 2 and 3 and make
single or multiple print reservations
for all the pictures you want to print.
•
is displayed in [MULTI PRINT]
mode.
f
Go to Step 5.
100
100-0030
0030
OK
OK
OK
MORE
MORE
SELECT
SELECT
MORE
CANCEL
CANCEL
SELECT
CANCEL
Print reservation icon
is displayed.
PRINT INFO
DATE
FILE NAME
WITHOUT
WITHOUT
1
NO
GO
GO
OK
OK
SET
SET
SELECT
SELECT
GO
OK
SET
SELECT
10
10
OK
OK
OK
MORE
MORE
SELECT
SELECT
MORE
CANCEL
CANCEL
SELECT
CANCEL
100
100-0030
0030
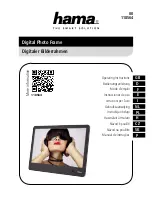
The settings you have
made are displayed.


