Date
27/06/2019
Document number
921100400_09_002
Page
16 of 67
16 / 67
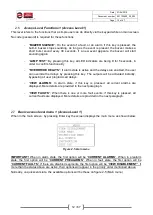
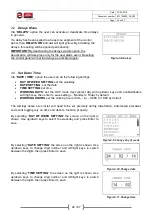
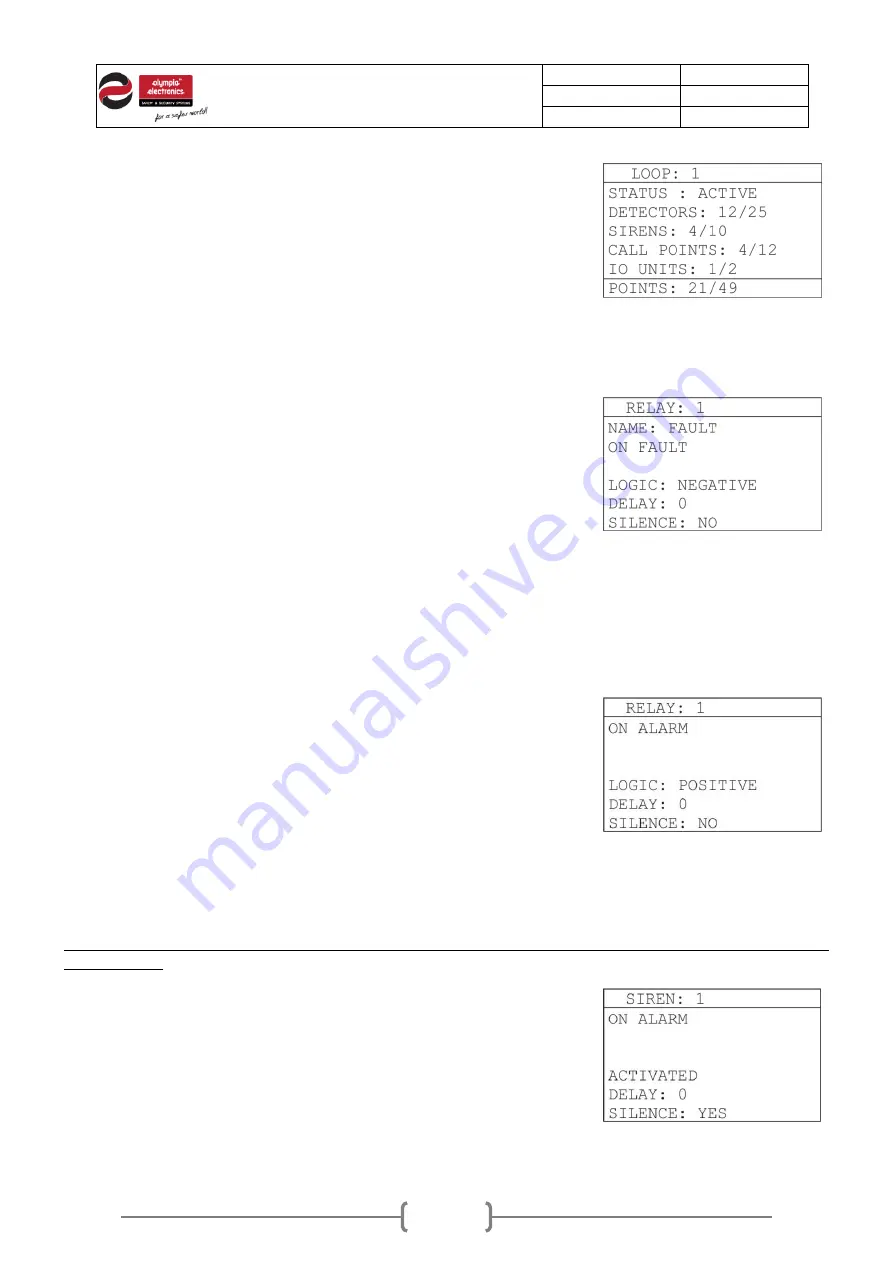
By selecting
“
LOOPS
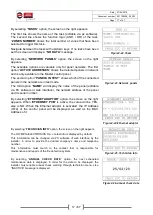
” option, the screen on the right appears.
The first line, “
STATUS
”, shows if the loop is present and active.
The rest of the lines, indicate how many of each point type are
registered into this loop.
The last line
“
POINTS:
” indicates the number of points registered in
this loop to the total number of registered points.
On the screen on the right (fig2-17) an example is displayed from a
control panel with 49 points in total. 21 of them are installed in loop 1.
With up/down keys, you can navigate between the loops.
Figure2-18.Loops
By
selecting “
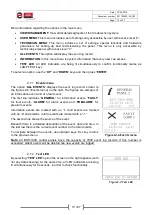
PANEL RELAYS
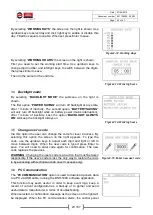
” option, the screen on the right
appears.
The first line defines the name of the selected relay and the second
line indicates the event that triggers the relay.
The “
LOGIC
” shows the operating mode (positive/negative), which
defines the initial position of the relay contacts. The “
DELAY
” shows
the selected delay for the specific relay that is applied before arming.
Last, “
SILENCE
” shows if this relay will switch to initial position when
“
SIREN
SILENCE
” command is given.
Please note that RELAY 1 (FAULT) and RELAY 2 (ALARM) are not
editable by user. Only RELAY 3 (AUX) is editable
ιn terms of
functionality mode, initial state (logic), delay and silence.
Navigate between the panel relays with up/down keys.
Figure2-19.Panel relays
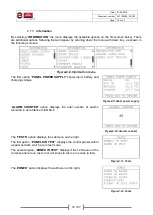
By selecting “
EXTRA RELAYS
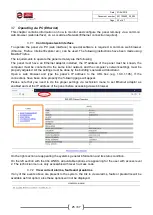
” option, the screen on the right
appears.
The first line indicates the event that triggers the relay (functionality
mode).
The “
LOGIC:
” shows the state (positive/negative), which defines the
initial position of the relay contacts. The “
DELAY:
” shows the selected
delay for the specific relay that is applied before arming. Last,
“
SILENCE:
” shows if this relay will switch to initial position when
“
SIREN
SILENCE
” command is given.
Navigate between the extra relays with up/down keys.
Figure2-20.Extra relays
IMPORTANT!
Extra relays (BS-613) belong to peripheral equipment and are not pre-installed in the
control panel.
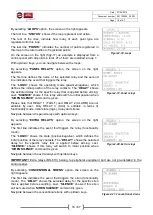
By selecting “
CONVENTIONAL SIRENS
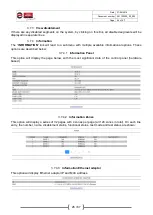
” option, the screen on the
right appears.
The first line indicates the event that triggers the siren (functionality
mode)
. The “
DELAY
” shows the selected delay for the specific siren
that is applied before sounding. Last, “
SILENCE
” shows if this siren
will be muted when “
SIREN
SILENCE
” command is given.
Navigate between the conventional sirens with up/down keys.
Figure2-21.Conventional sirens

