Date
27/06/2019
Document number
921100400_09_002
Page
15 of 67
15 / 67
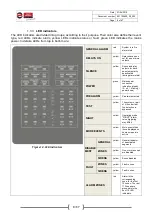
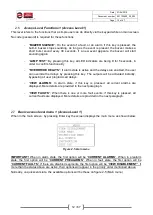
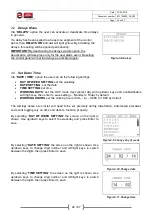
The “
ZONES
IN
ALARM
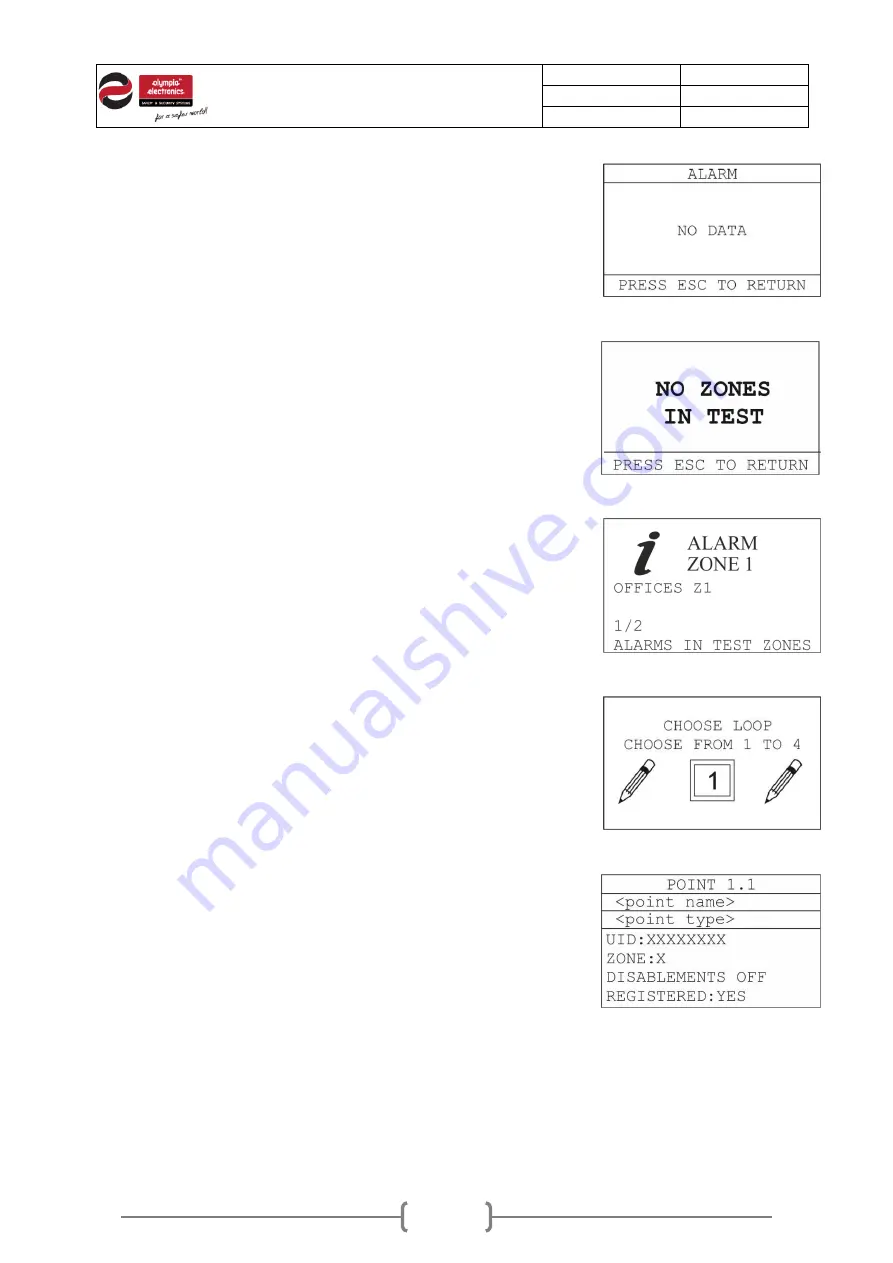
” option will display all zones that are in alarm
state. If no zone is in alarm, the screen on the right will be displayed.
The
“
ZONES
IN
FAULT
” option will display the zones that are in fault.
If no zones are in fault the screen on the right will be displayed.
The
“
DISABLED
ZONES
” menu will display the disabled zones. If no
zones are disabled the screen on the right will be displayed.
Figure2-13.Zones in alarm
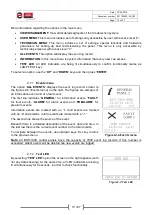
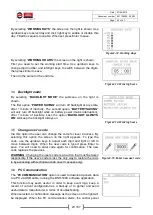
The “
ZONES
IN
TEST
” option will display the message “
ALL
ZONES
IN TEST
” or “
NO ZONES IN TEST
”, according to the current setting.
Figure2-14.Zones in test
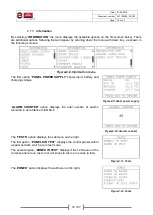
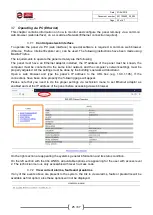
The “
ALARMS IN TEST ZONES
” option displays the zones that are
set in test mode and are also in alarm state. This option is meant to
be used during maintenance.
Figure2-15.Alarms in test zones
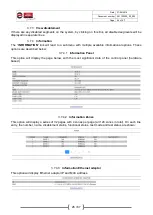
By selecting the “
POINTS
” option in the information menu, the control
panel first prompts for selecting loop of the point.
Use up/down keys to select the loop of the point and click Enter.
Then the control panel asks for the address of the point in the loop.
Do the same.
Figure2-16.Points input
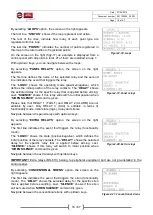
The information of a point is displayed as the screen on the right. If
the selected address does not exist, the control panel displays the first
point in the loop.
With up/down key
s you can navigate between the points’ addresses.
With left/right keys you can navigate between the loops.
By pressing
View
Alarms
key, the screen alternates between 4 tabs,
showing more info regarding this point, such as state, value, alarm
limits, delay, etc.
Figure2-17.Points


