25
ENGLISH
Exiting the Calcula
Exiting the Calcula
Exiting the Calcula
Exiting the Calcula
Exiting the Calculator Mode
tor Mode
tor Mode
tor Mode
tor Mode
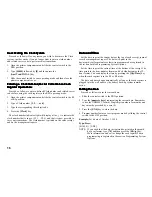
Proceed as follows to exit from the calculator mode:
1. Slide the control switch to the R1 or R2 position.
2. Hold down the [C] key and press the [Amt Tend/TOTAL] key.
3. The decimal point will disappear from the display indicating that
you are now back into the normal register mode.
Assigning the Calcula
Assigning the Calcula
Assigning the Calcula
Assigning the Calcula
Assigning the Calculator Mode P
tor Mode P
tor Mode P
tor Mode P
tor Mode Passw
assw
assw
assw
asswor
or
or
or
ord
d
d
d
d
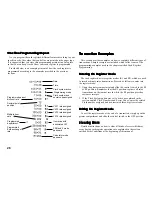
Proceed as follows to assign a password that prevents unauthorized
access to the functions provided by the calculator mode:
1. Slide the control switch to the PRG position.
2. Type [8], enter the [4-digit number] which will be your calculator
mode password and then press the [RA/ ] key.
NOTE: The 4-digit number cannot be 0000.
3. Slide the control switch to the OFF position to exit the PRG mode.
Example: Define calculator mode password 1962.
Type/Press:
[8] + [1962] + [RA/ ]
Accessing the Calcula
Accessing the Calcula
Accessing the Calcula
Accessing the Calcula
Accessing the Calculator Mode Pr
tor Mode Pr
tor Mode Pr
tor Mode Pr
tor Mode Protected b
otected b
otected b
otected b
otected by a
y a
y a
y a
y a
P
P
P
P
Passw
assw
assw
assw
asswor
or
or
or
ord
d
d
d
d
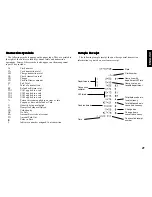
Proceed as follows to access a password protected calculator mode:
1. Slide the control switch to the R1 or R2 position.
2. Enter the four-digit calculator mode password.
3. Hold down the [C] key and press the [Amt Tend/TOTAL] key.
4. A decimal point will appear on the display indicating that the
calculator mode is in operation.
The Non-Pr
The Non-Pr
The Non-Pr
The Non-Pr
The Non-Print Mode
int Mode
int Mode
int Mode
int Mode
This cash register model can be programmed to be in the non-print
mode. This mode will stop the printing of sales transactions in the R2
(Receipt) mode. While in the non-print mode, the sales totals will be
maintained and the management reports will print. This feature is
useful for those times when a receipt tape is not required yet you need
to keep track of sales totals.
Activ
Activ
Activ
Activ
Activa
a
a
a
ating the Non-Pr
ting the Non-Pr
ting the Non-Pr
ting the Non-Pr
ting the Non-Print Mode
int Mode
int Mode
int Mode
int Mode
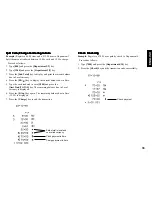
Proceed as follows to activate the non-print mode:
1. Slide the control switch to the PRG position.
2. If a security code has been assigned, enter this code and then press
the [Charge] key.
3. Type [6] followed by [1], and then press the [RA/ ] key. The
non-print mode is now activated and no printing will occur in the
R2 mode.
4. Continue with other programming or slide the control switch to
another position.
TTTTTur
ur
ur
ur
urning Of
ning Of
ning Of
ning Of
ning Off the Non-Pr
f the Non-Pr
f the Non-Pr
f the Non-Pr
f the Non-Print Mode
int Mode
int Mode
int Mode
int Mode
Proceed as follows to deactivate the non-print mode:
1. Slide the control switch to the PRG position.
2. If a security code has been assigned, enter this code and then press
the [Charge] key.
3. Type [6] followed by [0], and then press the [RA/ ] key. The
non-print mode is now turned off and printing will occur in the R2
mode.
4. Continue with other programming or slide the control switch to
another position.


