E-14
21. Network setting
Make the TCP/IP address setting for the network.
Note:
Consult the network administrator for the setting
value to be entered and make settings as re-
quired.
(1) Touch “Utility.”
(2) Touch “Administrator.”
(3) Enter the administrator password and then
touch “OK.”
The administrator setting screen will be dis-
played.
(4) Touch “Network” → “TCP/IP Setting” → “TCP/
IP Setting1.”
(5) Select “Manual Setting” radio button of “IP Ad-
dress Setting Method*,” and perform the follow-
ing settings.
IP Address:
IP address of the controller
Subnet Mask:
Subnet mask of the network, to which the ma-
chine is connected
Default Gateway:
IP address of the default gateway
(6) Touch “OK.”
(7) Touch “OK” on the pop-up window.
(8) Touch “<” twice to return to the HOME screen,
then touch “Maintenance.”
(9) Touch “PING TX Address” to make the opera-
tion check of TCP/IP.
(10) Touch the “
✕
” icon on the upper right of the
screen and return to the Utility screen.
22. Confirming the copy sample
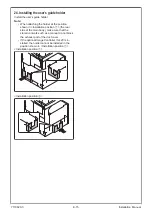
After completing all the steps, take a sample copy in
color mode, and confirm the image.
If image troubles occur, first turn OFF and ON the
Main Power Switch, and then redo the steps from
“13.Date & Time Setting/Time Zone Setting (Service
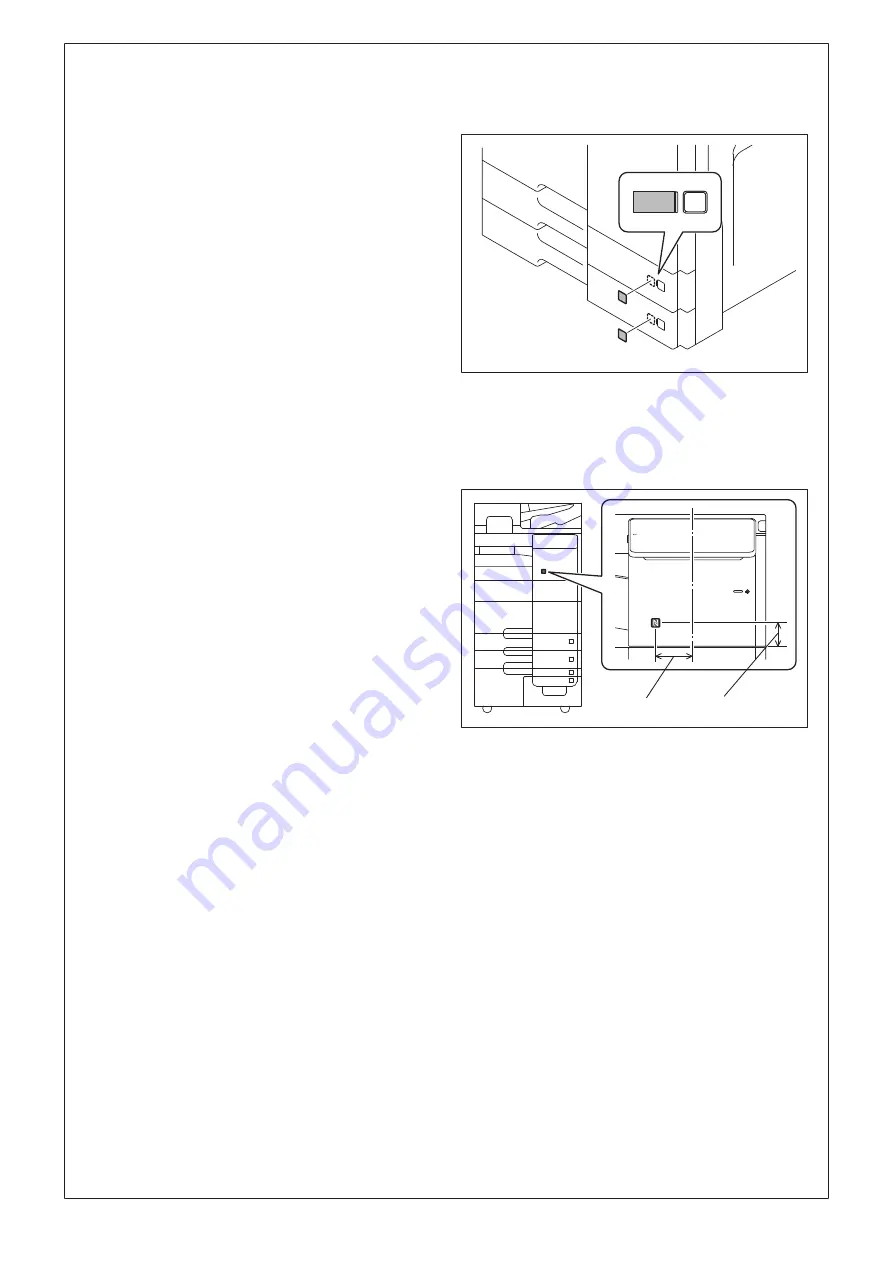
23. Affixing the labels
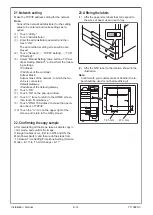
(1) Affix the paper size labels that correspond to
the sizes of paper used in each tray.
(2) Affix the NFC label to the location shown in the
illustration.
Note:
Confirm with your customer about whether the la-
bel should be used or not before affixing it.
74.5 mm
47.3 mm
Installation Manual
Y119820-3


