Scanning > 61
S
CAN
TO
E
-
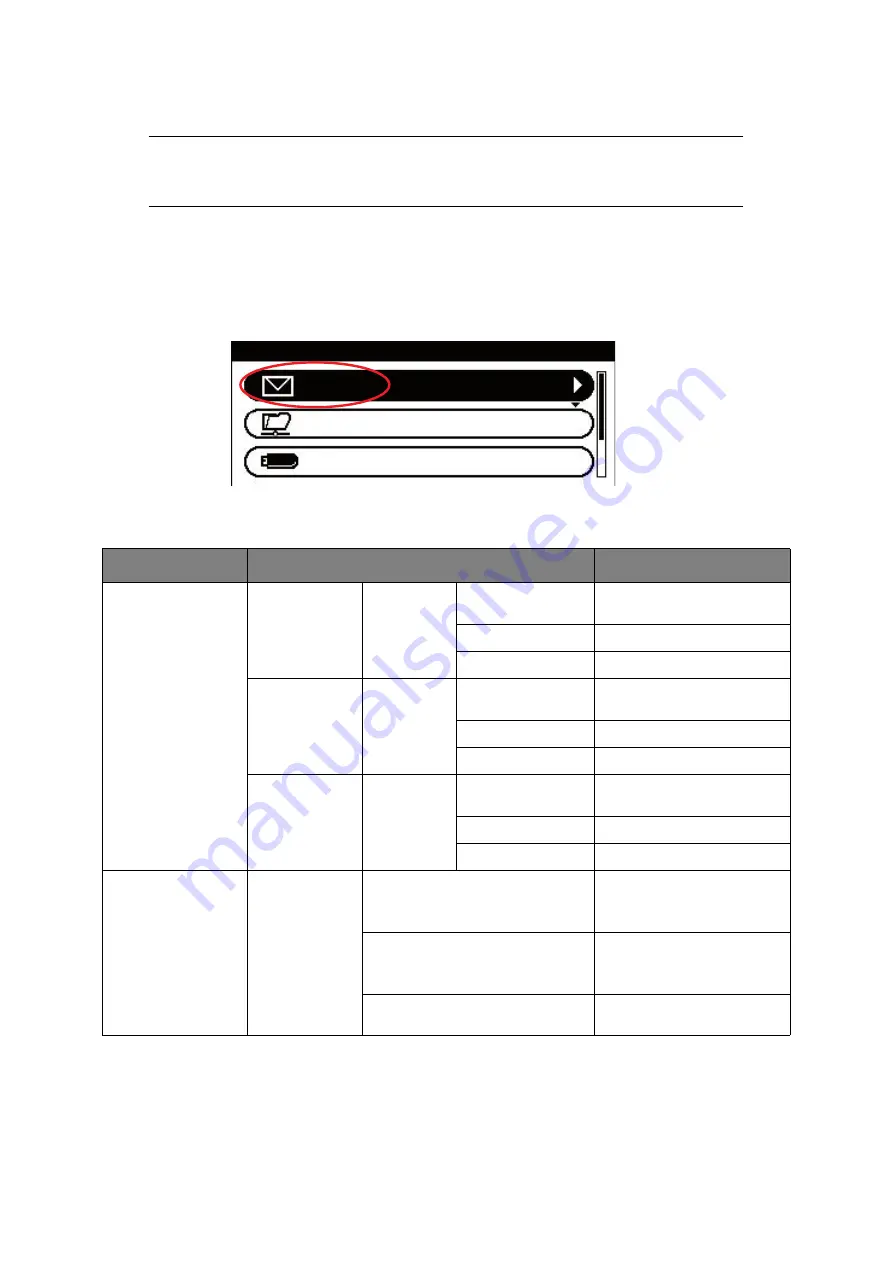
Using the options available, you can enter e-mail information and alter the scan output to
suit your needs:
1.
Place your document(s) with text face UP in the ADF or face DOWN on the glass.
2.
Press the
Scan
button on the control panel to prompt the
Scan Menu
screen.
3.
If required, use the arrow keys and scroll to
, then press
OK
.
4.
Using the options available, you can enter e-mail destination(s) and alter the scan
output to suit your needs.
NOTE
For illustration purposes only, the features shown are as accessed from the
control panel.
FEATURE
OPTION
DESCRIPTION
Destination
To
Operation
Menu
Edit Destination
Type
Delete The Address
Close The List
Cc
Operation
Menu
Edit Destination
Type
Delete The Address
Close The List
Bcc
Operation
Menu
Edit Destination
Type
Delete The Address
Close The List
Add Destination
To:
Cc:
Bcc:
Address Book
Select e-mail address from
the address book.
Input range: 001-100
Group List
Select destination group
from the list.
Input range: 01-20
Tx History
Displays the list of sent
e-mails.
Scan Menu
USB Memory
Network PC


