


20
Macintosh Install: Software
OS 8.6 to 9.1
Install the Driver
□
Turn on the printer, then turn on the computer.
□
Place the Drivers CD supplied with your printer into the
CD-ROM drive.
□
Double-click the CD icon that appears on the desktop.
□
Open the MAC folder.
□
Double-click the MAC Installer icon, then click
Continue
and accept the License agreement.
□
Select
Mac OS 8.6-9.2
from the drop-down box located
in the left corner. This will install printer drivers,
utilities, and plug-ins including Job Accounting and Job
type. (
Plug-ins will only install in OS 9.x and above, but
not OSX
.)
□
Click
Install
.
□
When the installation is complete, click
Quit
.
Create the Desktop Printer
for a Network
□
Activate
Chooser
from the Apple menu, then wait for
the network printer to appear.
□
Select the
LaserWriter8
icon and highlight the printer
name (print server ID#).
□
Click
Create
.
□
Close
Chooser
.
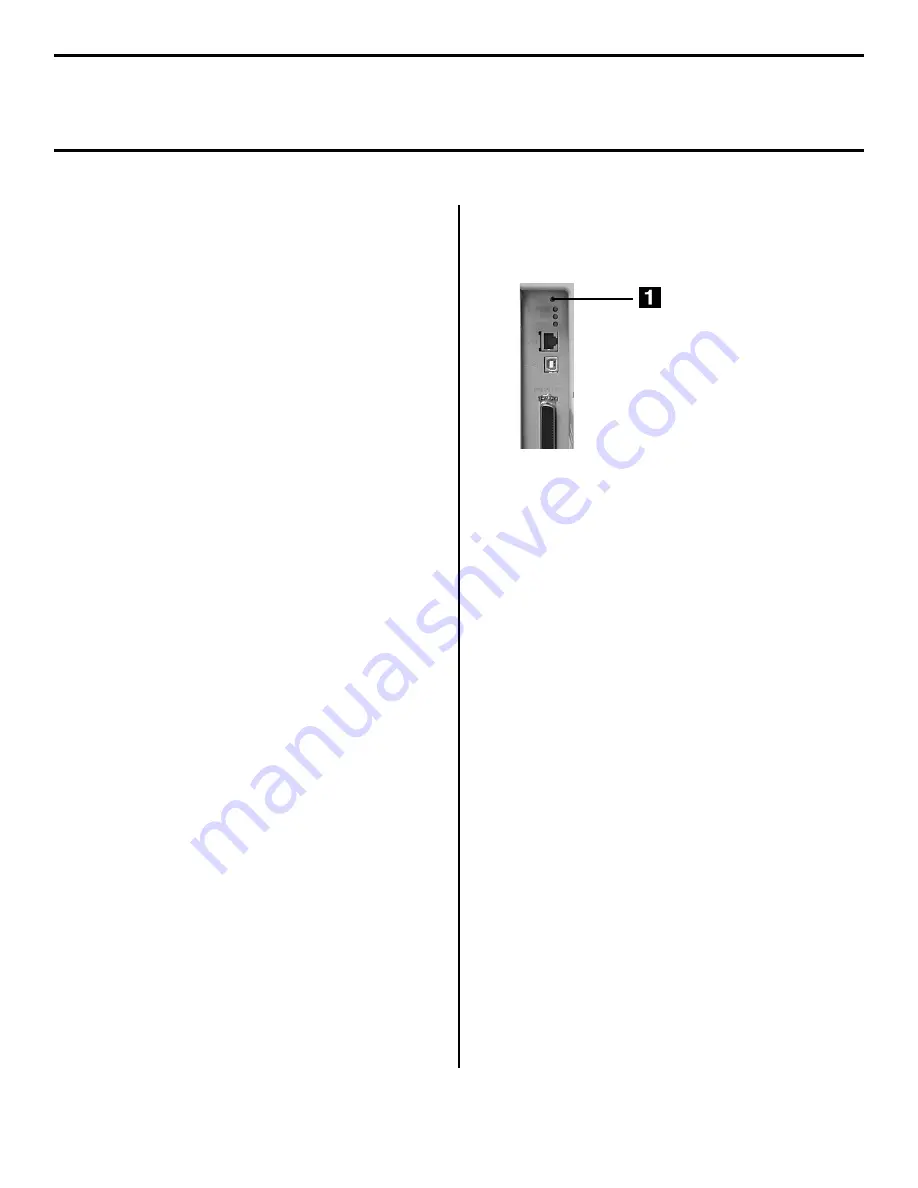
Note:
If you need to verify the printer name, press the print
server test button (
1
) to print the
Network
Information
configuration sheets.
Create the Desktop Printer For
USB
□
Mac OS 9.0.4:
Navigate to your local hard drive
→
Apple Extras
→
Apple LaserWriter Software
.
Mac OS 9.1:
Navigate to your local hard drive
→
Application
(Mac OS 9)
→
Utilities
.
□
Double-click the
Desktop Printer Utility
icon.
□
Highlight
Printer (USB)
under
Create Desktop
.
□
In the drop-down box, select
LaserWriter 8
and click
OK
.
□
Under
PostScript Printer Description (PPD)
file,
click
Change
.
□
Make sure the
Printer Descriptions
folder is selected
in the drop-down box.
□
Highlight your printer model, then click
Select
.
□
Under
USB Printer Selection
, click
Change
.
□
Highlight the printer model you have, then click
OK
.
□
Click
Create
. The printer icon appears on the desktop.
□
Click
Save
.
Содержание C5300n
Страница 23: ......


