DIRECTIONS FOR USE:
When first installed or after a factory reset, the system needs to be set up. The setup process allows the discovery or
manual addition of lights connected to the DMX network and enables the user to group the lights either into a single
zone or multiple zones. The setup can be done either from the MFD via the OceanBridge App or via external devices
using the Wi-Fi connection. OceanLED recommends using an external device such as a laptop or mobile phone for
the initial setup.
QUICK START LAUNCH
For simple ‘out the box’ operation, the USB memory stick
provided with the device is pre-loaded with two standard
profiles. A single zone, with either RGBW colours lights or
dual colour lights. These simple setups will allow control of
your lights.
1. To access the quick start setup, insert the USB stick with
the setup files into the OceanBridge USB port.
2. Open the main menu and navigate to:
System > Backup
& Restore
, and select
‘RECALL BACKUP’
.
3. Within the pop-up window, select the USB stick as the
file location, and then tap on
‘SELECT VALUE’
to display
the files.
4. Select the file related to the installed light type and
select
‘RESTORE’
to restore the setup file. Later the
system can be tailored further using the more advanced
setup outlined below.
USING THE SYSTEM
•
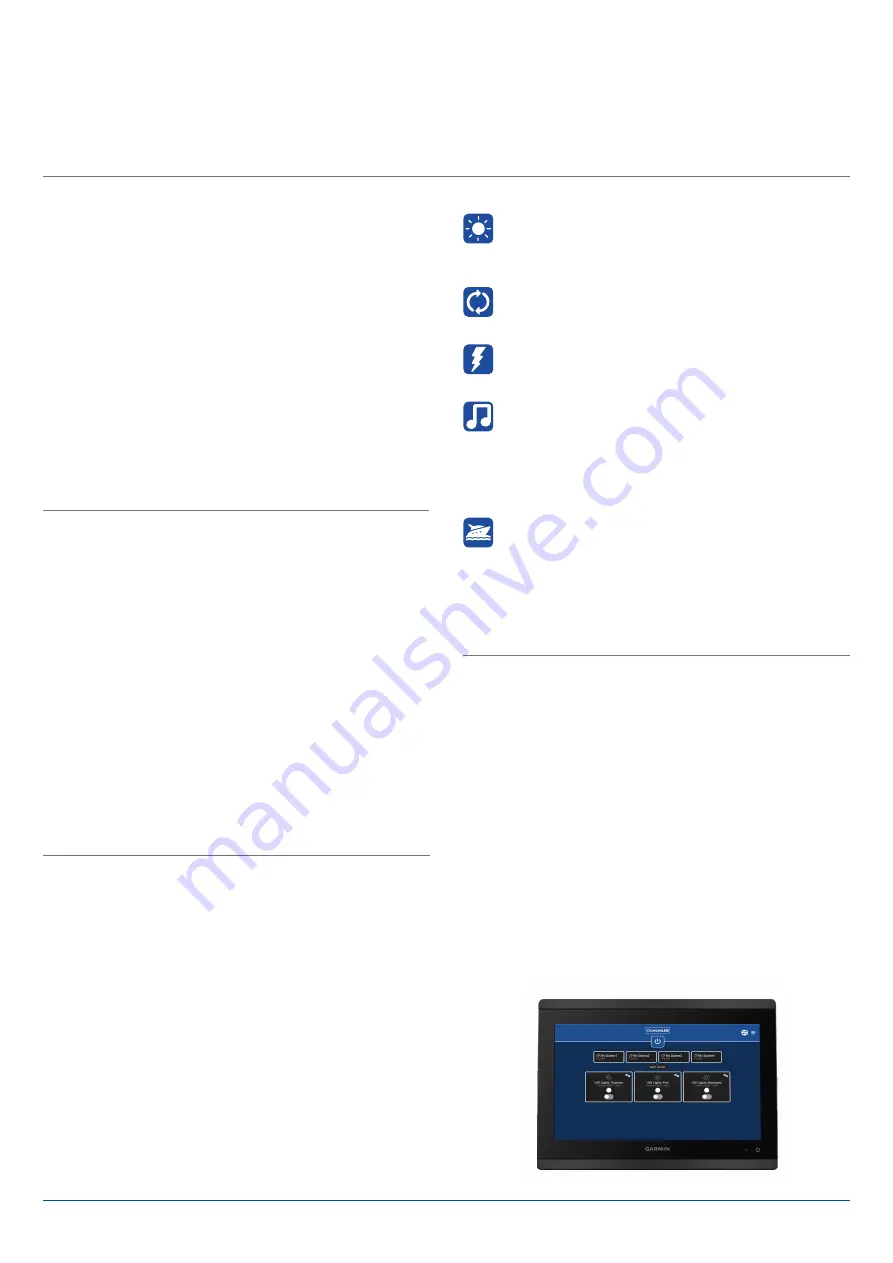
After zones have been added they will appear on your
OceanBridge home screen.
•
Light colour, mode, speed etc., can all be controlled by
selecting the individual zones.
•
Configured zones are displayed, with each presented as
a separate ‘Zone Card.’ Each zone can be independently
turned on or off by pressing the toggle button on the
respective Zone Card. Additionally, by selecting the
gears icon on the zone card, you can choose the zone
effects.
•
The sweep function is activated via the icon located at
the top right of the home screen.
STANDARD LAUNCH
For more advanced systems where multi-zones, different
light types, or sweep functionality is required, the system will
need to be setup using the following procedure:
1. From the main menu navigate to:
Settings > Device
Setup
, then
‘Discover’
or
‘Manual Add’
to add your
lights.
‘Discover’
will automatically discover
OceanLED
E6, E7
and
Sport / E3 DMX lights
. For all other lights
‘Manual Add’
should be used.
2. To create zones, from the main menu navigate to:
Settings > Zone Setup
, then select
‘New’
and name
your zones based on their location. You must select the
correct light type for each zone. Each light should then
be added to the relevant zone. E.g. Transom.
3. The zones will be listed on the screen and added to the
home page as zone cards, where they can be controlled.
ZONE EFFECTS
Static:
For RGBW/RGB and Dual colour lights, the
required colour can be selected via the colour wheel
or colour gradient selector. For dimmable single
colour lights, brightness can be adjusted.
Cycle:
Select up to four colours. Lights will transition
between each colour. Brightness and cycle fade
speed can be adjusted.
Strobe:
Up to four colours can be selected, including
off. Lights will switch between these colours.
Brightness and cycle fade speed can be adjusted.
Audio Sync:
Sync lights to music. Audio input via
line-in or Bluetooth.
Select four colours. Colour One = Ambient colour
(displayed in quiet periods). Colour Two = Bass tones.
Colour Three = Mid Tones. Colour Four = Treble Tones.
Overall brightness and sensitivity can be adjusted.
Movement:
Lights change with the movement of the
vessel/unit.
Select five colours. Colour One = Ambient colour
(colour displayed when static). Colour Two = the -Ve
X-axis of the unit. Colour Three = the +Ve X-axis of
the unit. Colour Four = the -Ve Y-axis. Colour Five =
the +Ve Y-axis.
Ocean LED Marine LTD / Tel +44 (0) 1455 637505 / [email protected]
Ocean LED USA LLC / Tel +1 954 523 2250 / [email protected] /
www.oceanled.com
Specifications are subject to change without notice.
SWEEP EFFECTS
• Rainbow:
The lights smoothly transition through a
sequence of up to four user-specified colours, following
the predetermined order of these colours as they move
across the light row. Users can choose the speed of
the transition to create a slow, gentle sweep or a fast,
dynamic effect.
• Knight:
The lights move back and forth, resembling
a “scanner” like motion. Single colour setup. User can
control the speed of the light movement.
• Pulse:
The lights move from one side to the other,
resembling the motion of a pulse. It’s a single-colour
setup. The user can control the speed of the light
movement.


