Ocean LED Marine LTD / Tel +44 (0) 1455 637505 / [email protected]
Ocean LED USA LLC / Tel +1 954 523 2250 / [email protected] /
www.oceanled.com
Specifications are subject to change without notice.
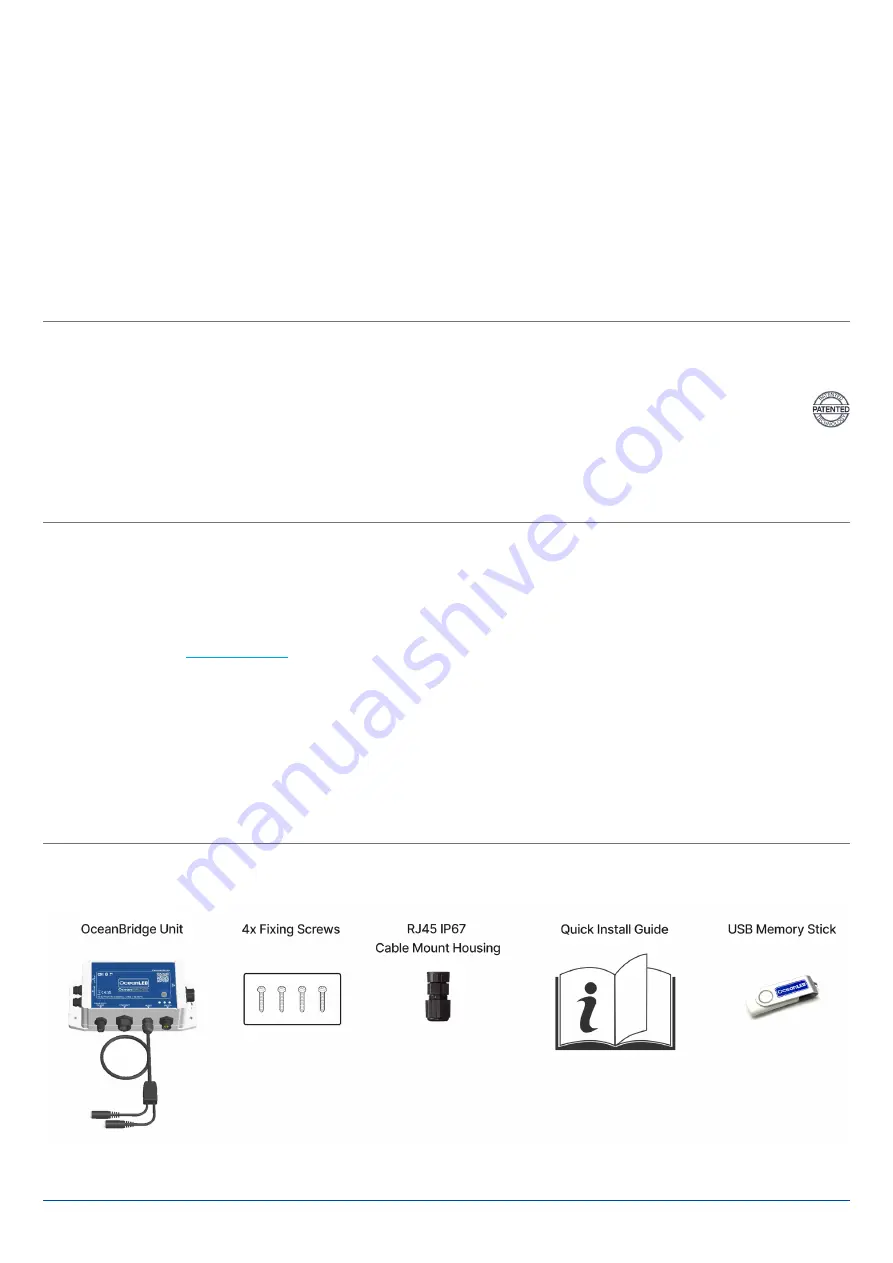
BOX CONTENTS:
UNIVERSAL COMPATIBILITY AND CONTROL
The OceanBridge is compatible with all major MFD units,
including Garmin, Simrad, Lowrance, B&G, Raymarine, and
Furuno.
CONTROL METHODS:
•
HTML5 app integrated with the MFD unit
•
NMEA2000 lighting PGNs (Navico Group only)
•
Web Browser Interface (Phone, Tablet or Laptop/PC)
AUDIO INTEGRATION:
•
External Audio Input (Vessel Stereo or iPod/MP3)
•
Bluetooth (Phone, Tablet, Laptop/PC)
SUPPORTED LIGHT TYPES:
•
Four Channel: RGBW lights
•
Three Channel: RGB lights
•
Two Channel: Dual-colour lights
•
Single Channel: Dimmable lights
•
Single Channel: Switchable lights
•
2010/3010 Single Colour (legacy OceanLED lights)
•
Power Toggle Single (requires OceanConnect JB)
•
Power Toggle Dual (requires OceanConnect JB)
MODE & FUNCTION OPTIONS:
✓
Colour Change
✓
Colour Fade
✓
Colour Transition
✓
Brightness
✓
Music Sync
✓
Zone Creation
✓
Movement to Colour Sync
✓
Scene Setup
✓
Light Effects
IMPORTANT FEATURES
•
Wi-Fi:
Built-in Wi-Fi allows the unit to be directly
connected to a smartphone or laptop to control lights.
The default Wi-Fi SSID is “OceanBridge” and the
password is “password”. Once connected, use a web
browser to access
http://192.168.0.1
. The SSID and
password should be changed in the Wi-Fi settings menu.
The system can be connected to any existing on-board
Wi-Fi network.
•
Scene Setup:
On the
Home Screen
, click the
‘Save
Scene’
to save the current setup for each zone. The scene
can then be named and saved. A ‘Scene Card’ will then
be created. Selecting this will recall the saved zone settings.
•
Trigger Inputs:
Up to four external switches can be
connected to trigger saved scenes or turn zones on/off.
The actions are configured by opening the main menu
and selecting
‘Settings/External Trigger Setup’
.
•
Timers:
Scenes or lights off can be triggered via timers.
In the main menu, select
‘Settings/Timer Setup’
to setup
timers.
•
Security Pin:
Lock individual feature with a four-digit
password. Access the main menu, then select
‘ System/
Security’,
type default PIN:
“1234”
. Select the feature
you would like to lock using the tick box list. Set your
code, then click
‘Lock/Apply’
.


