1-8
1. Procedure for Installing and Printing with a Printer Driver
●
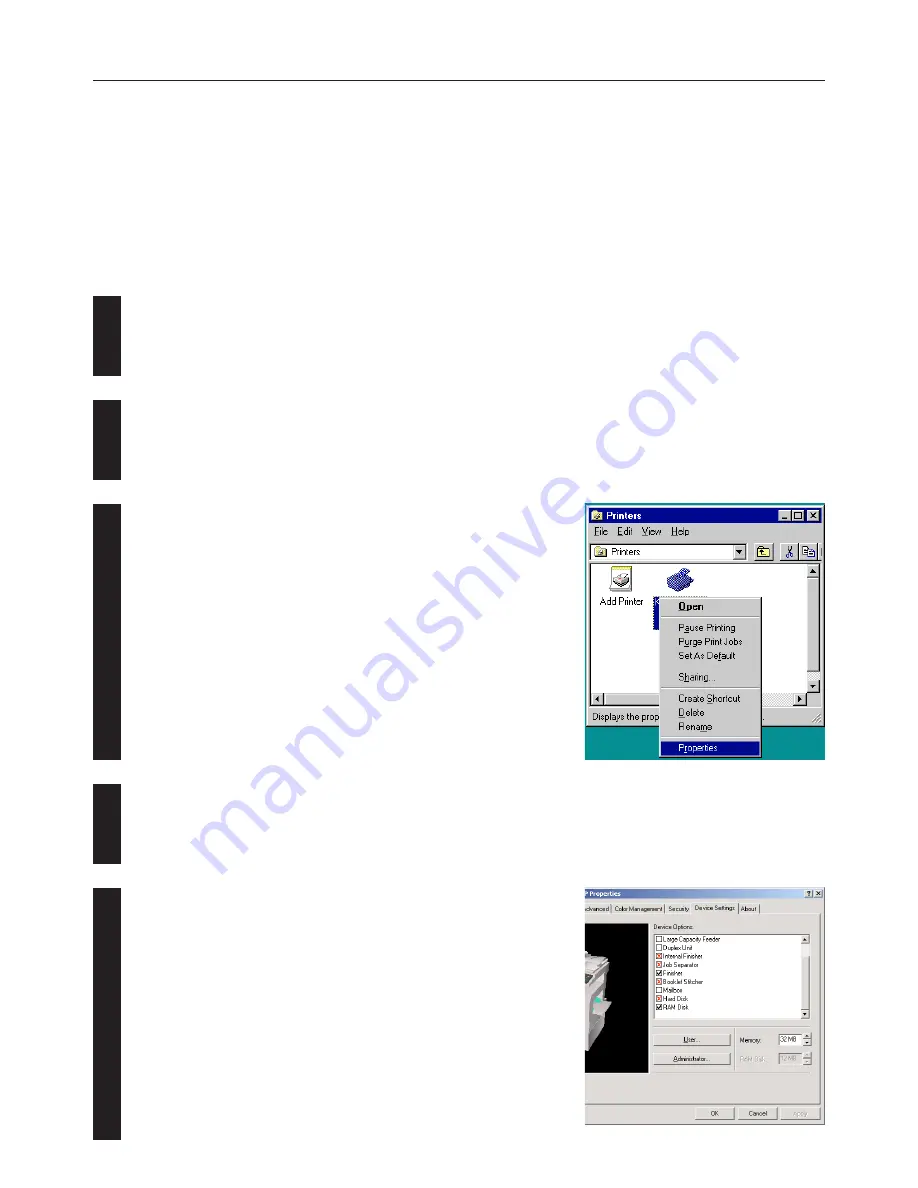
Making the printer driver settings in Windows
Click on [Start] on the Task Bar.
The Start menu will appear.
Use the mouse to point to [Settings] and click on [Printers] in the corresponding
submenu.
The [Printers] folder will open.
Use the right mouse button to click on the icon for this printer. A pop-up menu will
be displayed.
Select [Properties] from that menu.
The Properties window will appear.
Click on the [Device Options] Tab.
Perform the following settings in order to staple your printed sets.
“Installable Options” setting
1
Put a check mark in the checkbox for the Finisher or Booklet Stitcher you are
using.
2
Put a check mark in the [RAM Disk] checkbox and set the memory size of the
RAM disk. (This setting must coincide with the setting in the printer.)
* If the optional hard disk is installed, put a check mark in the [Hard Disk]
checkbox.
Once you have completed these settings, click on [OK].
1-6 Printing
The following is an example procedure for printing using a printer driver under the conditions and environment noted below.
• OS:
Windows 98
• Printer driver:
KX Driver
• Application:
Wordpad
• Printing conditions: Print and staple
If you use a system or driver other than that noted above, use the following procedure simply as a reference tool. It is additionally recom-
mended that you read the section corresponding to your operation system as it will contain further explanations specifically regard that OS
and other related drivers.
1
4
2
3
5


