Arizona 30 Maintenance Guide
×
see copyright, disclosure, use and duplication information on pg ii
48210-A
2-2
2. Unscrew the top of the waste bottle installed on the printer.
3. Unscrew of the cap on the new waste bottle.
4. Screw the top, which is still connected to the printer, to the new waste bottle.
5. Use the extra cap to seal the used waste bottle.
6. Dispose of the used bottle promptly and in accordance with local regulations.
Filling the Ink Tanks
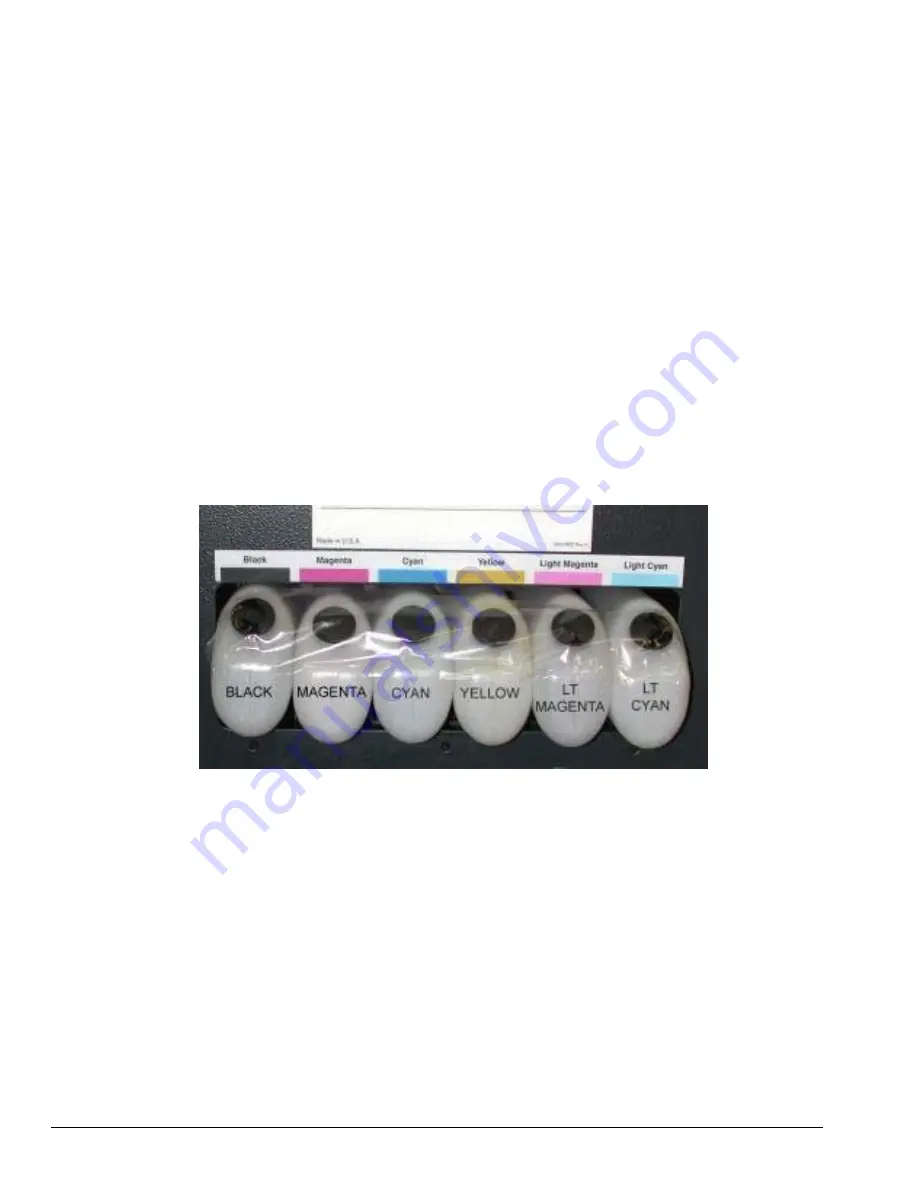
1. From the rear of the printer, remove the black rubber caps from the six ink tanks along the
top of the right side cover.
2. Fill each of the six ink tanks with the correct color of ink (Figure 5-2). To prevent ink spills,
only fill to about 0.5” (13 mm) below the rim.
3. After filling, replace the black rubber caps.
Figure 2-1. Ink tanks and their respective ink colors
Starting Up
1. Set the RUN/CLEAN switch (Figure 2-2) to RUN.
2. Turn on the printer and let it home over a clean roll of media.
3. Press F2 to move the print head carriage out of the maintenance station.
4. Unfold a blotting cloth once (for 2 overlapping layers) and soak it with CGS 80. Insert it
carefully under the print head carriage.


