31
H.264 4/8/16-channel Networkable DVRs
SECTION 3: DVR SETUP
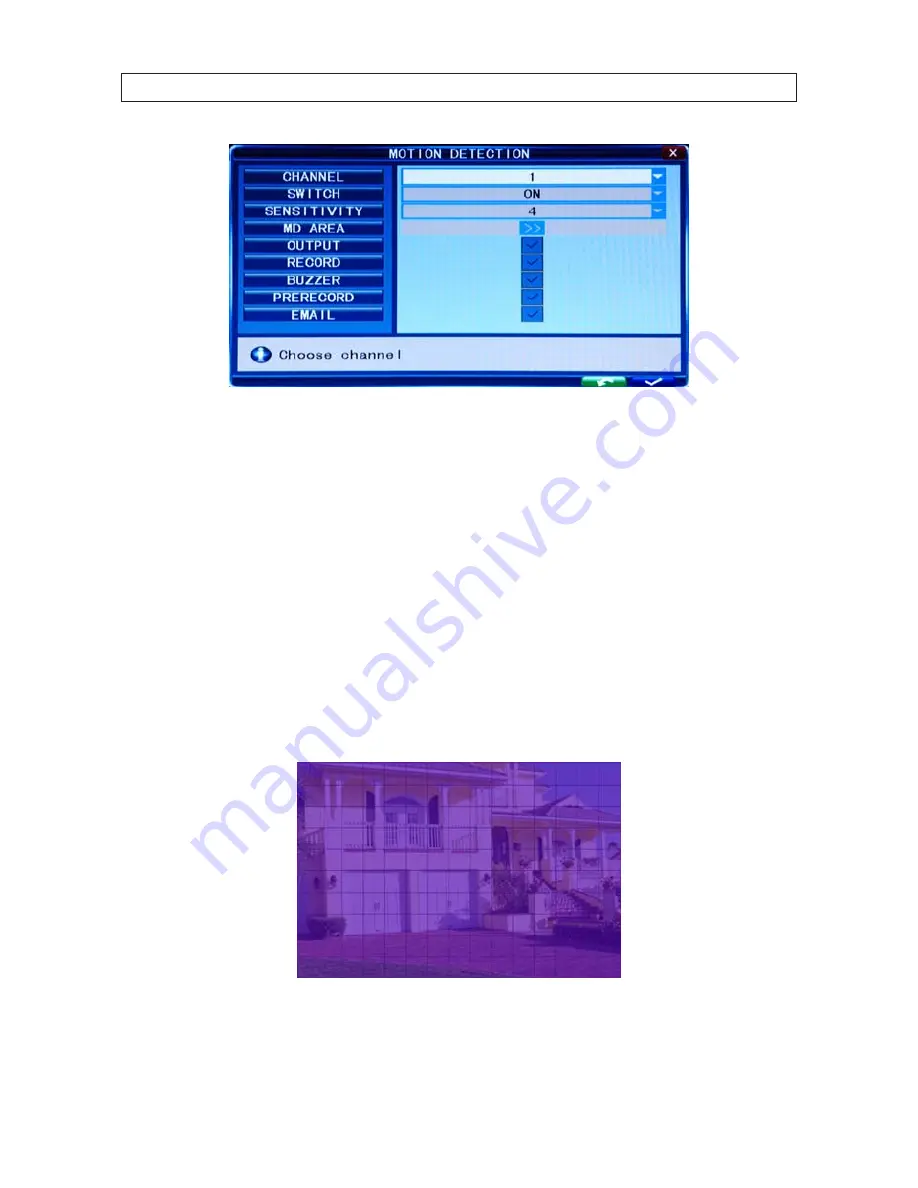
2. Click the
q
icon at the right end of the
CHANNEL
line. From the dropdown list, select the camera channel number you want
to setup, or select ALL to configure all channels.
3. Click the
q
icon at the right end of the
SWITCH
line. From the dropdown list, select ON or OFF to enable or disable motion
detection on the channel(s).
4. Click the
q
icon at the right end of the
SENSITIVITY
line. From the dropdown list, select 1 .. 8 to set the level of sensitivity.
1 is highest, 8 is lowest. High sensitivity may cause an alarm when a small object, such as a bird or mouse, passes through
the field of view, whereas the lowest sensitivity level may be appropriate for detecting only cars that pass by. This setting is
dependent on the what you want to detect, and usually requires testing to find the best value.
5. Click the
>>
icon on the
MD AREA
line to specify the areas where of the screen where motion should be sensed. Defining
only these areas (and ignoring other areas) of the field of view improves the performance of the DVR.
The Motion Detection setup screen is partitioned into a grid of 10 x 15 blocks. Motion sensing in each block can be toggled on
and off by clicking the block area. Initially, all blocks are shaded purple, indicating that motion sensing is enabled everywhere.
To disable blocks (areas) for motion sensing, click the block, or use the mouse to drag a rectangle over areas you want to
disable. The shading will disappear for areas not to be selected to detect motion. To enable an area selected, click on it.


