DOC-00500 Rev. F
5–15
Eden500V/350V/350 User Guide
Using a Grid to
Position
Objects
Displaying
a
grid
on
the
image
of
the
build
tray
can
be
useful
when
positioning
objects.
You
can
make
use
of
this
feature
by
clicking
the
grid
toolbar
icons
or
by
selecting
menu
options.
You
can
review
and
configure
grid
settings—and
apply
them—from
the
Options
dialog
box.
To use the Options dialog box:
1. From
the
Tools
menu,
select
Options
,
and
display
the
Grid
tab.
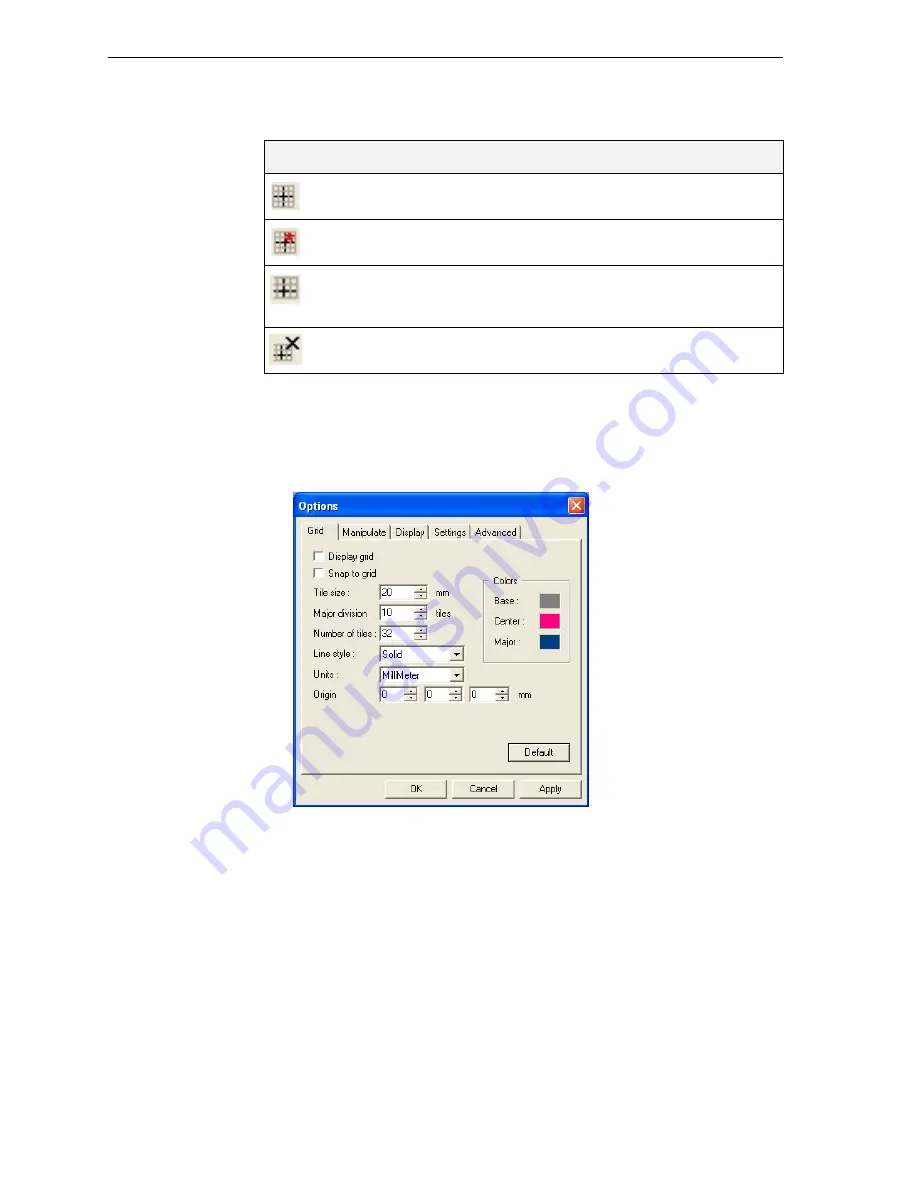
Figure 5-20:
Options
dialog box,
Grid
tab, showing the default settings
The
dialog
box
displays
the
current
grid
settings.
2. As
required,
make
changes
to
the
settings,
and
select
or
clear
the
check
boxes.
3. Click
Apply
or
OK
.
Changing an
Object’s
Orientation
There
are
several
methods
for
changing
the
orientation
of
objects
on
the
build
tray.
To rotate an object:
¾
Select
the
object
and
use
the
Rotate
icon
or
Object
menu
options
(see
Icon
Menu Option
Result
Tools
>
Grid
Displays
a
grid
over
all
build
tray
views.
Tools
>
Snap
to
grid
When
moving
the
object,
it
aligns
with
the
nearest
grid
line.
Enables
you
to
change
the
grid
origin
(X
‐
and
Y
‐
axis
meeting
point)
by
clicking
on
the
build
tray.
Cancels
the
changes
made
to
the
grid
origin
and
restores
the
default
grid.
Содержание Eden350
Страница 1: ...User Guide English Eden500V 350V 350 3 D Printer System...
Страница 2: ......
Страница 8: ......
Страница 12: ......
Страница 20: ......
Страница 28: ......
Страница 29: ...DOC 00500 Rev F 4 1 Installing Objet Software How to Install Software for the Eden 3 D Printing System 2...
Страница 34: ......
Страница 126: ......
Страница 130: ......


