


29
5. Select whether or not you want to allow wireless data connections on your
Xda Ignito while it’s connected to your PC. Click
Next
.
6. Click
Finish
.
To synchronise your Xda Ignito with a Windows Vista PC
1. Connect your Xda to your PC using the supplied USB cable. Windows Mobile
Device Center will open. On the screen, click
Setup your device
.
2. Your Xda will ask you to choose a connection type – ActiveSync or Disk Drive.
You should select
ActiveSync
.
3. Select the information you want to synchronise and click
Next
.
4. Enter the name for your Xda Ignito and then click
Setup
.
For more information about synchronisation, see Chapter 5 of the
Full User Manual.
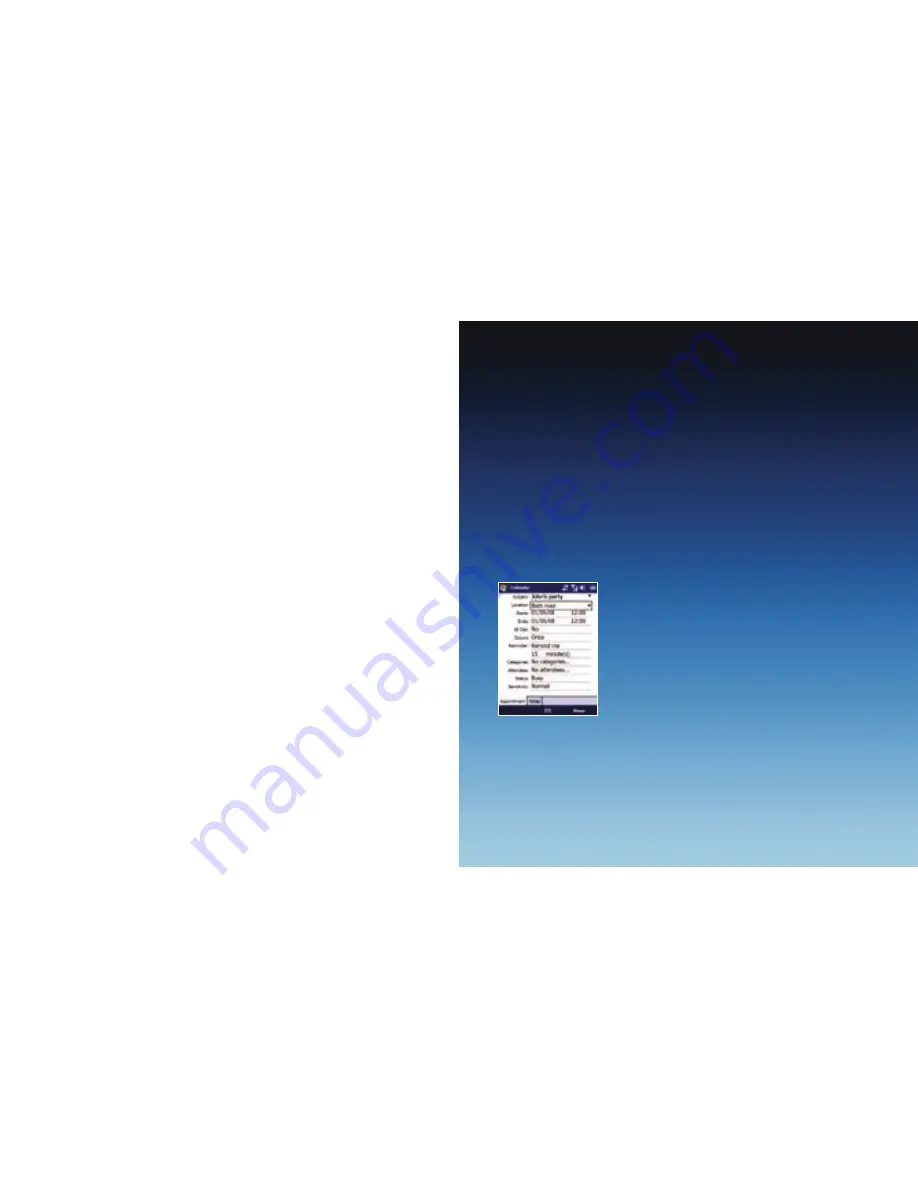
Keeping track of appointments
Use Calendar to help remind you of your upcoming appointments.
To enter an appointment into your Xda Ignito
1. On the Home screen, tap
Calendar
.
2. On the Calendar screen, tap
Menu
>
New Appointment
.
3. Use the onscreen keyboard to enter the appointment details.
4. After entering the appointment details, tap
OK
.
The appointment will show on the Home screen.
30


