


22
21
Personalising your Xda Ignito
Changing phone settings
You can customise your phone settings to suit you.
To change the ringtone
1. On the Home screen, slide to the
Settings
tab and then tap
Sound
.
2. On the Sound screen, slide down to
Ringtone
and tap it.
3. On the Ringtones screen, tap the ringtone you want to use and tap
Done
.
To set an alarm
1. On the Home screen, slide to the
Settings
tab and then tap
All Settings
.
2. On the
Systems
tab, tap
Clock & Alarms
.
3. On the
Alarms
tab, select a checkbox and change the
Description
.
4. Tap the days you want the alarm to sound and then tap
OK
.
To secure your Xda Ignito
You can enter a password to lock your Xda Ignito if it hasn’t been used for
a while.
1. On the Home screen, slide to the
Settings
tab and then tap
All Settings
.
2. On the
Personal
tab, tap
Lock
.
3. Select the
Prompt if device unused for
check box and enter the time
you want.
4. Select the
Password
type.
5. Enter and confirm your password and then tap
OK
.
22
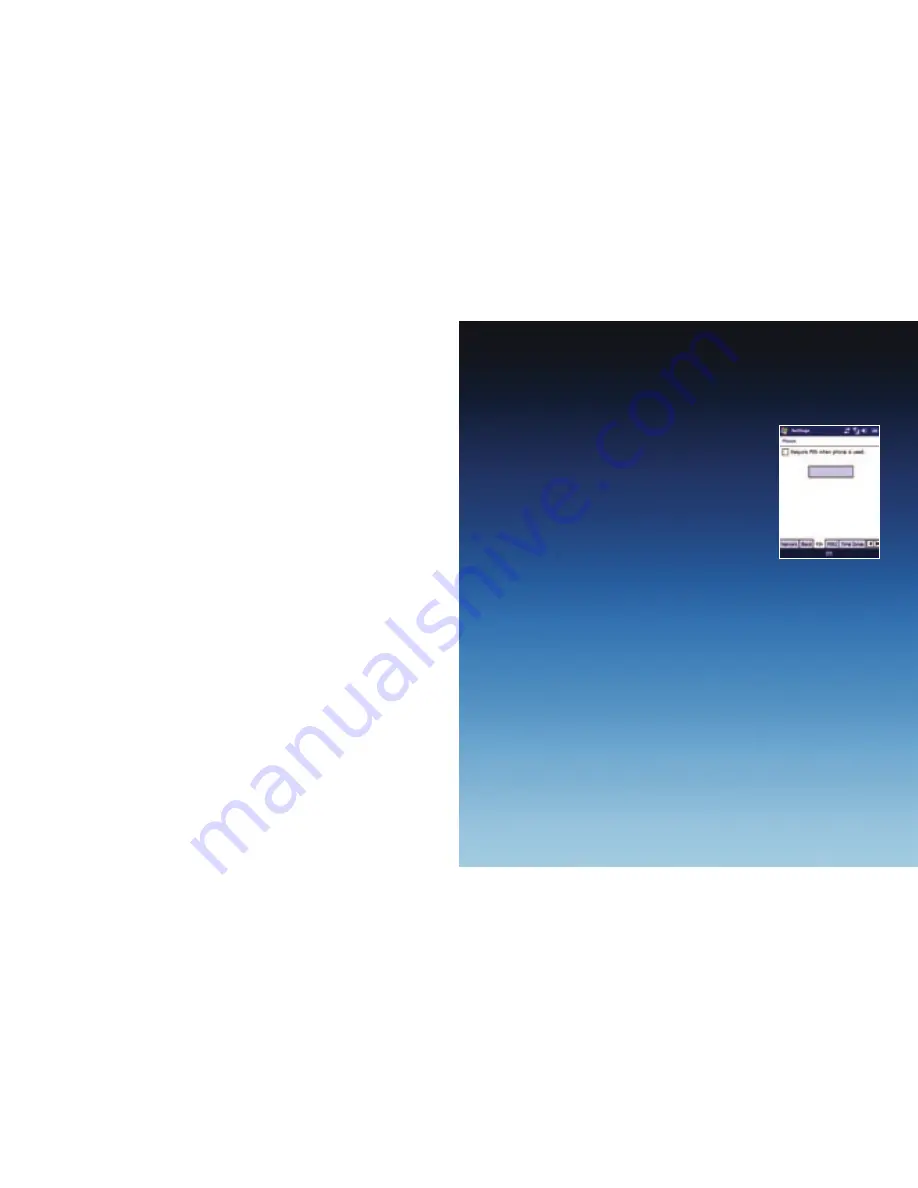
To activate your SIM card PIN
Activating your SIM card PIN requires you to choose a password before you
can use the phone features of your Xda Ignito.
1. On the Home screen, slide to the
Settings
tab and
then tap
All Settings
.
2. On the
Personal
tab, tap
Phone
>
PIN
tab and
then choose the
Require PIN when phone is used
check box.
3. Follow the onscreen instructions to set the
PIN number.
To change battery and backlight settings
You can save battery power by adjusting the battery and backlight settings.
1. On the Home screen, slide to the
Settings
tab and then tap
All Settings
.
2. On the
System
tab, tap
Power
.
3. On the
Backlight
tab, set the brightness of the backlight by dragging
battery power
and
external power
sliders.
4. On the
Advanced
tab, set when you want the backlight and Xda Ignito
to turn off when using battery and external power. Tap
OK
.
Note:
When the backlight turns off, it only turns off the screen. Your Xda Ignito
is still “on.” To turn the screen back on, press the power button.


