


Figure 9. 4 DDNS Settings Interface
3.
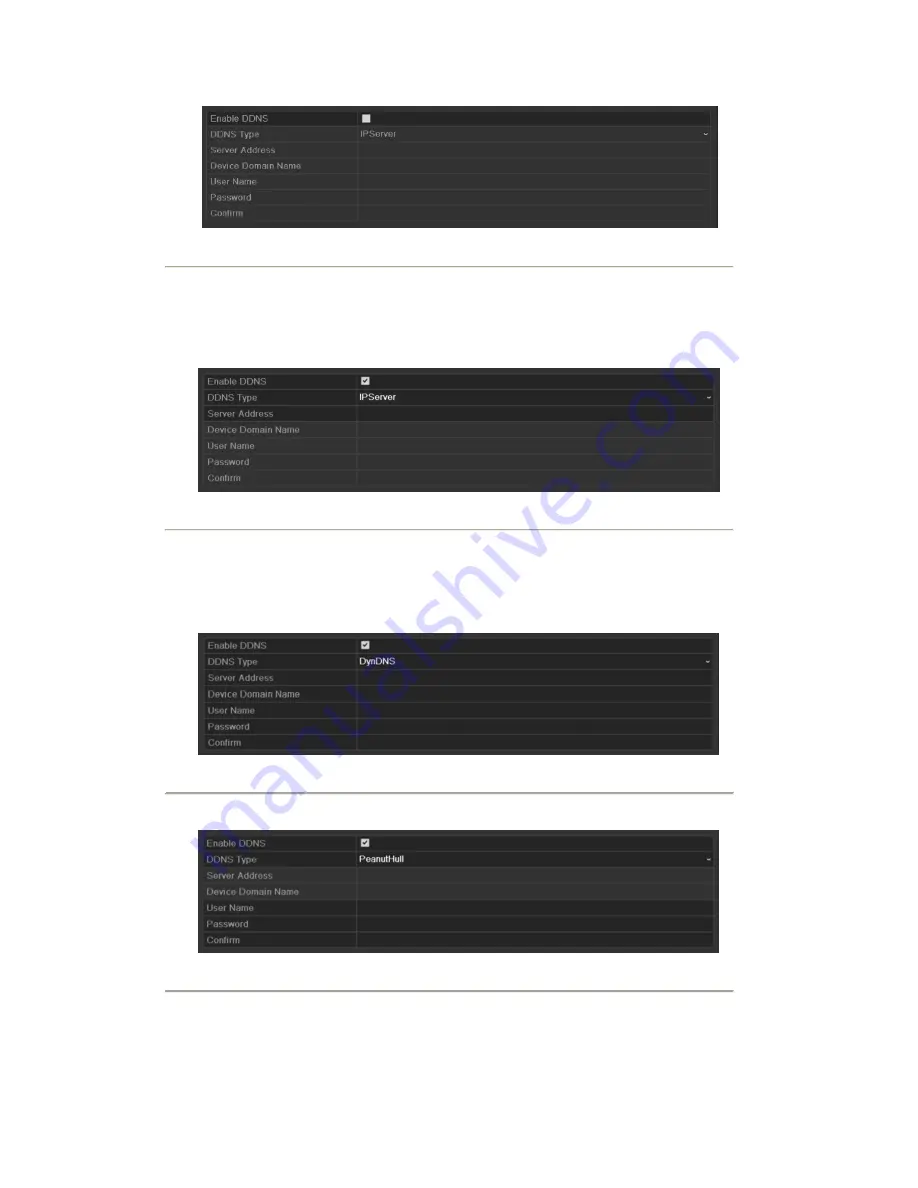
Check the
DDNS
checkbox to enable this feature.
4.
Select
DDNS Type
. Five different DDNS types are selectable: IPServer, DynDNS, PeanutHull, NO-IP
and EasyDDNS.
•
IPServer:
Enter
Server Address
for IPServer.
Figure 9. 5 IPServer Settings Interface
•
DynDNS:
1) Enter
Server Address
for DynDNS (i.e. members.dyndns.org).
2) In the NVR Domain Name text field, enter the domain obtained from the DynDNS website.
3) Enter the
User Name
and
Password
registered in the DynDNS website.
Figure 9. 6 DynDNS Settings Interface
•
PeanutHull:
Enter the
User Name
and
Password
obtained from the PeanutHull website.
Figure 9. 7 PeanutHull Settings Interface
•
NO-IP:
Enter the account information in the corresponding fields. Refer to the DynDNS settings.
1) Enter
Server Address
for NO-IP.
Содержание NVR-52 Series
Страница 1: ...NVR 52XX 58XX 60XX Series NVR...
Страница 11: ...Chapter 1 Introduction...
Страница 26: ...Chapter 2 Getting Started...
Страница 38: ...Chapter 3 Live View...
Страница 44: ...Figure 3 6 Live View Strategy...
Страница 49: ...Chapter 4 PTZ Controls...
Страница 59: ...Chapter 5 Record and Capture Settings...
Страница 66: ...Figure 5 12 Copy Schedule to Other Channels...
Страница 80: ...Chapter 6 Playback...
Страница 92: ...Figure 6 21 Interface of External File Playback...
Страница 97: ...Chapter 7 Backup...
Страница 116: ...Chapter 8 Alarm Settings...
Страница 121: ...inputs to copy the settings to them Figure 8 8 Copy Settings of Alarm Input...
Страница 130: ...Chapter 9 Network Settings...
Страница 148: ...Chapter 10 HDD Management...
Страница 150: ...Figure 10 5 HDD Status Changes to Normal Note Initializing the HDD will erase all data on it...
Страница 160: ...Figure 10 22 View HDD Status 2...
Страница 164: ...Chapter 11 Camera Settings...
Страница 168: ...Chapter 12 NVR Management and Maintenance...
Страница 172: ...Figure 12 5 HDD Information Interface...
Страница 180: ...Chapter 13 Others...
Страница 189: ...Appendix...
Страница 192: ......


