background image

17

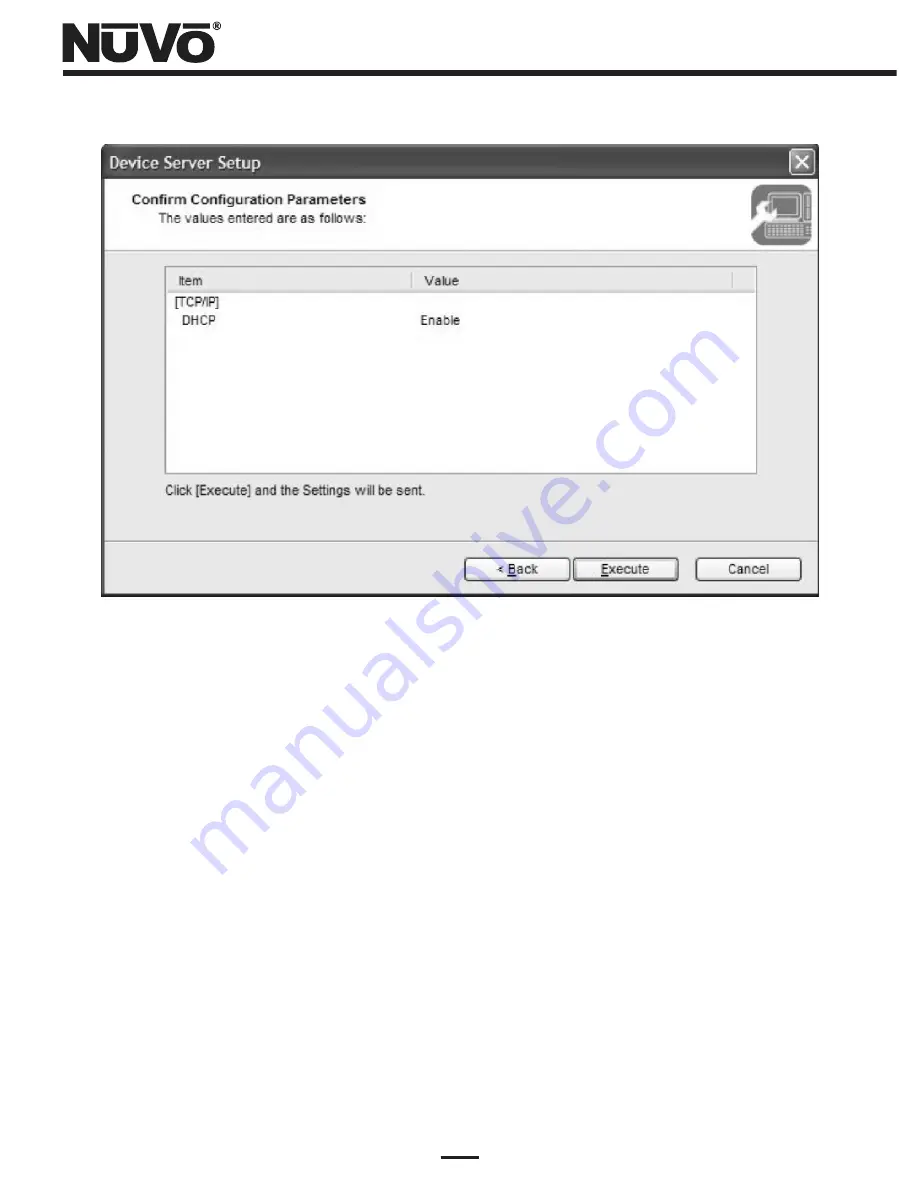
Figure 18 - Confirm Configuration Parameters window

(

10

)

The Device Server Setup Complete window shown in Figure 19 should come up.
If you are using the user's PC for setup at this point, left-click “Yes” for the “Do you want to 
install SX Virtual Link” question decision in the window, and then click “Finish”.  If you will be 
installing SX Virtual Link on a different user PC, or multiple PC's, then left-click “No” here 
before clicking “Finish”.

If you clicked “Yes”, then follow the subsequent prompts to complete the installation of the 
SX Virtual Link software.  Your users will need the SX Virtual Link software installed on any 
PC's from which they wish to synchronize music files onto an NV-M3 Music Server.  If you 
clicked “No”, and you have yet to install this software application on any PC's, proceed to the 
PC you wish to setup for your user, and insert the NuVo NV-USBW/SX-2000WG setup CD.  
When the Main Menu screen comes up, left-click the “Application Installation” button, and 
follow the prompts to install.  Close the Device Server Setup CD application by left-clicking 
the Quit button in the Main Menu, or just clicking the red “X” in the right top of the window.  
Left-click “Yes” in the “OK to finish?” decision window.  You may now proceed to the  “Virtual 
Link Operation with an NV-M3 Music Server” on page 19 section of these instructions.

Содержание NV-USBW

Страница 1: ...NV USBW Wireless USB Extender Installation Guide...

Страница 2: ......

Страница 3: ...ewillnotoccurinaparticularinstallation Ifthisequipment does cause harmful interference to radio or television reception which can be determined by turning the equipment off and on the user is encourag...

Страница 4: ...g the entire family s music from a single M3 triple output audio server is now easier and more affordable than ever before Table of Contents NV USBW SX 2000WG Compatibility Page 3 What You Need for Se...

Страница 5: ...nt broadband router or Ethernet hub 3 If the host PC with the music library is going to be permanently set up with a wired connection to the home network router then for wireless operation with the NV...

Страница 6: ...ribed in paragraph 1 of the previous section Connect the power supply to the NV USBW SX 2000WG Connect the power cable to the power supply and then plug it in to a live AC receptacle Observe the recta...

Страница 7: ...5 Figure 2 Setup Screen 5 Left click yes on the decision window shown in Figure 3 Figure 3 Yes to Exceptions List addition...

Страница 8: ...Stopping the WZC service and then the status window shown in Figure 5 will come up Please note that because the Device Server Setup application does not know the network parameters at this point it m...

Страница 9: ...7 Figure 5 Changing the Wireless LAN configuration status 9 The Device Server Search window shown in Figure 6 should come up within a few minutes Figure 6 Device Server Search window...

Страница 10: ...his section If you still don t see the selection window shown in Figure 6 contact NuVo Technical Support at 866 796 4904 for further assistance Select the Device Server line as shown in figure 6 if it...

Страница 11: ...Select the user s wireless network which will show Infrastructure under the Wireless Mode column Be very careful to select your user s wireless network and not a neighbor s If your user has WEP enabl...

Страница 12: ...b The SSID corresponds with the name of your user s network c Network Authentication is set to Open d Use WEP is set to OFF only if your user does not have security set up If security is in place and...

Страница 13: ...will need the SX Virtual Link software installed on any PC s from which they wish to synchronize music files onto an NV M3 Music Server If you clicked No and you have yet to install this software app...

Страница 14: ...he power supply connect an Ethernet cable between the Device Server and the network router access point or Ethernet hub Then connect the power cable to the power supply and plug it in to a live AC rec...

Страница 15: ...13 Figure 12 Setup Screen 5 You will see the checklist window shown in Figure 13 Left click the Next button Figure 13 Wired setup checklist screen...

Страница 16: ...er Search label as shown in Figure 14 The first six characters 008092 should already be filled in After all of the Ethernet Address has been entered left click Search The device should appear in the S...

Страница 17: ...15 Figure 15 Setting TCP IP Window 9 The status window shown in Figure 16 will come up Figure 16 Searching for Access Point status...

Страница 18: ...wired operation only and do not need to configure them Left click Next Figure 17 Skipping the wireless configuration The window shown in Figure 18 will come up The only thing to check is that the DHC...

Страница 19: ...will need the SX Virtual Link software installed on any PC s from which they wish to synchronize music files onto an NV M3 Music Server If you clicked No and you have yet to install this software app...

Страница 20: ...18 Figure 19 Setup Complete status window...

Страница 21: ...you will want to go over the instructions here with your user 1 Launch the installed SX Virtual Link application Click on the Device Server tab if it is not already selected in the window as shown in...

Страница 22: ...ng the supplied USB cable A icon should appear in the box to the left of the Device Server list entry Left click the icon to the left to expand the view showing the connected device as shown in Figure...

Страница 23: ...21 Figure 22 Device Server List NV M3 connected Figure 23 Connecting to the NV M3...

Страница 24: ...he portable device icon in the top of the right hand pane If you already had Windows Media Player open then the NV M3 device will appear immediately Figure 24 Portable Device handling decision window...

Страница 25: ...ulti zone playback at this point Close SX Virtual Link Instruct the user that unless it is placed in the system startup of the PC and left up routinely he will have to launch it and then proceed from...

Страница 26: ...24 Figure 27 Connected PC Name status Figure 26 Disconnecting from the NV M3...

Страница 27: ......

Страница 28: ...NuVo Technologies 3015 Kustom Dr Hebron KY 41048 859 817 7200 www nuvotechnologies com USBW0745...

Отзывы: