17
6.
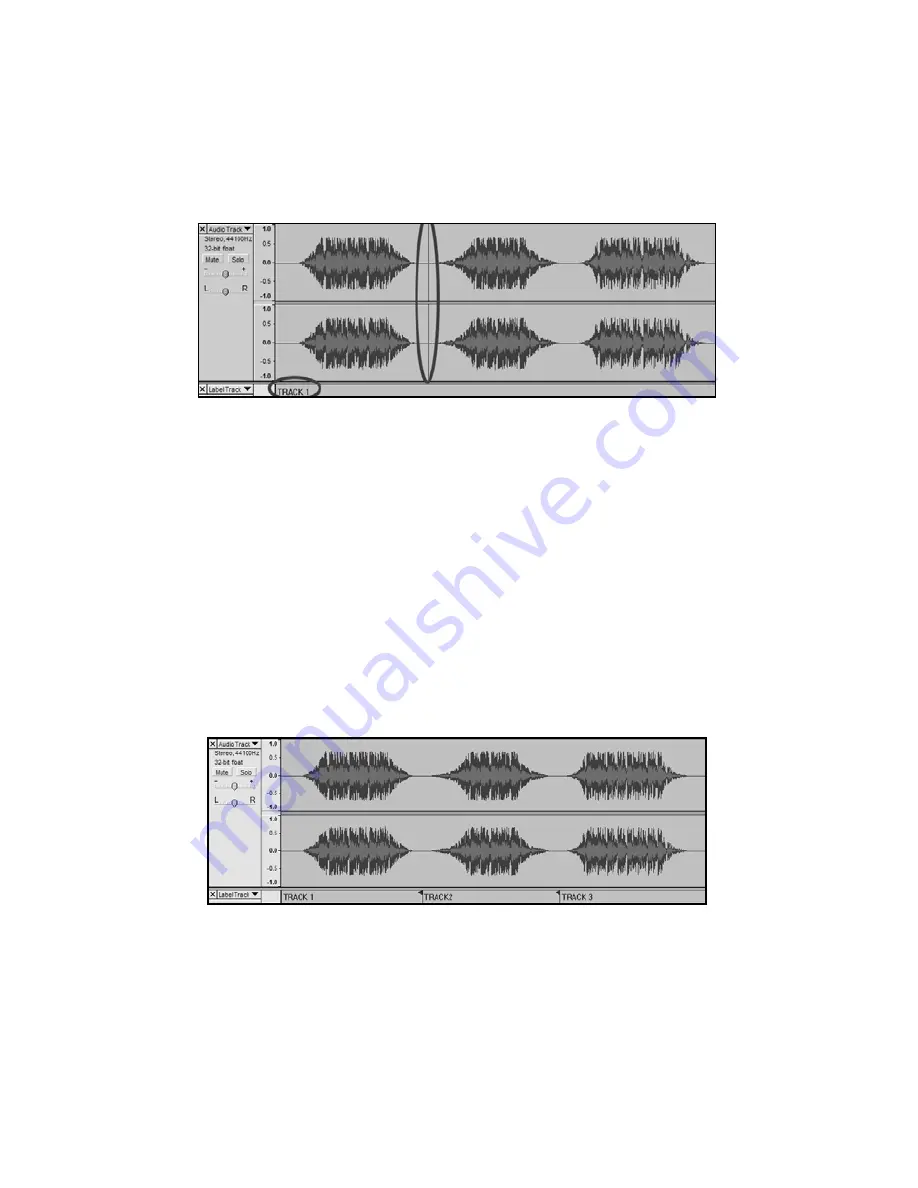
Select the space between tracks (where there is no audio) by
clicking once. (vertical circle below)
7.
You will see a line where you clicked.
8.
Then repeat Step 4: “Add Label At Selection.”
9.
Note: you can add or edit any track name (circled.)
Figure 13: Track Separation and Labels
10.
Repeat this process for adding labels for all tracks. You may
need to zoom in to select the tracks and track separation. You
may also want to hear the part of the track before you add a
label for the track. Use the space bar to easily start and stop
playback.
Note: the label is placed at the START of the track. For
example, in Figure 14, TRACK 1 is labeled at the beginning of
audio recording. Track 2 is the label between the first and
second track. You can also edit track names after they have
been exported from Audacity.
In this three track example, the final break up is shown in Figure 14:
Figure 14: Completed Track Names Example
Additional Notes:
There are many different ways to edit your file. Dividing your file into
separate tracks by adding labels is one way to accomplish this. You can
always undo any mistakes in editing. Make sure to save your file
regularly.
Содержание Audacity
Страница 2: ......
Страница 15: ...13 Figure 7 Selecting Noise in Track Figure 8 Noise Removal Window ...
Страница 24: ...22 ...
Страница 37: ...35 Figura 7 Selección del ruido en la pista Figura 8 Ventana de eliminación de ruido ...
Страница 46: ...44 ...
Страница 68: ...66 ...
Страница 81: ...79 Figura 7 selezione di rumore nella traccia Figura 8 finestra di rimozione dei rumori ...
Страница 90: ...88 ...
Страница 111: ......
Страница 112: ......


