38
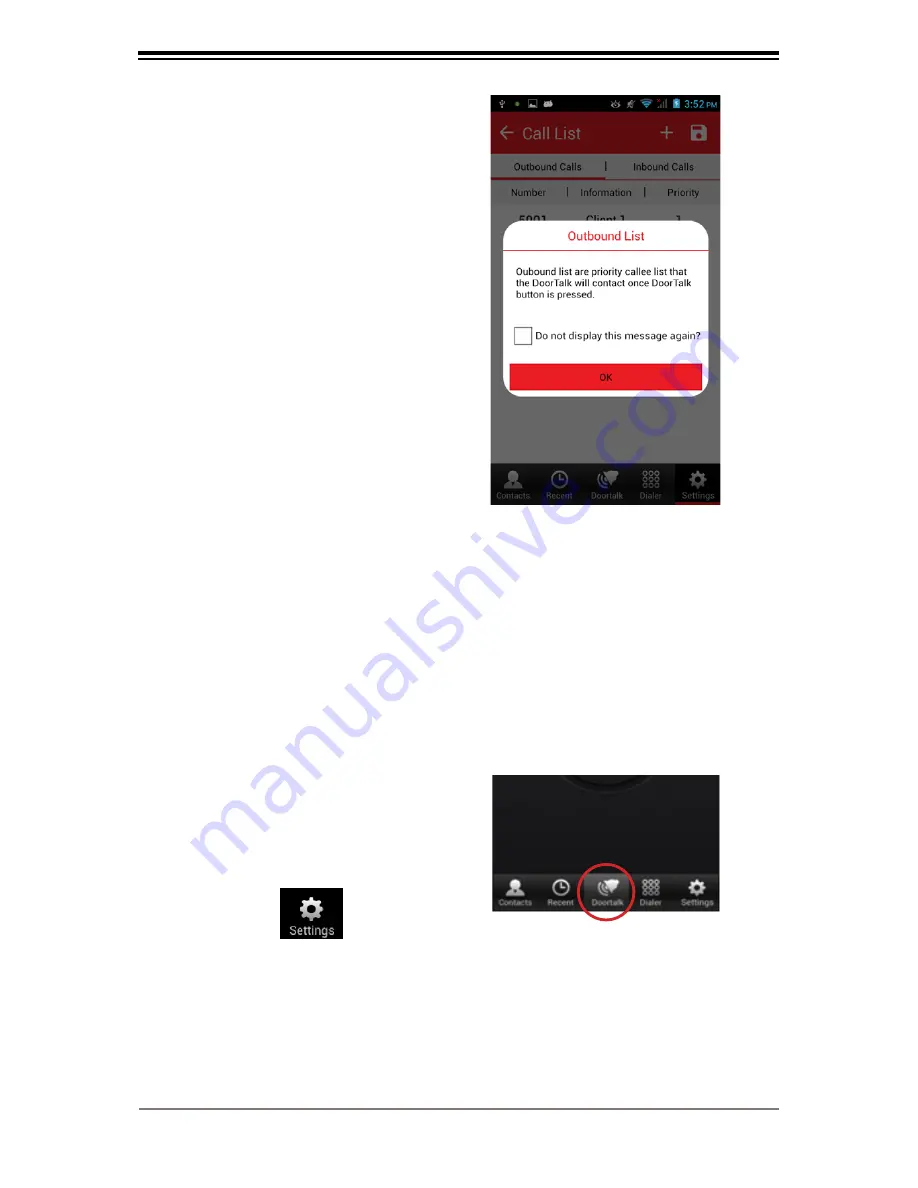
Figure 4.7.1
STEP 4.7
Tap
OK
.
Note:
There should ALWAYS be at least one
(1) Call Receiver / Client Device on the
Outbound Calls list. Otherwise, you
will hear the voice prompt “
Receiver
List Unavailable
” when you press the
DoorTalk Call button and the call will not
push through.
Step 4 Confirmation:
When done, you
should see the SIP Call ID Number(s) of
the Call Receiver(s) / Client Device(s) that
you added under Outbound Calls.
STEP 5: Registering Client Device to SIP Server
MANUAL SETUP
Objective:
In this step, you are going to register the
Call Receiver / Client
Device
to the SIP Server to enable the call function through the
DoorTalk App.
If you wish to use
Auto Provision
please refer/proceed to
page 43
STEP 5.1
Go back to the DoorTalk App
main screen by tapping the
“DoorTalk tab”
(Figure 5.1.1)
STEP 5.2
Tap
“Settings”
Choose
“Client Setup”
.
Figure 5.1.1
Содержание doortalk
Страница 1: ......
Страница 11: ...10 Wiring Diagrams DoorTalk Basic Wiring Diagram Diagram 1 ...
Страница 12: ...11 Diagram 2 ...
Страница 13: ...12 Diagram 3 ...
Страница 14: ...13 Diagram 3 ...
Страница 17: ...14 16 15 16 14 USB 2 Host 15 Reset 16 Micro SD Slot External Storage Figure 2 3 ...
Страница 71: ...Unit A Topy Building 1 3 Economia St Brgy Bagumbayan Quezon City Philippines 632 955 6821 ...


