Using the Novell Client Tray Application
11
n
ov
do
cx (e
n)
11
Ju
ly 20
08
3
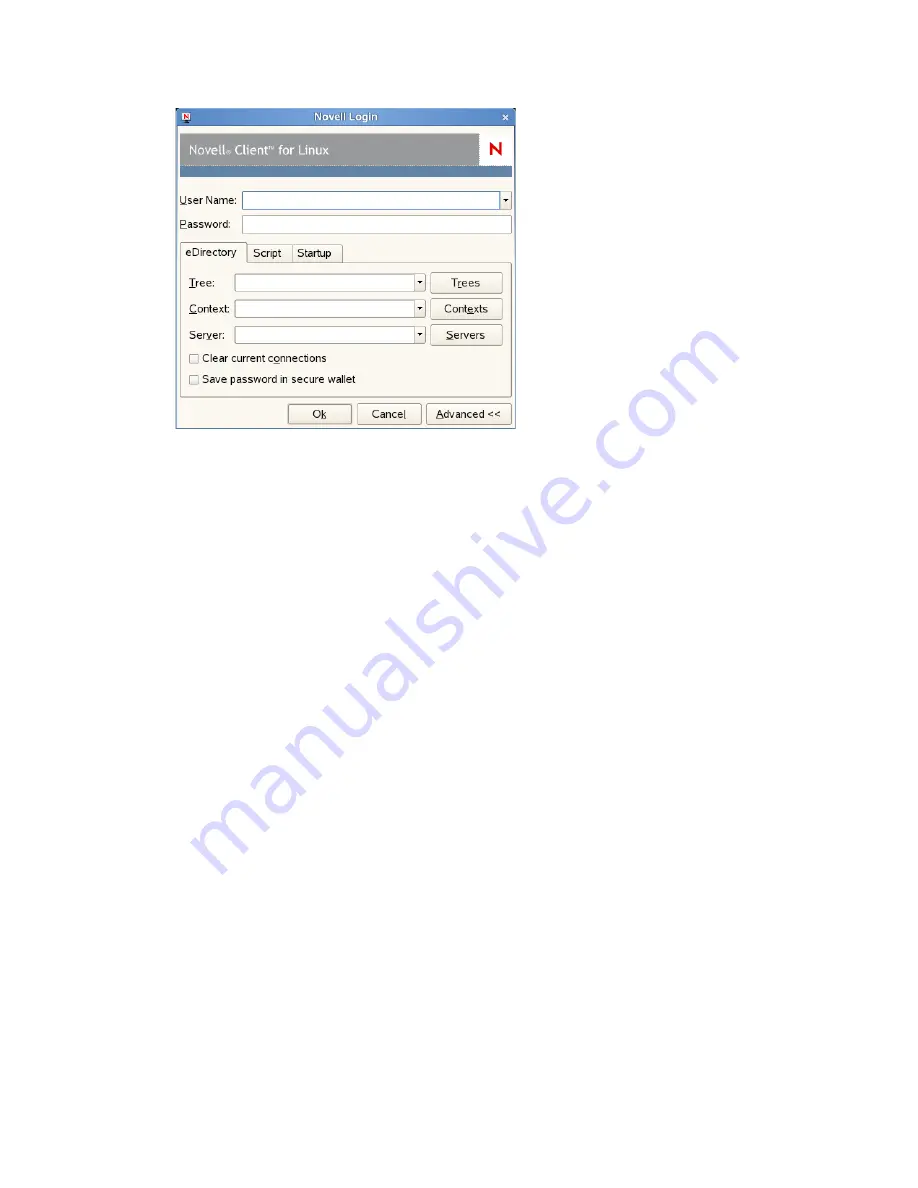
Specify the tree, context, and server information for the server you want to connect to.
You can type a DNS name or an IP address for the server. See your network administrator for
this information.
If your network has SLP set up, you can browse a list of available trees, contexts, and servers
by clicking their associated buttons.
4
(Optional) To clear any existing connections to servers before logging in, select
Clear current
connections
.
5
(Optional) To store your eDirectory password in your desktop’s secure wallet program, select
Save password in secure wallet
.
6
(Optional) To run login scripts during this login session, click the
Script
tab, then select the
options needed to run the login scripts.
For more information on login scripts, see
Section 1.2.1, “Running Novell Login Scripts
During Login,” on page 11
.
7
(Optional) To configure integrated login, click the
Startup
tab, make sure the
Run Novell Client
Login at Session Startup
is selected (it is selected by default), then click
Save profile after
successful login
.
You must have the
User Name
and
Password
fields and the
Tree
and
Context
fields on the
eDirectory
tab filled out for this to be saved, and you must save your profile in order for an
integrated login to happen at the next session startup.
8
Click
OK
to log in to the server specified in
Step 3
.
1.2.1 Running Novell Login Scripts During Login
When you successfully log in to the network, one or more login scripts are executed. Login scripts
can be used to automatically map drives and search drives to directories, display messages, set
environment variables, and execute programs or menus.
You can specify whether login scripts are run, whether the results are displayed, and whether the
login window is automatically closed during login. In addition, if the login script uses the
%2, %3,
%4, or %5 variable
, you can set these variables by clicking the
Variables
button.


