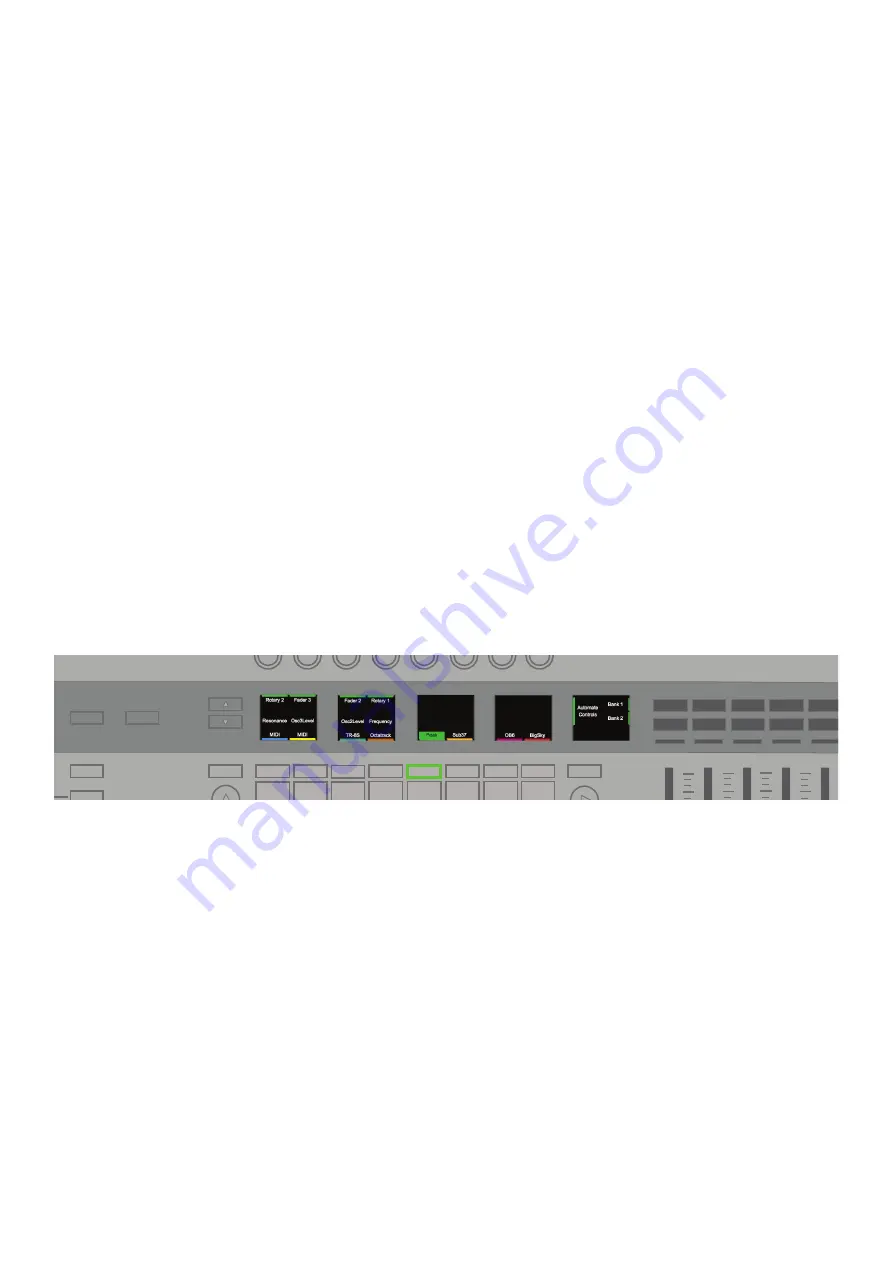
Just press a pad to select a new pattern. If the Transport is stopped, your new-ly-selected Pattern will begin when
the Transports starts. When you select a new Pattern with the Transport running, the Pattern will change when the
cur-rent one ends. Otherwise, hold Shift and select a new Pattern to instantly switch to that Pattern as if it had been
playing alongside. (This means you do not have to wait until the end of the current Pattern to hear your new one. This
also a way of audibly ‘combining’ Patterns in interesting ways).
i.
Pattern Chains
As you are constructing Patterns on the MkIII you may decide that you want longer ones. However, you can combine
Patterns to form longer sequences. Press two or more Patterns simultaneously to create a ‘Chain’ beginning and
ending with the left- and right-most pressed Patterns. Note that this doesn’t destructively ‘merge’ Patterns together, but
rather launches discreet Patterns consecutively to form longer musical ideas.
If you wish to see more Tracks at once, or are only working with two-Pattern Chains, press Shift + Patterns to access
the Expand View. This will arrange the Patterns for each Track vertically. Use the page buttons to access more Pat-
terns. Just press Patterns to return to the default (horizontal) layout of Pat-terns.
Hold Clear and press a Pattern (pad) to remove all note and automation data from that Pattern, and reset the Pattern
to its default settings.
To copy a Pattern, hold Duplicate and select the Pattern. While continuing to hold Duplicate, press a pad/s to paste to
it. You can paste multiple times while holding Duplicate. You can also copy Patterns between Tracks. As with Steps,
automation data for a Pattern does not copy across Tracks.
[TRY THIS - If you need some inspiration, or are just in the mode to try something new, try copying Patterns between
Tracks. For ex-ample, you could copy your drum Pattern to your bass track, and vice-versa. You never know what
‘happy accidents’ might occur.]
D.
Automation View
With Patterns View selected, press the Options button to enter Automation View. In this View, each control type, as
well as the name of any controls that have been automated for the selected Track, are displayed on the screens as
‘lanes’. Use the soft buttons below the screens to select a different Track to see its automation.
Hold the Clear button and turn the rotary above a lane to remove all automation for a control. For example, ‘Trans-
pose’, or ‘Ve Attack’. After clearing a lane, you can then use it for another control.
E.
Live Record
The SL MkIII allows you to record a ‘live performance’ directly into the Sequenc-er. Press the Record button on the
Transport to enable live recording. You can also press Record while playing to ‘punch in’ ideas. If the Transport is cur-
rently stopped, however, press the Record button, then the Play button to begin live recording. While recording, any
notes played on the keyboard or from MIDI (both USB and DIN) will record into the Sequence.
When recording from MIDI, Parts will record only the notes received on the se-lected MIDI channel for that Part. Notes
are also forwarded to the output of that Part, whether recording or not.
While live recording, ‘note on’ events are quantised to the sync rate of the play-ing pattern; ‘note off’ events are quan-
tised to the nearest 24 PPQN tick. The sequencer will loop through each pattern chain, which allows you to overdub
new notes as the sequence repeats. Be careful to set up your desired Pattern Settings (see Sequencer/Options/Pat-
tern Settings) and Pattern Chain length (see Sequencer/Patterns View) to accommodate your performance before you
begin recording.
Tempo
INCONTROL
Global
Shift
Zones
Sequencer
Latch
Arp
Scales
Sessions
Patterns
Steps
Save
Duplicate
Clear
Grid
Options
Pitch
Modulation
Octave
Transpose
Track
_
+
Templates
Expand
Содержание SL MkIII
Страница 1: ......


