- 13 -
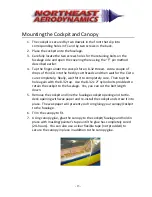
Mounting
the
Cockpit
and
Canopy
1.
The
cockpit
is
secured
by
two
dowels
in
the
front
that
slip
into
corresponding
holes
in
F1
and
by
two
screws
in
the
back.
2.
Place
the
cockpit
onto
the
fuselage.
3.
Carefully
locate
the
two
screws
holes
for
the
retaining
bolts
on
the
fuselage
side
and
open
the
covering
there
using
the
“T”
pin
method
described
earlier.
4.
Tap
the
finger
under
the
cockpit
for
an
8
‐
32
thread.
Add
a
couple
of
drops
of
thin
CA
into
the
freshly
cut
threads
and
then
wait
for
the
CA
to
cure
completely.
Really,
wait
for
it
to
completely
cure.
Then
tap
the
hole
again
with
the
8
‐
32
tap.
Use
the
8
‐
32
x
2”
nylon
bolts
provided
to
retain
the
cockpit
to
the
fuselage.
Yes,
you
can
cut
the
bolt
length
down.
5.
Remove
the
cockpit
and
line
the
fuselage
cockpit
opening
and
turtle
‐
deck
opening
with
wax
paper
and
re
‐
install
the
cockpit
and
screw
it
into
place.
The
wax
paper
will
prevent
you
from
gluing
your
canopy/cockpit
to
the
fuselage.
6.
Trim
the
canopy
to
fit.
7.
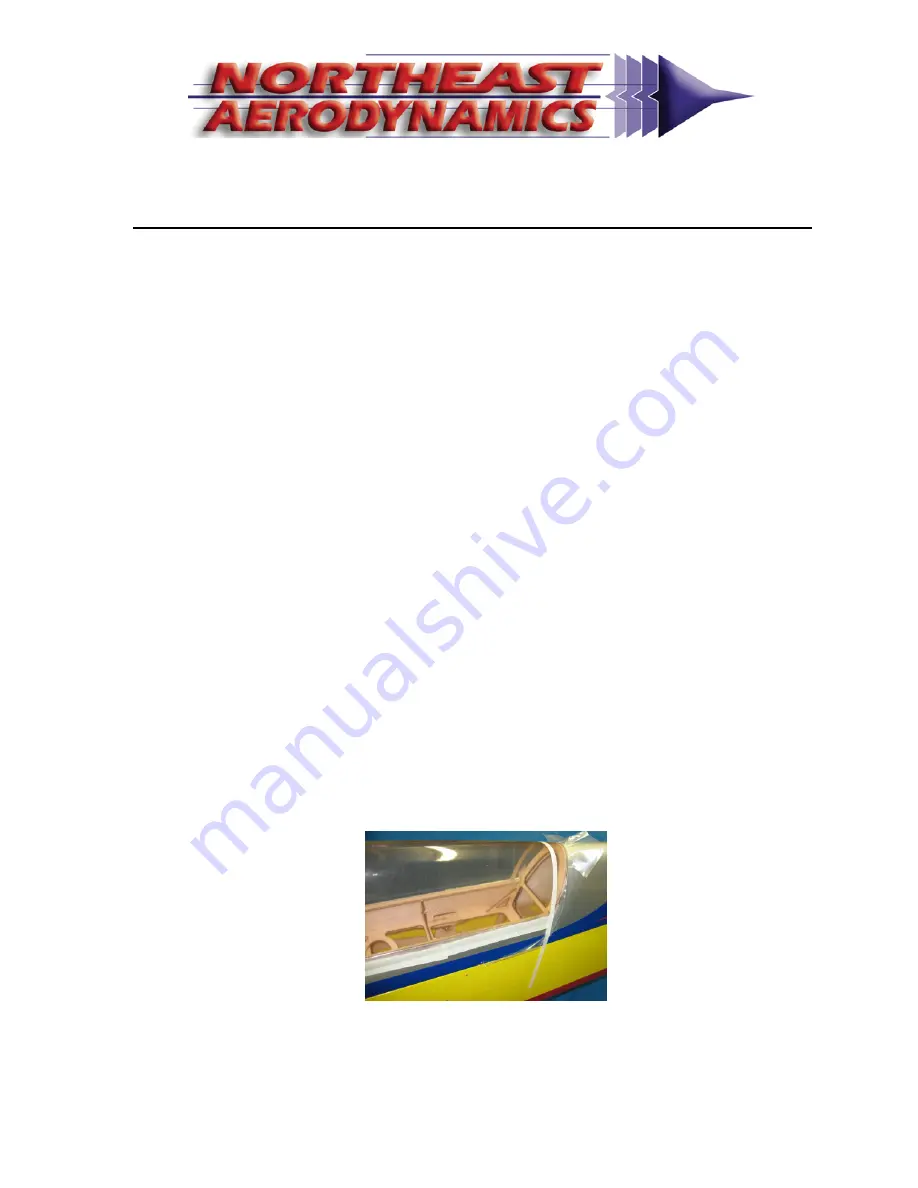
Using
canopy
glue,
glue
the
canopy
to
the
cockpit/fuselage
and
hold
in
place
with
masking/painter’s
tape
until
the
glue
has
completely
cured
(24
‐
hours).
You
can
also
use
a
clear
flexible
tape
(not
provided)
to
secure
the
canopy
in
place
in
addition
to
the
canopy
glue.
Содержание 2M Aquila F3A
Страница 25: ... 25 Additional Pictures ...

