Chapter 6 IP security and VPN 191
Using the BayStack Instant Internet Management Software Version 7.11
7
In the Local Addresses area, click Add to enter the local IP addresses allowed
to participate in the tunnel. For more information, refer to
“Adding a local or
remote IP address” on page 172
.
The information in this box should coincide with the Network setup in step 2
of the configuration of the CES. The default local address is that of your local
area network.
8
In the Remote Addresses area, click Add to enter the IP addresses of a remote
site allowed to participate in the tunnel. For more information, refer to
“Adding a local or remote IP address” on page 172
.
9
Click OK to close the IP Configuration dialog box.
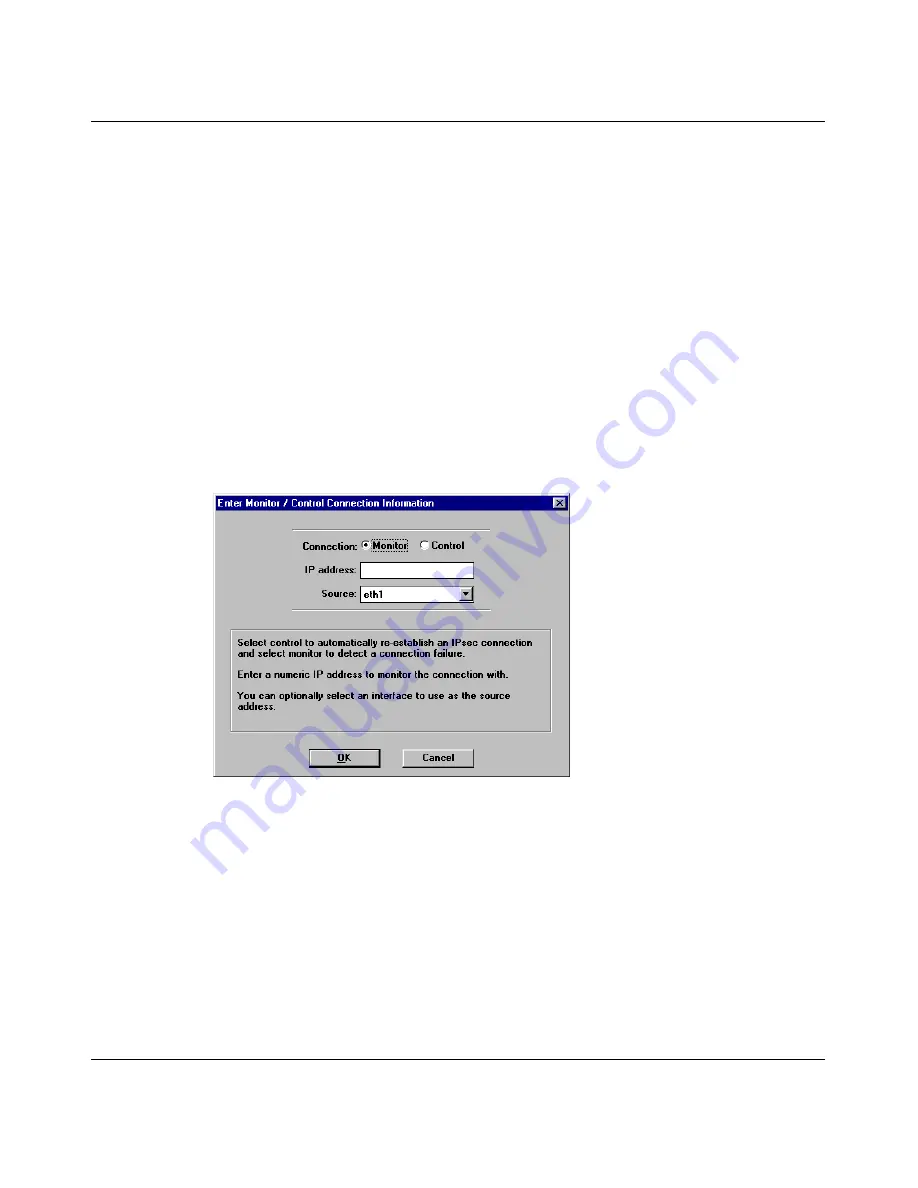
The Enter Monitor / Control Connection Information dialog box opens
(Figure 96)
.
Figure 96 Enter Monitor / Control Connection Information dialog box.
10
Choose whether you want to monitor or control the connection by clicking the
option.
For more information refer to
“Using Pings” on page 173
.
11
Enter the IP address of the device that is reachable through the tunnel and
representative of the desired connectivity (usually the private address of the
remote unit).
12
Select the source interface of the connection being monitored or controlled.
The source should be the interface for your local LAN.
Содержание 400
Страница 16: ...16 Contents 300868 G ...
Страница 22: ...22 Figures 300868 G ...
Страница 24: ...24 Tables 300868 G ...
Страница 92: ...92 Chapter 2 User access administration 300868 G ...
Страница 114: ...114 Chapter 3 Internet activity logging 300868 G ...
Страница 166: ...166 Chapter 5 Advanced IP configuration 300868 G ...
Страница 200: ...200 Chapter 6 IP security and VPN 300868 G ...
Страница 256: ...256 Chapter 8 Advanced communications configuration 300868 G ...
Страница 302: ...302 Chapter 10 Instant Internet unit configuration support and diagnostics 300868 G ...
Страница 314: ...314 Appendix A Troubleshooting and error messages 300868 G ...
Страница 344: ......


