11
12
Configuring
Connection
5. CONFIGURING REMOTE CONNECTION
Follow the steps below to configure your camera for connections over the
Internet using a web browser, NVMS, or other VMS software.
Step 1 of 6: Locate the camera’s local IP address:
• See “4. Finding the Camera’s IP Address” on page 8.
Step 2 of 6: Port Forward your router:
You need to enable port forwarding for the following ports on your router to
the camera’s local IP address:
• HTTP Port (default:
80
)
• Control Port (default:
30001
)
NOTE:
If you are configuring multiple IP cameras for individual remote
access, you must change the ports for each camera. Two cameras cannot
use the same port number.
NOTE:
Port forwarding the RTSP and RTMP ports is not necessary unless
your installation has special requirements.
There are two methods for port forwarding:
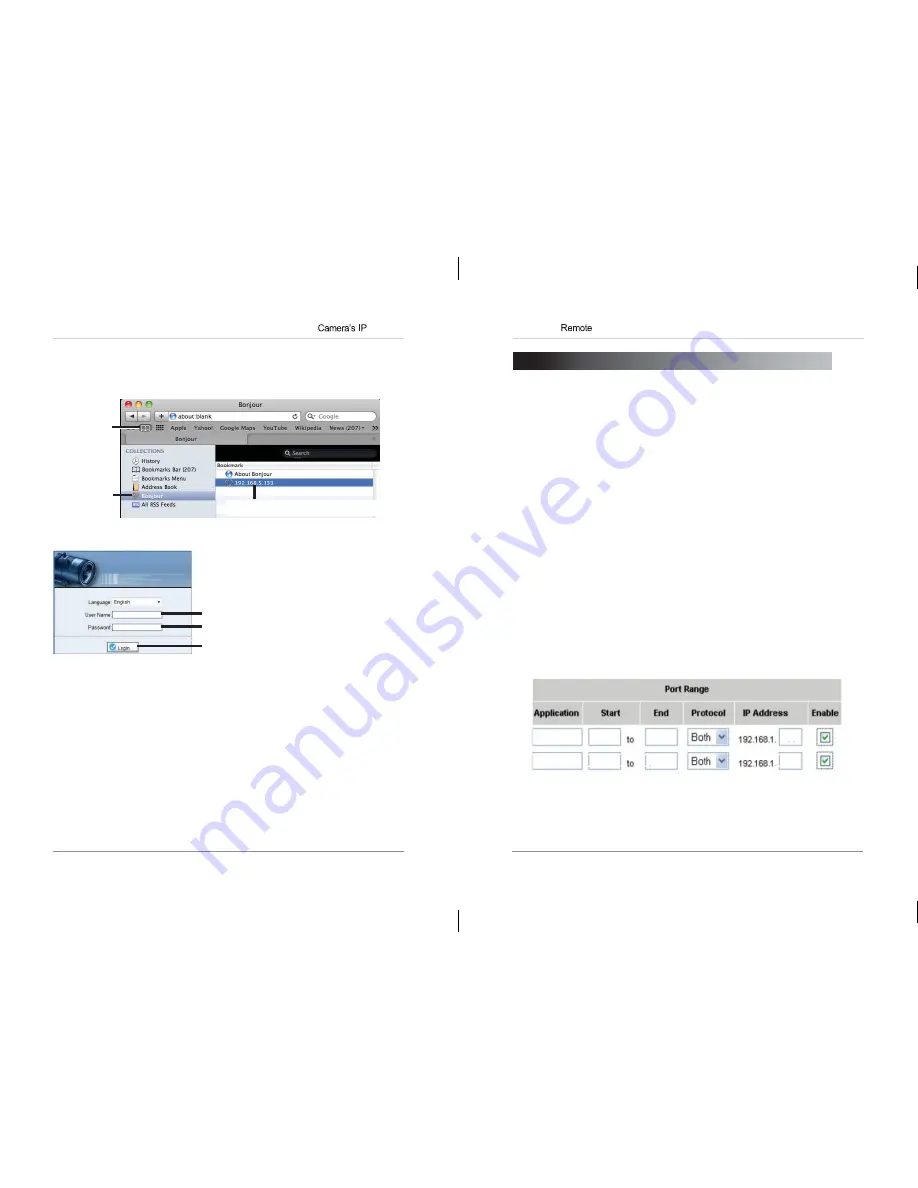
• You canmanually port forward yourrouter. See your router’s user manual
for details. An example of a port forwarding screen is shown below.
HTTP
80
80
100
Control
30001
30001
100
Finding the
Address
2.
Click
Bonjour
. The camera’s IP address appears in the Bonjour Devices
list.
3.
Double-click the camera to open it in Safari®.
Bookmarks
button
Bonjour
Double-click the camera’s IP address
4.
Under
User Name
and
Password
, enter the camera’s User Name
(default:
admin
) and Password (default:
admin
) and click
Login
.
Enter Camera User Name (default:
admin
)
Enter Camera Password (default:
admin
)
Click Login
4.4 Finding the Camera IP using the BNC Test Cable
When the BNC test cable is connected to the camera, the IP address is shown
on the test monitor. The camera must be connected to power to use the BNC
test cable.
NOTE:
The default IP address of 192.168.0.120 is shown if the camera
cannot obtain an IP address from the router. Check the Ethernet/power
connections and router configuration.


