8. Messaging
Only devices that have compatible features can receive and
display multimedia messages. The appearance of a message
may vary depending on the receiving device.
Messaging main view
Press , and select
Messaging
(network service).
To create a new message, select
New message
.
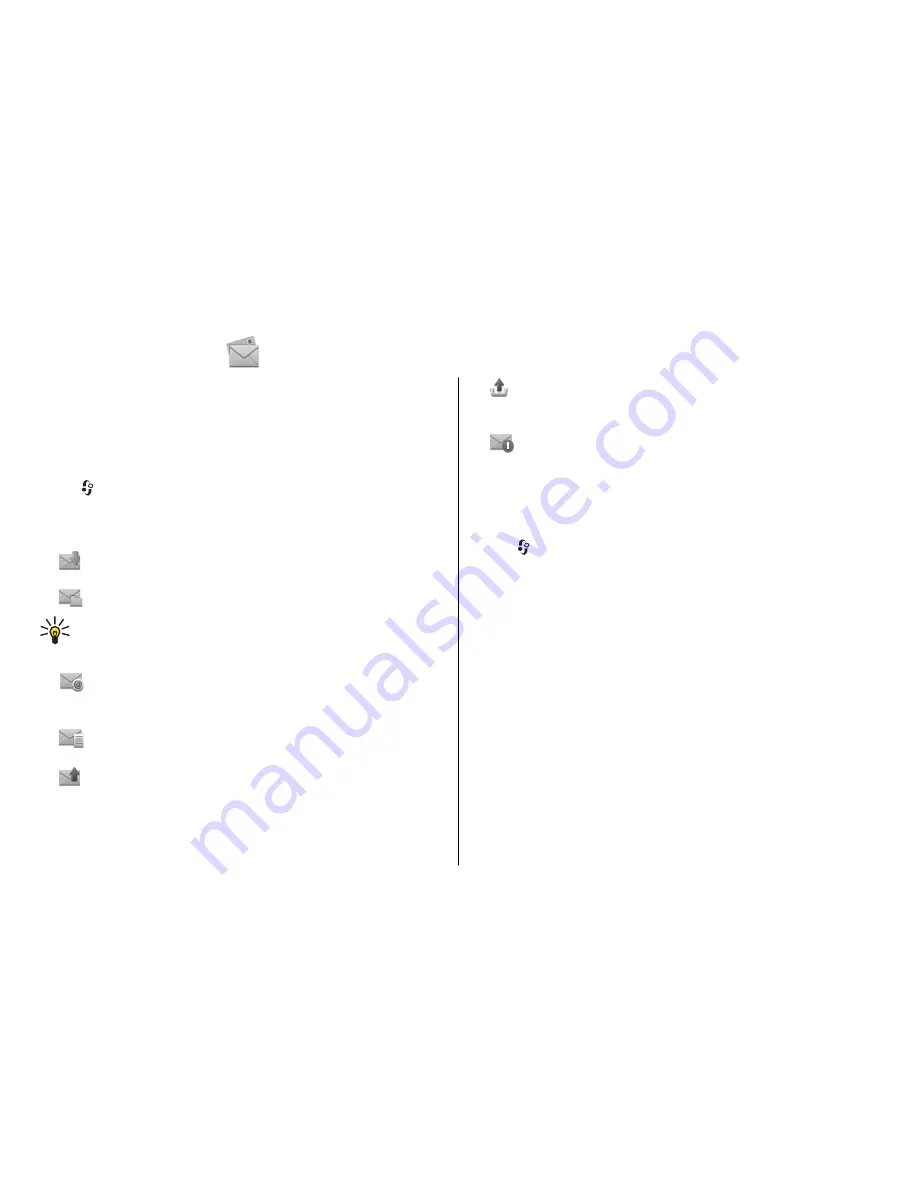
Messaging contains the following folders:
●
Inbox
— Received messages, except e-mail and cell
broadcast messages, are stored here.
●
My folders
— Organise your messages into folders.
Tip:
To avoid rewriting messages that you send often,
use texts in the
Templates
folder in
My folders
. You
can also create and save your own templates.
●
New mailbox
— Connect to your remote mailbox to
retrieve your new e-mail messages, or view your
previously retrieved e-mail messages offline.
●
Drafts
— Draft messages that have not been sent are
stored here.
●
Sent
— The last messages that have been sent,
excluding messages sent using Bluetooth connectivity, are
stored here. You can change the number of messages to
save in this folder.
●
Outbox
— Messages waiting to be sent are temporarily
stored in the outbox, for example, when your device is
outside network coverage.
●
Reports
— You can request the network to send you
a delivery report of the text messages and multimedia
messages you have sent (network service).
Write and send messages
Select
>
Messaging
.
Before you can create a multimedia message or write an e-
mail, you must have the correct connection settings in place.
The wireless network may limit the size of MMS messages. If
the inserted picture exceeds this limit the device may make
it smaller so that it can be sent by MMS.
1. Select
New message
>
Message
to send a text or
multimedia message (MMS),
Audio message
to send a
multimedia message that includes one sound clip, or
E-
to send an e-mail message.
2. In the To field, press the scroll key to select recipients or
groups from the contacts list, or enter the recipient’s
phone number or e-mail address. To add a semicolon (
;
)
that separates the recipients, press
*
.
3. In the Subject field, enter the subject of the e-mail. To
change the fields that are visible, select
Options
>
Message header fields
.
Messaging
© 2009 Nokia. All rights reserved.
35
Содержание 6720 classic
Страница 1: ...Nokia 6720 classic User Guide ...

