6
Setup
Pairing bluetooth Deuice
Bluetooth trouble Shooting Guide
AUX Input
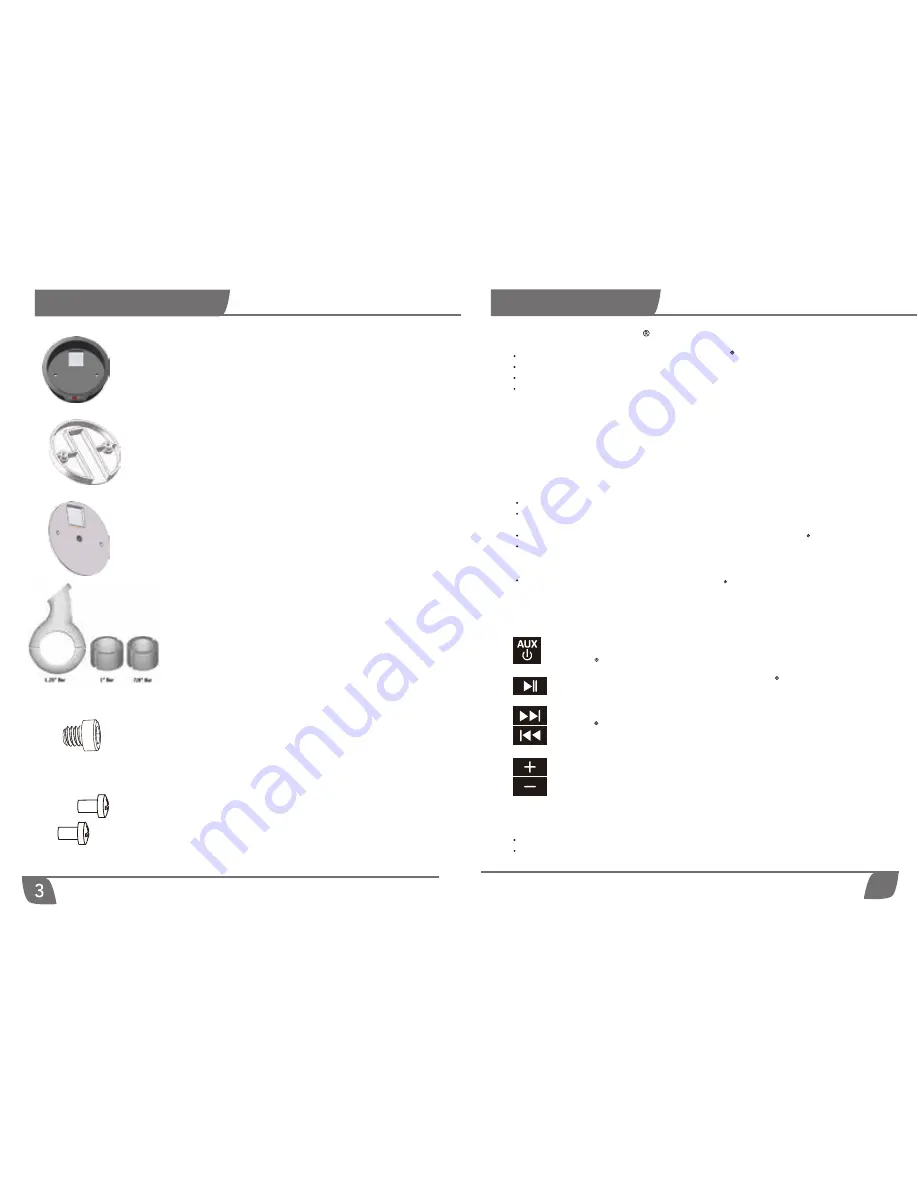
Main Key pad Controls
The play pause button allows you to pause your Bluetooth
device from playing. Press
the same button again and your device will start to play.
The "track up" button allows you to "skip forward" to the next song saved on your
Bluetooth
device. Pressing the "track down" button once allows you to go back to the
start of the song your’re currently listening to. Press it a second time and go to the start
of the song on your device before the one your’re listening to.
The Volume Up/Volume Down buttons will control the volume level of your Tunes, best
practice: set your audio source’s Volume at around 85% (on your phone, MP3 player
etc) and control the volume using the NR controller
Make sure volume is up on Bluetooth sources
Confirm Pairing if no sound.
Press and hold the AUX/POWER button for few second to turn the NOAM NR ON. Do
the same to turn it OFF. As mentioned above, double tap it to switch between Aux and
Bluetooth
modes.
Go to settings on your phone and place Bluetooth setting into ”discoverable”mode.
Search for (NOAM NR)device.
On phone select (NOAM NR) to pair device.
Once a device is paired each time this device is seen by the NOAM NR it will
outomatically reconnect to the device. If no device is present the NOAM NR
outomatically goes into pairing mode and will present itself as discoverable for the
next device present.
Please Note: Once NOAM NR sees power, it will always try and pair as shown
by the flashing POWER BUTTON. If you do not have a paired device with you
while riding, the light will continue to flash.
Connect AUX Input with any media player(MP3 player, Smartphone, Headunit)
Double tap AUX/Power button rapidly to switch between Bluetooth source and AUX
input source.
When NOAM NR is switchod to AUX input source, the Green LED stays on.
Double tap the AUX/POWER button agian and the Green light will shut off, indicating
the unit is now out of AUX mode. The bluetooth
device can now once agian be used
and controlled by the key pad.
Note: When the unit is in AUX mode, the buttons on the control panel do not control
anything to do with the peripheral audio device!
Supplied Hardware
Dash or Flush (Rear) mount
plate
Handlebar mount plate
*
not necessary for NUTV5/NUTV5-S models
SS304 Hexagon Socket Head
Screw M6 x 8mm
*
not necessary for NUTV5/NUTV5-S models
2 x SS304 Cross Head Screw
M4 x 8mm
Handlebar mount bracket
and pair of rubber rings
*
not included in the NUTV5 and NUTV5-S
audio systems
Surface mount plate


