5
Connect LCD Cables (Some of these steps follow
after CPU & Cooler installation)
2. Use the orange tape in the accessory bag to tape
the CPU heat sensor to the CPU heatsink so that
LCD can display the CPU temperature accurately
3. Connect the CPU heatsink fan to the LCD “CPU
Fan” adapter, if your motherboard has the auto fan
speed control function (base on CPU temp); plug
the extension cord to the motherboard fan
connector. In this case, the LCD will only display
fan speed, no fan speed control will be available via
the front knob.
“C/F SW” enables you to set temp display reading format when
installing the system. (one time only)
<<Periodically check sensor head placement is
recommended to ensure accurate CPU Temperature
Reading>>
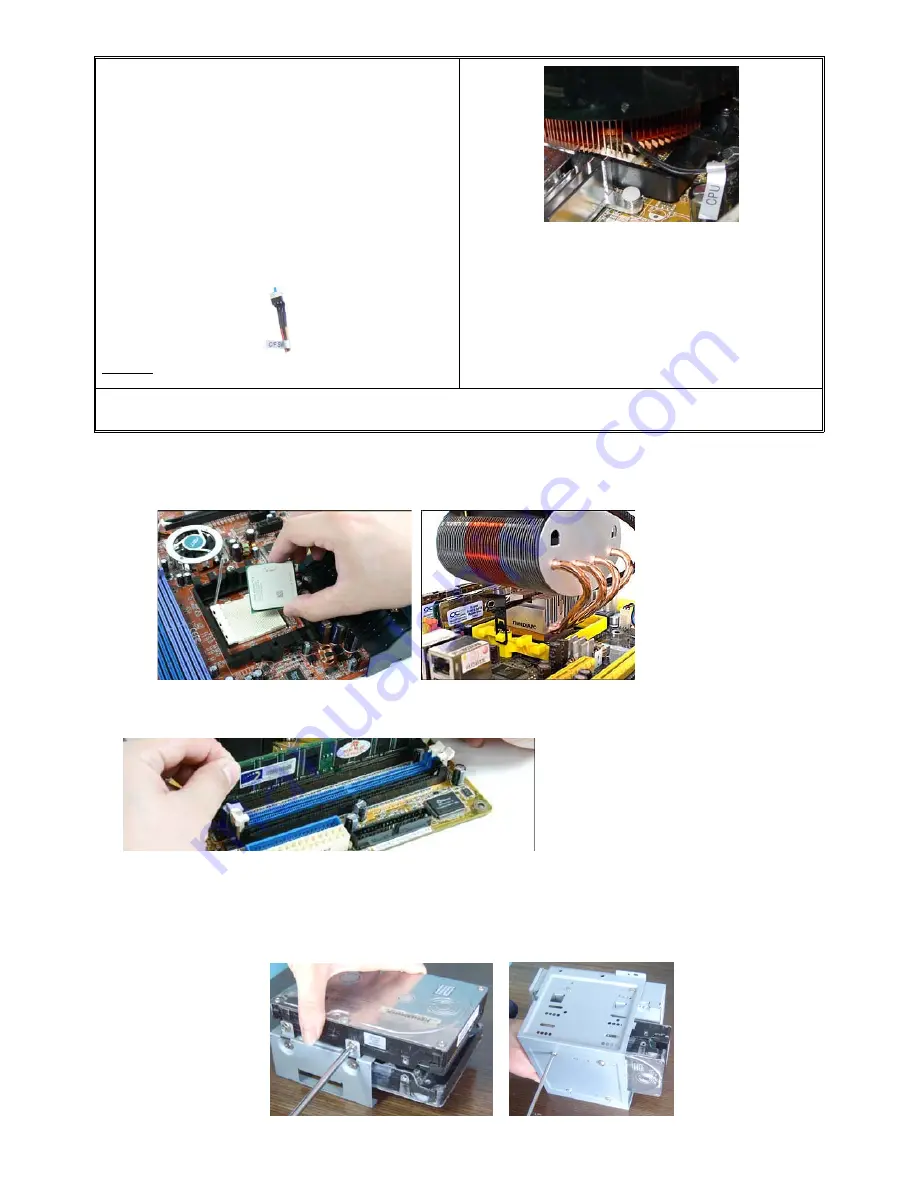
Step 3: Install CPU and Cooler
Follow your motherboard user manual to avoid damages
Step 4: Install memory module
Step 5: Install Hard Drive & Optical Drive
1.
Take off the optical drive rack
2.
Install Hard Drive and attach the 3.5” bay rack to the 5.25” bay rack as picture shown
below


