3
Installation Flowchart (Basic Procedures)
Installation Tools
Screw driver / Screws / Tight cables / Installation guides
Tips:
1. After installing motherboard, perform a quality check on chassis parts before continuing. Connect the
power
button
to board, plug your
PSU 20 or 24 pins
and
4 pins
cable temporarily, connect the
case fans power cord
,
connect the
LCD PWR cord.
Turn on the system. At this point, you should be assure that the case and PSU are
functioning well by checking if the fans running good, front LCD turning on. Now, unplug everything and follow
the instruction to continue your build.
2. Due to the limited height of the compact case, taking off the air duct may be necessary if you use tall CPU
heatsink, like NMEDIAPC ICETANK cooler.
3. If you are using the ICETANK or ICECONE CPU cooler, we recommend that you install the CPU and Cooler
onto the motherboard before you slot it in the case. This will smooth the cooler installation with more space
“outside” of the case.
4. Some DVD trays cover need to be removed in order to eject the tray smoothly without blocking by the DVD flip
down door.
5. When installing the DVD drive, adjust the DVD drive appropriately until your case eject button can eject the tray
smoothly, then mark down the position, and secure the DVD to the DVD rack with screws.
6. If you are planning to convert the MCE external receiver or adding VFD module as an upgrade, do it before
motherboard installation, otherwise, you may need to un-install everything in order to slot in the MCE receiver
PCB board on the IR Rack.
7. Remember that installing power supply should always the last step when installing components.
8. Do not perform cable management until your system is fully configured. This will make the cable management a
better smooth procedure.
9. Do not install optional upgrade video card / TV tuner card / Sound card at once. Use everything on board (video
& sound) to configure system and install operation system. After then, install the upgrades one by one and
restart the system on every step to ensure component compatibility and save times of troubleshooting when
issue arises.
Installation
Step 1: Make more room to work on
1.
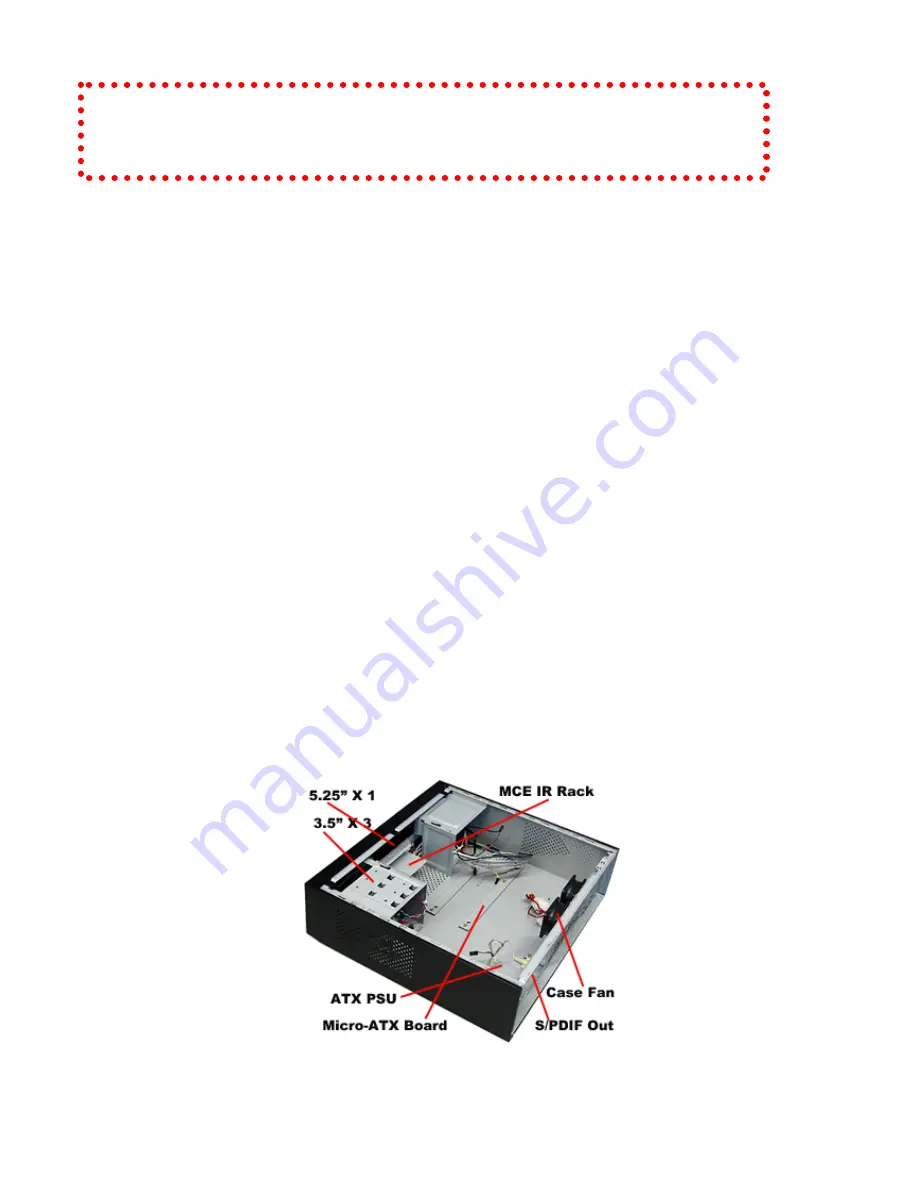
Open the top cover
2.
Remove the DVD bracket
Step 2: Connect cables
1.
Install motherboard
Open box
Æ
Read installation guides
Æ
Remove top cover
Æ
Remove optical drive bracket
Æ
Install motherboard
Æ
Perform a quality check
Æ
Connect cables
Æ
Install internal IR receivers
(if required)
Æ
Install hard drive
Æ
Install CPU & Cooler
Æ
Install DIMM memory module
Æ
Install power supply
Æ
Install optical drive
Æ
Replace cover


