12
3
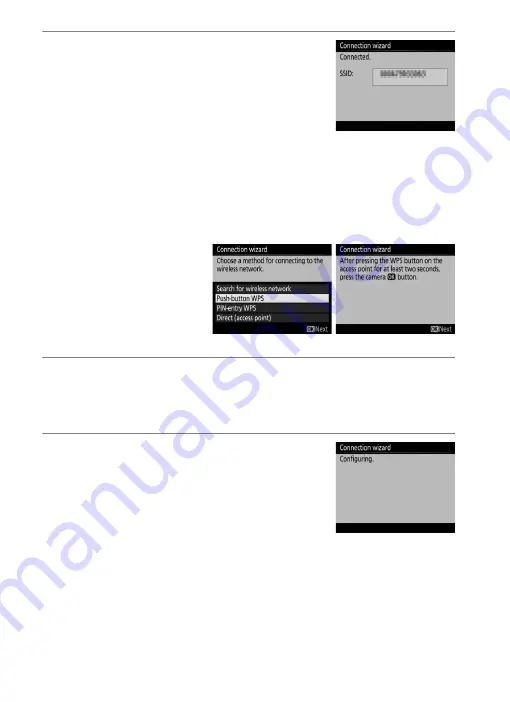
Choose your next step.
The message at right is displayed when a
connection is established. Your next step
depends on the connection type selected
in Step 4 on page 9:
•
FTP upload
: Proceed to page 16.
•
Image transfer
: Proceed to page 19.
•
Camera control
: Proceed to page 19.
•
HTTP server
: Proceed to page 19.
❚❚
Push-Button WPS
Choose
Push-button
WPS
in Step 6 on page 10
if the wireless LAN access
point uses push-button
WPS.
1
Press the WPS button on the wireless LAN access point.
For more information, see the documentation provided with
the wireless LAN access point.
2
Press
J
button on the camera.
The WT-6 will connect to the access point
automatically.
Содержание WT-6
Страница 13: ...xiii ...
Страница 40: ...26 iPhone 1 Tap Settings in the iPhone Home screen 2 Tap Wi Fi 3 Enable Wi Fi and select the network name SSID ...
Страница 43: ...29 4 Click Next 5 Select Wireless LAN WT 5 WT 6 and click Next ...
Страница 46: ...32 9 Select Manual setup for advanced users and click Next ...
Страница 59: ...45 ...
Страница 60: ...46 ...
Страница 61: ...47 ...


