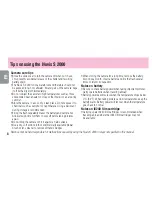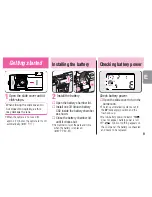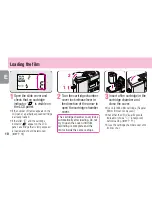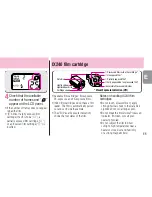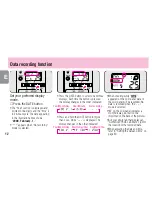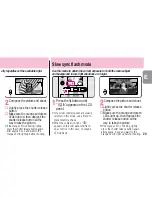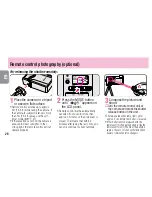
•Press the DATE button to select one of three
displays. Each time the button is pressed,
the display changes in the order indicated:
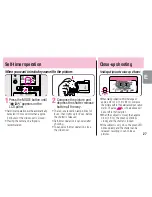
•Press and hold the DATE button for more
than 2 sec. while “
- - -
” is displayed. The
display changes in the order indicated:
12
E
Set your preferred display
mode.
▼
Press the DATE button.
•The “Year” section is displayed and
printed in two digits and the “time” is
in 24-hour cycle. The date appearing
in the illustration above shows
“
2000, February, 1.
”
•“
- - -
” appears when “No recording”
mode is selected.
Data recording function
No recording
Year/Month/Day
Day/Month/Year
Year/Month/Day
Month/Day/Year
Hour/Minute
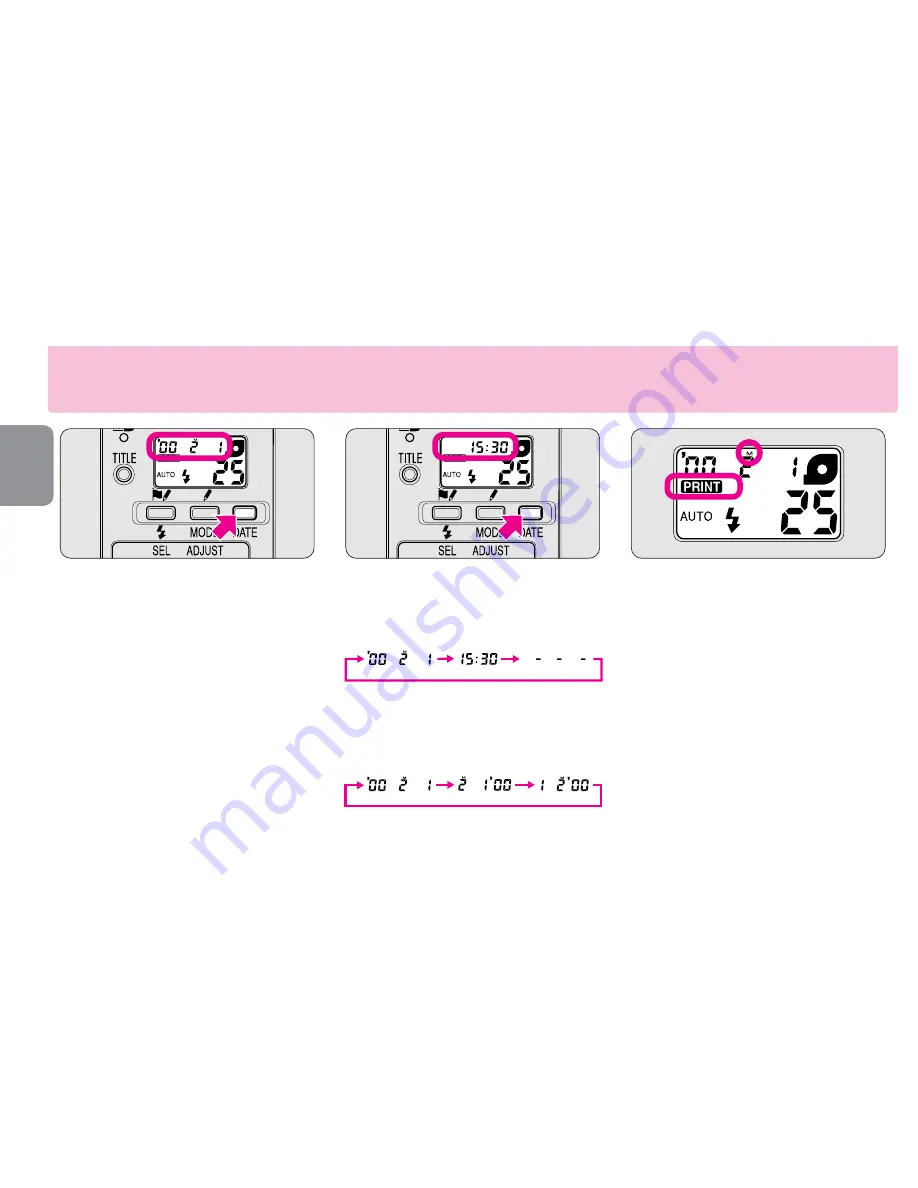
•When shooting while “
Å
”
appeared on the LCD panel, data on
the LCD panel will be recorded. No
data is recorded when the “
- - -
”
mode is selected.
•“M” on the LCD panel indicates a
month display, but will not be
imprinted on the back of the pictures.
•Ask your photo lab that displays an
“Authorized Photo Lab Mark” sign for
the location of the recorded data.
•When adjusting the date and time,
refer to “Setting the date and time” on
page 30.


