208
Connections
Selected JPEG images can be printed on a PictBridge printer
(
0
360) connected directly to the camera.
Connecting the Printer
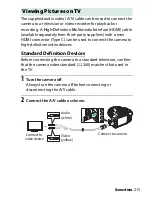
Connect the camera using the supplied USB cable.
1
Turn the camera off.
2
Connect the USB cable.
Turn the printer on and connect the USB cable. Do not use
force or attempt to insert the connectors at an angle.
3
Turn the camera on.
A welcome screen will be displayed in the monitor, followed
by a PictBridge playback display. To print pictures one at a
time, proceed to page 209. To print multiple selected pictures
or all pictures, proceed to page 211.
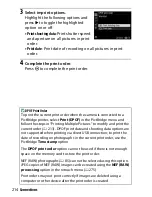
Printing Photographs
D
Selecting Photographs for Printing
NEF (RAW) photographs (
0
85) can not be selected for printing. JPEG
copies of NEF (RAW) images can be created using the
NEF (RAW)
processing
option in the retouch menu (
0
275).
D
Date Imprint
If you select
Print time stamp
in the PictBridge menu when printing
photographs containing date information recorded using
Print date
in the setup menu (
0
254), the date will appear twice. The imprinted
date may however be cropped out if the photographs are cropped or
printed without a border.
D
Panoramas
Some printers may not print panoramas, while at some settings others
may not print entire panoramas. See the printer manual for details.
Содержание D3300
Страница 140: ...DIGITAL CAMERA Reference Manual En ...
Страница 530: ......
Страница 532: ......
Страница 538: ... j l 1 Figure 1 Figure 1 Imagen 1 2 Figure 2 Figure 2 lmagen 2 ...
Страница 546: ...CD 1 Figure 1 Figure 1 Imagen 1 l I I I 200 135 105 85 70 55 2 Figure 2 Figure 2 lmagen 2 ...

