25
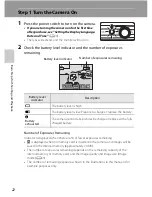
Step 1 Turn the Camera On
B
a
si
c S
tep
s for S
h
oot
in
g
and Play
ba
ck
6
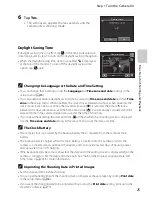
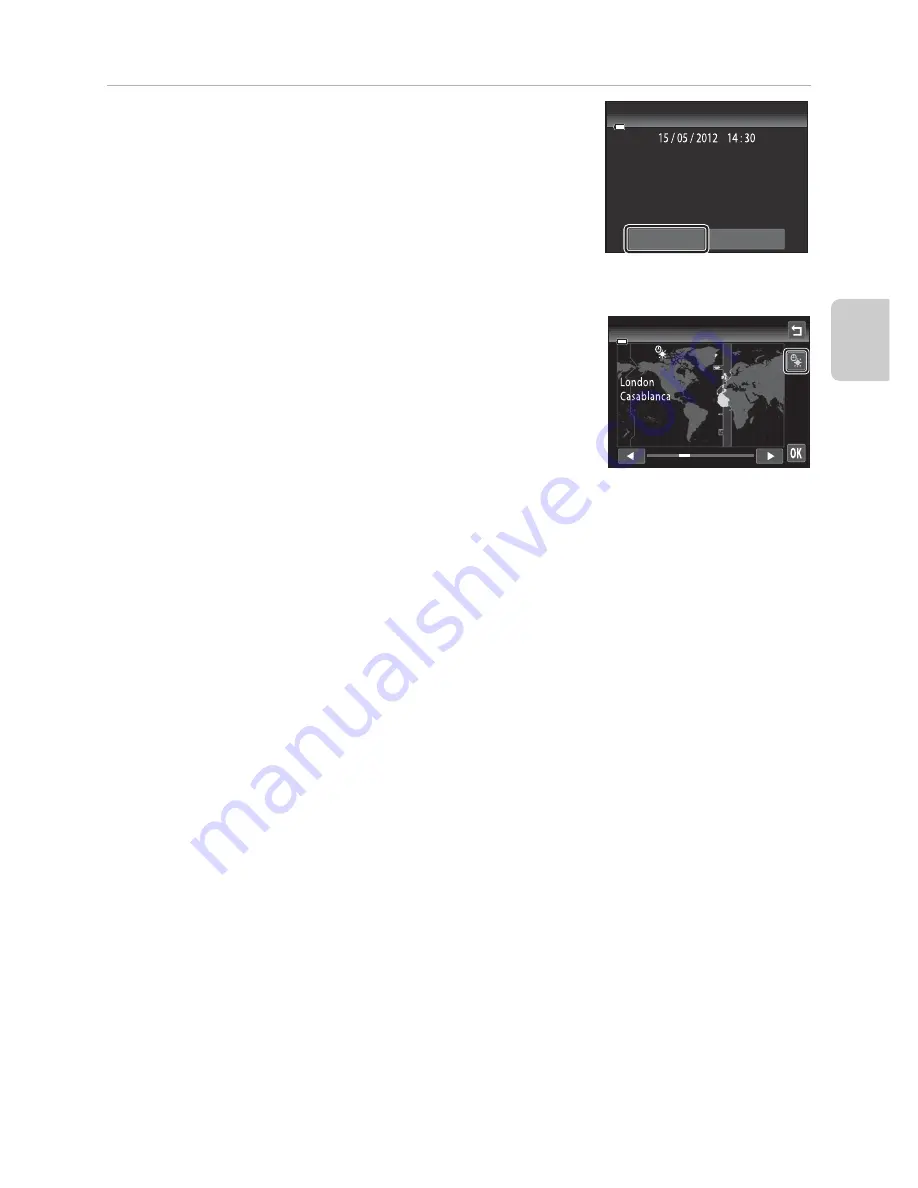
Tap
Yes
.
•
The settings are applied, the lens extends, and the
camera enters shooting mode.
Daylight Saving Time
If daylight saving time is in effect, tap
p
in the time zone selection
screen displayed in step 3 to turn on the daylight saving time option.
•
When the daylight saving time option is enabled,
W
is displayed
at the top of the monitor. To turn off the daylight saving time
option, tap
p
again.
C
Changing the Language or the Date and Time Setting
•
You can change these settings using the
Language
and
Time zone and date
settings in the
setup menu (
A
88).
•
You can enable or disable daylight saving time by selecting
Time zone and date
and then
Time
zone
in the setup menu. When enabled, the clock moves forward one hour; when disabled, the
clock moves back one hour. When the travel destination (
x
) is selected, the time difference
between the travel destination and the home time zone (
w
) is automatically calculated and the
date and time in the selected region are saved at the time of shooting.
•
If you exit without setting the date and time,
O
will flash when the shooting screen is displayed.
Use the
Time zone and date
setting in the setup menu to set the date and time.
C
The Clock Battery
•
The camera clock is powered by the backup battery that is separate from the camera’s main
battery.
•
The backup battery charges when the main battery is inserted into the camera or when the
camera is connected to an optional AC adapter, and can provide several days of backup power
after about ten hours of charging.
•
If the backup battery becomes exhausted, the date and time setting screen is displayed when the
camera is turned on. Set the date and time again. See “Setting the Display Language, Date and
Time” (step 2,
A
24) for more information.
C
Imprinting the Shooting Date in Printed Images
•
Set the date and time before shooting.
•
You can permanently imprint the shooting date on images as they are taken by setting
Print date
in the setup menu (
A
88).
•
If you want the shooting date to be printed without using the
Print date
setting, print using the
ViewNX 2 software (
A
77).
OK?
Yes
No
Date and time
Home time zone
Содержание COOLPIX S4200
Страница 1: ...DIGITAL CAMERA Reference Manual En ...
Страница 18: ...xvi ...
Страница 32: ...14 ...
Страница 54: ...36 ...
Страница 200: ...E92 ...
Страница 221: ...F21 ...
Страница 222: ...F22 ...
Страница 223: ......


