17
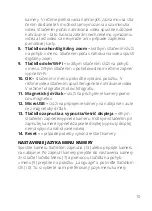
and press again to enter the camera settings. By pressing
the button while in the playback mode you may get to the
options to delete and lock a recorded video. You may start
an emergency recording by pressing the button when the
camera is recording video – this function prevents videos
from accidentally being deleted even if the memory card
is full.
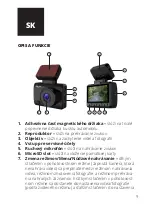
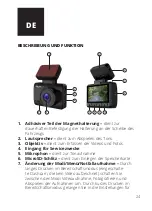
8. Up button / digital zoom –
press to move through the
menu. Press when filming to use the digital zoom function.
9. Down button / Wi-Fi -
used to move through the menu
list. Press and hold while in the standby mode to turn on/
off Wi-Fi.
10. OK button –
used to confirm the selected item in the
menu. While in video mode, press here to start/finish
recording video. While in photo mode, press here to take
a photo.
11. Magnetic camera mount –
holds the camera using
magnets.
12. micro USB –
charging port used to connect the magnetic
camera mount to the vehicle.
13. On and off buton / screen saver button –
press and
hold to power on the camera. Press again once the camera
is one to turn on/off the display (the display being powered
on or off does not affect video recording).
14. Reset –
you may restart the camera should the need arise.
LANGUAGE SETTINGS MENU FOR THE CAMERA
Press the power-on button (13) to turn on the camera or
connect the camera to a charging port. Once the camera has
powered on, select the camera settings: press the Menu bu-
tton (7) twice and use the down button (9) to move within the
menu to the “Language” option and confirm by pressing the
OK button (10). Here you may select the preferred language of
the camera.

