Commissioning and adjusting
25
VVM 240
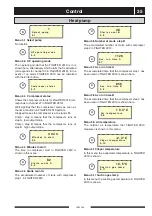
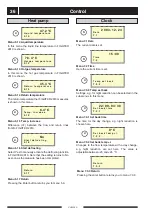
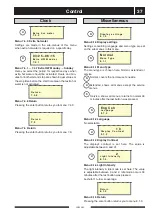
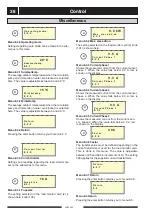
Start up without FIGHTER 2010
■
Electrically disconnect the charge pump (40). See
the section Electrical connection — Disconnecting
the charge pump.
■
Set the switch (8) to 1.
■
Select Service in menu 8.1.1.
■
Select Yes in menu 9.3.2.
■
Select 0 in menu 9.1.2.
Air is initially released from the hot water and venting
may be necessary. If bubbling sounds can be heard
from the heat pump, the entire system requires further
venting. NOTE! Safety valve (52) also acts as a man-
ual venting valve. Operate it with care, since it opens
quickly. When the system is stable (correct pressure
and all air eliminated) the automatic heating control
system can be set as required. See the section Room
temperature - Setting the Automatic heating control
system and Front panel.
The flow should be trimmed in hot water mode using
the trim valve (81).
The temperature difference can be read on menu 5.15
on VVM 240.
Readjustment
2 0 1
1
3
2
The controller in FIGHTER 2010 must be version 2.30
or later for docking to VVM 240. The version can be
seen on the FIGHTER 2010 display during start up.
The following should be set on FIGHTER 2010 in
order for communication with VVM 240 to work.
Start up with FIGHTER 2010
F - 2 0 1 0
v 2 .
3
0
■
Channel 20 should be set to 1
The address should be set to 1 with communications
with VVM 240. Now confirm using the Enter button.
■
Now restart FIGHTER 2010 with the isolator
switch or the miniature circuit-breaker.
■
VVM 240 should be voltage fed within 5 minutes
after the FIGHTER 2010 has been restarted, to
prevent communication alarms.
■
Channel 13 should be set to 2
Confirm with the Enter button.

