


©
National Instruments Corporation
7
NI SPEEDY-33 Installation Guide
Confirming Hardware Installation in Windows XP
If Windows fails to recognize a new hardware device, complete the
following steps:
1.
Right-click
My Computer
in a
Windows Explorer
window and
select
Properties
from the shortcut menu.
2.
Click the
Hardware
tab in the
System Properties
dialog box.
3.
Click the
Device Manager
button.
4.
Expand the
Universal Serial Bus controllers
section of the tree.
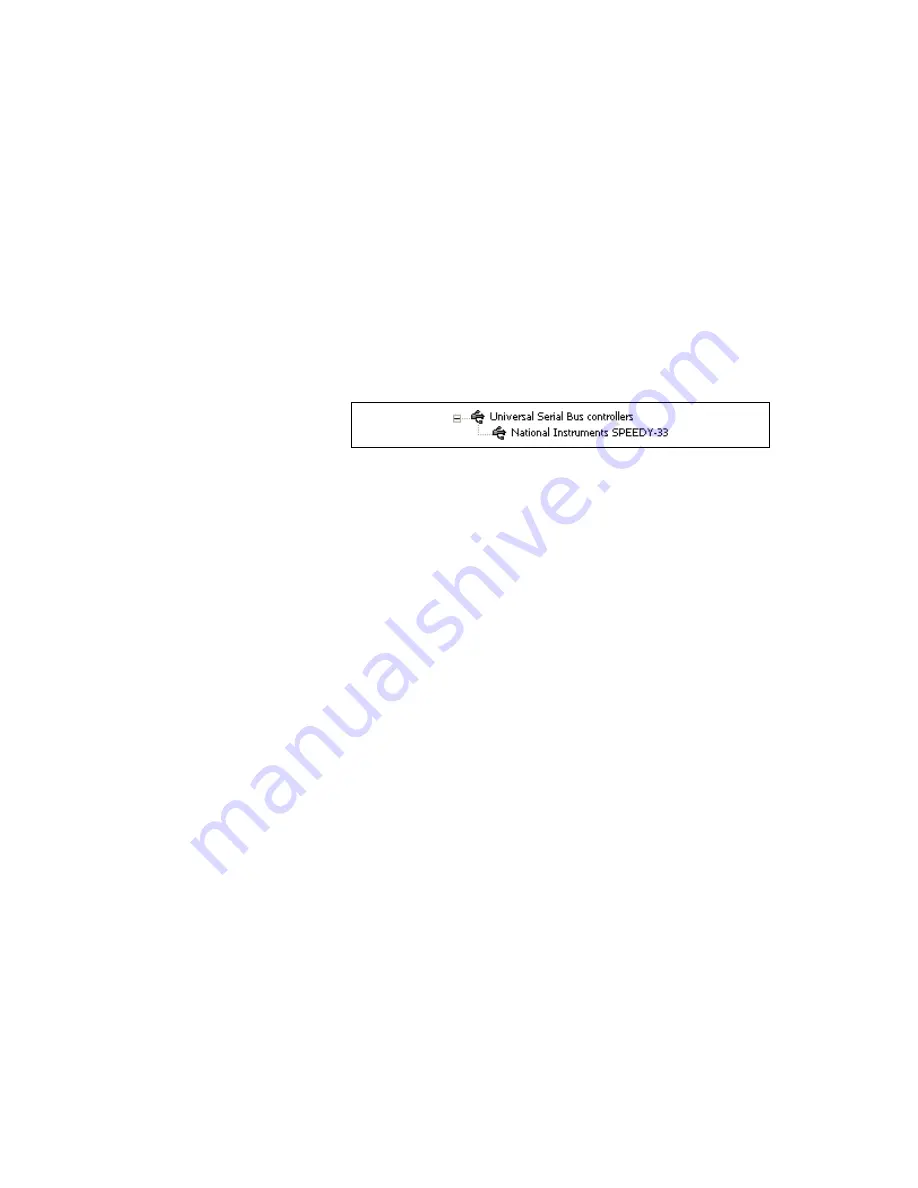
5.
Verify that the NI SPEEDY-33 icon is listed with no Windows alert
symbols displayed, as shown in the following figure. If an alert symbol
is displayed on top of the device icon, proceed to step 6.
6.
(Optional) If the device icon has an alert symbol, you must update the
NI SPEEDY-33 driver. Complete the following steps to update the
driver.
a.
Right-click the driver and select
Update Driver
from the shortcut
menu.
b.
Follow the instructions from the Hardware Update Wizard.
Windows Vista
Windows recognizes any newly installed device and a device driver
installation dialog appears. Because the NI SPEEDY-33 driver was
installed in
Step 1. Install the Software and Driver
, Windows Vista finds
and installs the driver automatically. Your computer is now set up so that
the software can communicate with the NI SPEEDY-33.
If Windows fails to recognize new hardware, proceed to the
Hardware Installation in Windows Vista
section to confirm the proper
installation of the NI SPEEDY-33.
Confirming Hardware Installation in Windows Vista
If Windows fails to recognize a new hardware device and no device driver
installation dialog appears, complete the following steps:
1.
Click the Start icon and select
Control Panel
.
2.
In the
Control Panel
window, double-click
Device Manager
.
3.
In the Device Manager window, expand the
Universal Serial Bus
controllers
section of the tree.


