background image

26

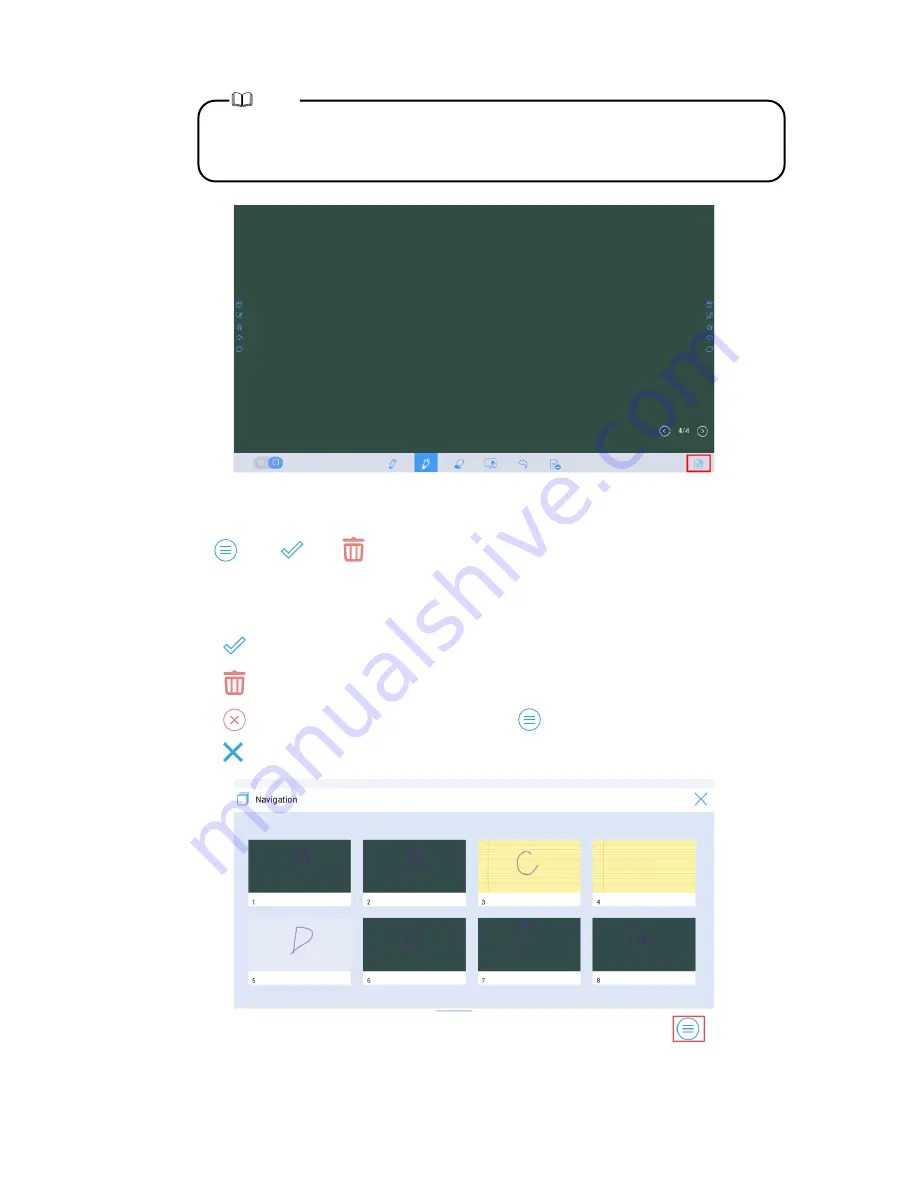
Only 8 slides are displayed in each column, and the remaining slides are 
displayed in the second column. You can slide one finger right or left to 
switch columns.

 Note

 Slide Selection and Deletion

Click 

. The 

 and 

 buttons are displayed. You can select and delete a writing 

slide as required. See the following figure.

● 

Click the slide: to select the current slide.

● 

Click 

 : to select all slides.

● 

Click 

 : to delete selected slides.

● 

Click 

 : Buttons on the left are replaced with 

.

● 

Click    : to close the 

Navigation

 page.

Содержание Trutouch X7

Страница 1: ...Collaboration Touch Screen User Manual...

Страница 2: ...instructions may cause harmful interference to radio communications However there is no guarantee that interference will not occur in a particular installation If this equipment does cause harmful in...

Страница 3: ...Installation Preparation Power on Power off Position System Applications Home Page Assistant Meeting Whiteboard Signal Source External Storage End Meeting Shortcut Settings and Applications Serial Por...

Страница 4: ...are only for your reference Symbols are used in this document to indicate operations that need particular attention The symbols are defined as follows NOTE Provides additional information to supplemen...

Страница 5: ...iring and commissioning and maintenance Dedicated software is customized for the assistant meeting It can meet requirements of various meeting modes implementing convenient comments on local documents...

Страница 6: ...2 3 4 5 6 7 8 9 12 11 10 Front Ports Speakers Microphone Array Top Camera Camera Indicator Bottom Camera Camera Indicator Front Buttons General Power Switch AC Power Internal PC Ports in the Back Pan...

Страница 7: ...orts Central Control RS 232 LAN USB USB AUDIO USB USB USB HDMI AUDIO HDMI High Speed USB Device LAN Touch Port Touch Port HDMI Rear VGA IN AUDIO IN RS 232 LINE OUT USB USB WIFI Antenna HDMI OUT USB 3...

Страница 8: ...rt press Decrease volume Long press for more than 1 second Decrease volume continuously Short press Increase volume Long press for more than 1 second Increase volume continuously Short press Open the...

Страница 9: ...Return to Previous Exit Go to the Home Page Open the Menu Decrease Volume Increase Volume Settings Page Up Page Down Switch to Top Camera Switch to Bottom Camera Switch Source to HDMI Front Switch So...

Страница 10: ...llation Direction Safety Precautions Hang the Unit Horizontally No Vertical Installation Do Not Lay Flat B Installation Keep Away From Combustible Vapors gas leaks etc Keep Temperature Below 120 Degre...

Страница 11: ...the weight of the unit We recommend that the wall surface is reinforced and have a loading capacity twice the weight of the unit Please consult a professional installer for wall mount installation Do...

Страница 12: ...with length of 10 to 15mm to secure the touch screen with the mounting system Dimensions of the mounting holes in the back panel is shown in the next page Installation Please have a professional inst...

Страница 13: ...ower current must be grounded Step 2 Turn on the general power switch located on the side of the unit Step 3 Press the power button in the front control panel or on the remote control Power On General...

Страница 14: ...scussion page is displayed as follows Power Off Step 2 Press the power button on the front panel or the power button on the remote control again The Really end your meeting dialog box is displayed as...

Страница 15: ...he signal source page The Windows page is displayed Step 3 Select Tablet PC Settings on the Control Panel page If the cursor position has a big deviation from the actual touch point calibration is use...

Страница 16: ...13 Step 4 Select in the Tablet PC Settings window...

Страница 17: ...displayed again Click OK The positioning is complete To ensure writing accuracy you are advised to use the pencil released with the product for positioning Positioning errors may cause failure of touc...

Страница 18: ...will show the Meeting Start page From here user can touch the screen to start a meeting and the unit will go to the Home page See the following figures Figure 1 Meeting Start page Figure 2 Home page...

Страница 19: ...ne used last time Whiteboard The Whiteboard provides whiteboard and screen annotation functions Sources The user can select one of the four sources to display including HDMI Front HDMI Rear Internal P...

Страница 20: ...triangle at the upper right corner of Collaboration to open the application list and select current applications to start the collaboration meeting See the following figure To change meeting software...

Страница 21: ...triangle at the upper right corner of Collaboration and click the added application on the displayed menu After the application is started once its name will be added to the lower area of the Collabo...

Страница 22: ...maximum of 3 applications including Android and Windows applications can be added is displayed on the right of an application that has been added Step 5 Return to the home page click the triangle at t...

Страница 23: ...lected content or clear all contents File management Preview select copy or delete a file To access the whiteboard meeting click Whiteboard See the following figure Delete Applications Whiteboard SN I...

Страница 24: ...nd Settings Create a new slide In writing mode click to create a new slide A maximum of 20 slides can be created See the following figure Slide settings Click and hold to set the background color of n...

Страница 25: ...can comment on presentation content such as Office documents and pictures as required See the following figure Writing mode The background is in mono color You can write content as required See the f...

Страница 26: ...re touch the screen with five fingers at the same time A circle shows and indicates the area for eraser Move the circle with fingers to erase written contents Click to clear wrong or unnecessary conte...

Страница 27: ...24 Figure 4 Save meeting discussion Figure 3 Screenshot...

Страница 28: ...iteboard page click to undo the latest operation as shown in the following figure Slide Preview Click at the lower right corner of the whiteboard All writing slides are displayed Click one slide to sw...

Страница 29: ...switch columns Note Slide Selection and Deletion Click The and buttons are displayed You can select and delete a writing slide as required See the following figure Click the slide to select the curre...

Страница 30: ...signal source to switch to the corresponding channel in full screen Signal Source The product supports connection to external storage devices On the external storage page you can view files stored in...

Страница 31: ...wo view modes list and thumbnail You can click and at the lower left corner to switch view modes as shown in the following figure File Filtering By default files saved to internal storage are displaye...

Страница 32: ...es matching the key word are listed The system supports second filtering for searched files Click the filtering tool bar below the search box to filter searched files based on PPT PDF DOC XLS Audio an...

Страница 33: ...lected files Cancel Cancel current operation On the home page click The Save meeting discussion page will be displayed The meeting will be ended and timer will stop File Operations Manually End Meetin...

Страница 34: ...Files are not cleared and timer continues End meeting The Really end your meeting dialog box is displayed Click Yes All writing slides and screenshots will be deleted and the start meeting page will b...

Страница 35: ...eds 30 minutes the system will lock the screen automatically to protect your privacy If the period without operations exceeds 60 minutes the system will delete all meeting contents automatically as sh...

Страница 36: ...own for 40 to 80 mm from the top of the screen the Shortcut Settings and Applications pages are displayed As shown in the following figure Shortcut Settings Shortcut Settings and Applications Clock Se...

Страница 37: ...34 Brightness Adjustment Drag the slider beside the icon to adjust the brightness Volume Adjustment Drag the slider beside the icon to adjust the volume...

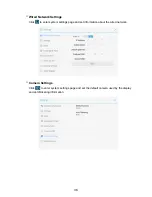
Страница 38: ...35 Microphone Mute Mode Click to enable or disable the microphone mute mode Wi Fi Settings Click to enter the system settings page and select the Wi Fi hotspot to be connected...

Страница 39: ...Click to enter system settings page and set the default camera used by the display and anti flickering information Wired Network Settings Click to enter system settings page and set information about...

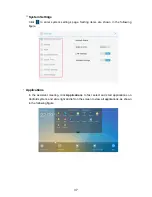
Страница 40: ...etting items are shown in the following figure In the assistant meeting click Applications to fast select and start applications on Android system and slide right and left on the screen to view all ap...

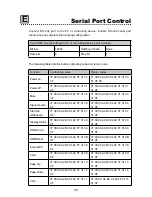
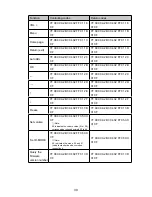
Страница 41: ...01 02 01 CF Signal source 7F 08 99 A2 B3 C4 02 FF 01 06 CF 7F 09 99 A2 B3 C4 02 FF 01 06 01 CF Start the whiteboard 7F 08 99 A2 B3 C4 02 FF 01 07 CF 7F 09 99 A2 B3 C4 02 FF 01 07 01 CF Display status...

Страница 42: ...9 A2 B3 C4 02 FF 01 2C 01 CF 7F 08 99 A2 B3 C4 02 FF 01 2D CF 7F 09 99 A2 B3 C4 02 FF 01 2D 01 CF 7F 08 99 A2 B3 C4 02 FF 01 2E CF 7F 09 99 A2 B3 C4 02 FF 01 2E 01 CF 7F 08 99 A2 B3 C4 02 FF 01 2F CF...

Страница 43: ...02 FF 09 XX 01 CF Read the camera position 7F 08 99 A2 B3 C4 02 FF 01 44 CF 7F 09 99 A2 B3 C4 02 FF 01 44 XX CF Microphone status 7F 08 99 A2 B3 C4 02 FF 01 45 CF 7F 09 99 A2 B3 C4 02 FF 01 45 XX CF...

Страница 44: ...0bit Brightness 350cd m2 Max Contrast 4000 1 Response Time 6ms Life Time 50000h Speaker Speaker Position Forward Rated Impedance 8 Freq Response 90Hz 20 20kHz Output S P L 84 3dB Max Power Output 30W...

Страница 45: ...face Tempered glass Transparency 90 Hardness H7 Touch Sensor P Capacitive Touch HID support HID Touch Points 10 Points in Windows 5 Points in Android Writing Tools Pencil or Finger Touch Resolution 63...

Страница 46: ...ld in WIFI Yes Smart System Chips ARM Cortex A9Quad Core 1 5GHz RAM 2GB Flash 8GB Multimedia File Formats Support all major types of multi media les Internal PC CPU i5 4210M 2 6 GHz GPU Intel HD 4600...

Страница 47: ...it www newline interactive com Contact Us for Support Please email us at support newline interactive com Newline Interactive Inc 101 East Park Blvd Suite 807 Plano TX 75074 USA Tel 1 972 468 9728 Fax...

Страница 48: ......

Отзывы: