Installation and Setup
16
NA-1400
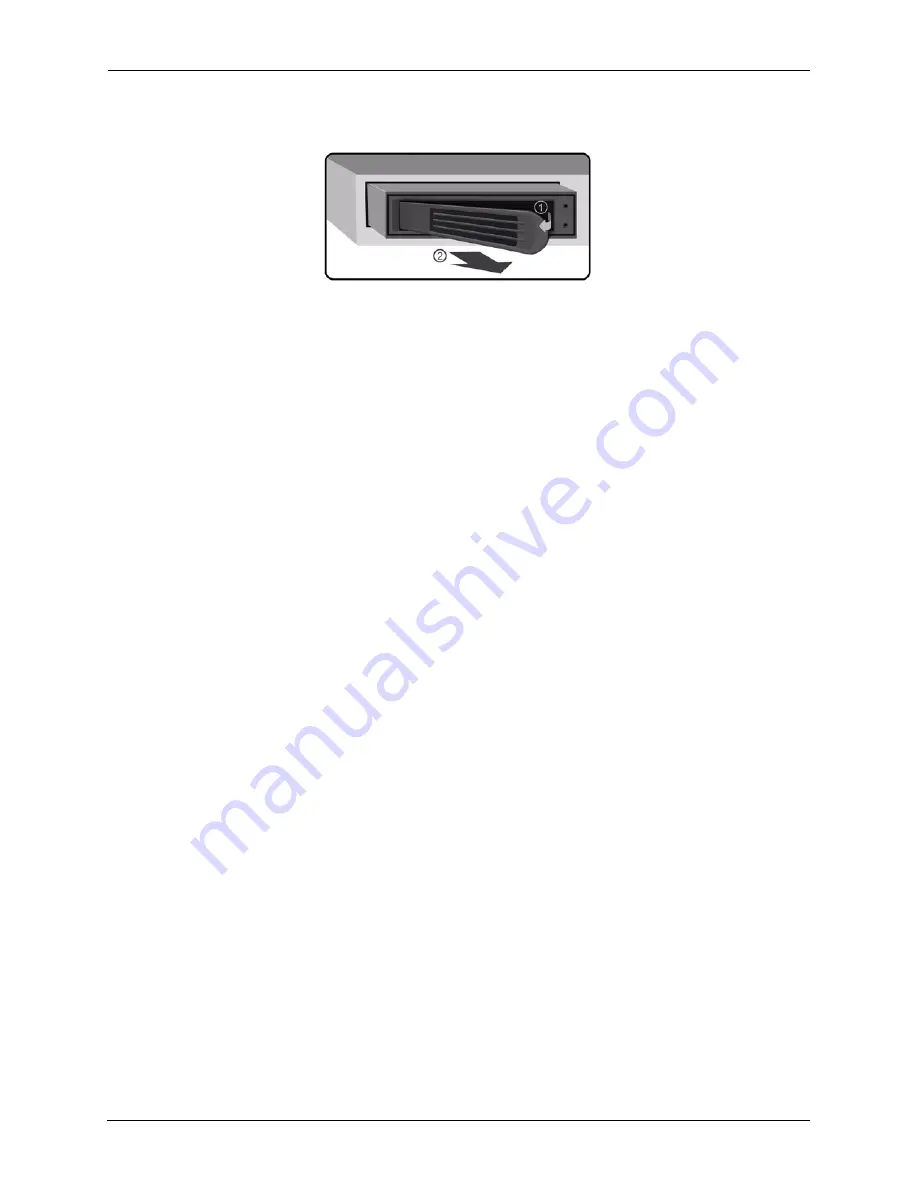
Figure 7:
SCSI Hard Disk Drive Carrier and Latch Release
Remove the HDD Carrier
1. Unplug the power supply cable from the back of the unit.
2. Unplug all Ethernet, USB, and other cables from the unit.
3. Open the front door of the unit.
4. Remove the HDD Carrier.
a.
Open the front door of the unit.
b. Squeeze the release latch and carefully swing the arm to the left, as far as possible, to pull the
HDD carrier away from the connector.
c.
With both hands, grasp the carrier bezel and carefully pull the HDD carrier out of the drive bay. Do
not use the arm as a handle for the removal of the HDD carrier.
Replace the Hard Disk Drive in the Carrier
If it is necessary to replace the hard disk drive, continue with the instructions below. If not, go to “Reinstall
the HDD Carrier.”
1. Place the SCSI hard disk drive and carrier on a flat, non-slippery surface.
2. Remove the four 6-32 phillips screws that hold the hard disk drive in the carrier. Set them aside for
later use.
3. Remove the hard disk drive from the carrier.
4. Place the new hard disk drive into the carrier. Ensure that the connectors are on the open end of the
carrier and that the screw holes are aligned.
5. Install the four 6-32 phillips screws to secure the hard disk drive. Do not overtighten the screws.
Reinstall the HDD Carrier
Caution:
Be certain to install the HDD carrier in the appropriate slot—the same slot
from which you previously removed it.
1. To reinstall the HDD carrier in the unit.
a.
Unlatch and open the arm of the HDD carrier as far as possible to the left.
Содержание NA-1400
Страница 1: ...The NA 1400 Network Attached Storage Device User Guide December 2005...
Страница 18: ...Installation and Setup 18 NA 1400...
Страница 32: ...Managing Settings 32 NA 1400...
Страница 46: ...Configuring Advanced Settings 46 NA 1400...
Страница 56: ...Using the Online Help 56 NA 1400...
Страница 64: ...Glossary 64 NA 1400...


