background image


6. Installation 


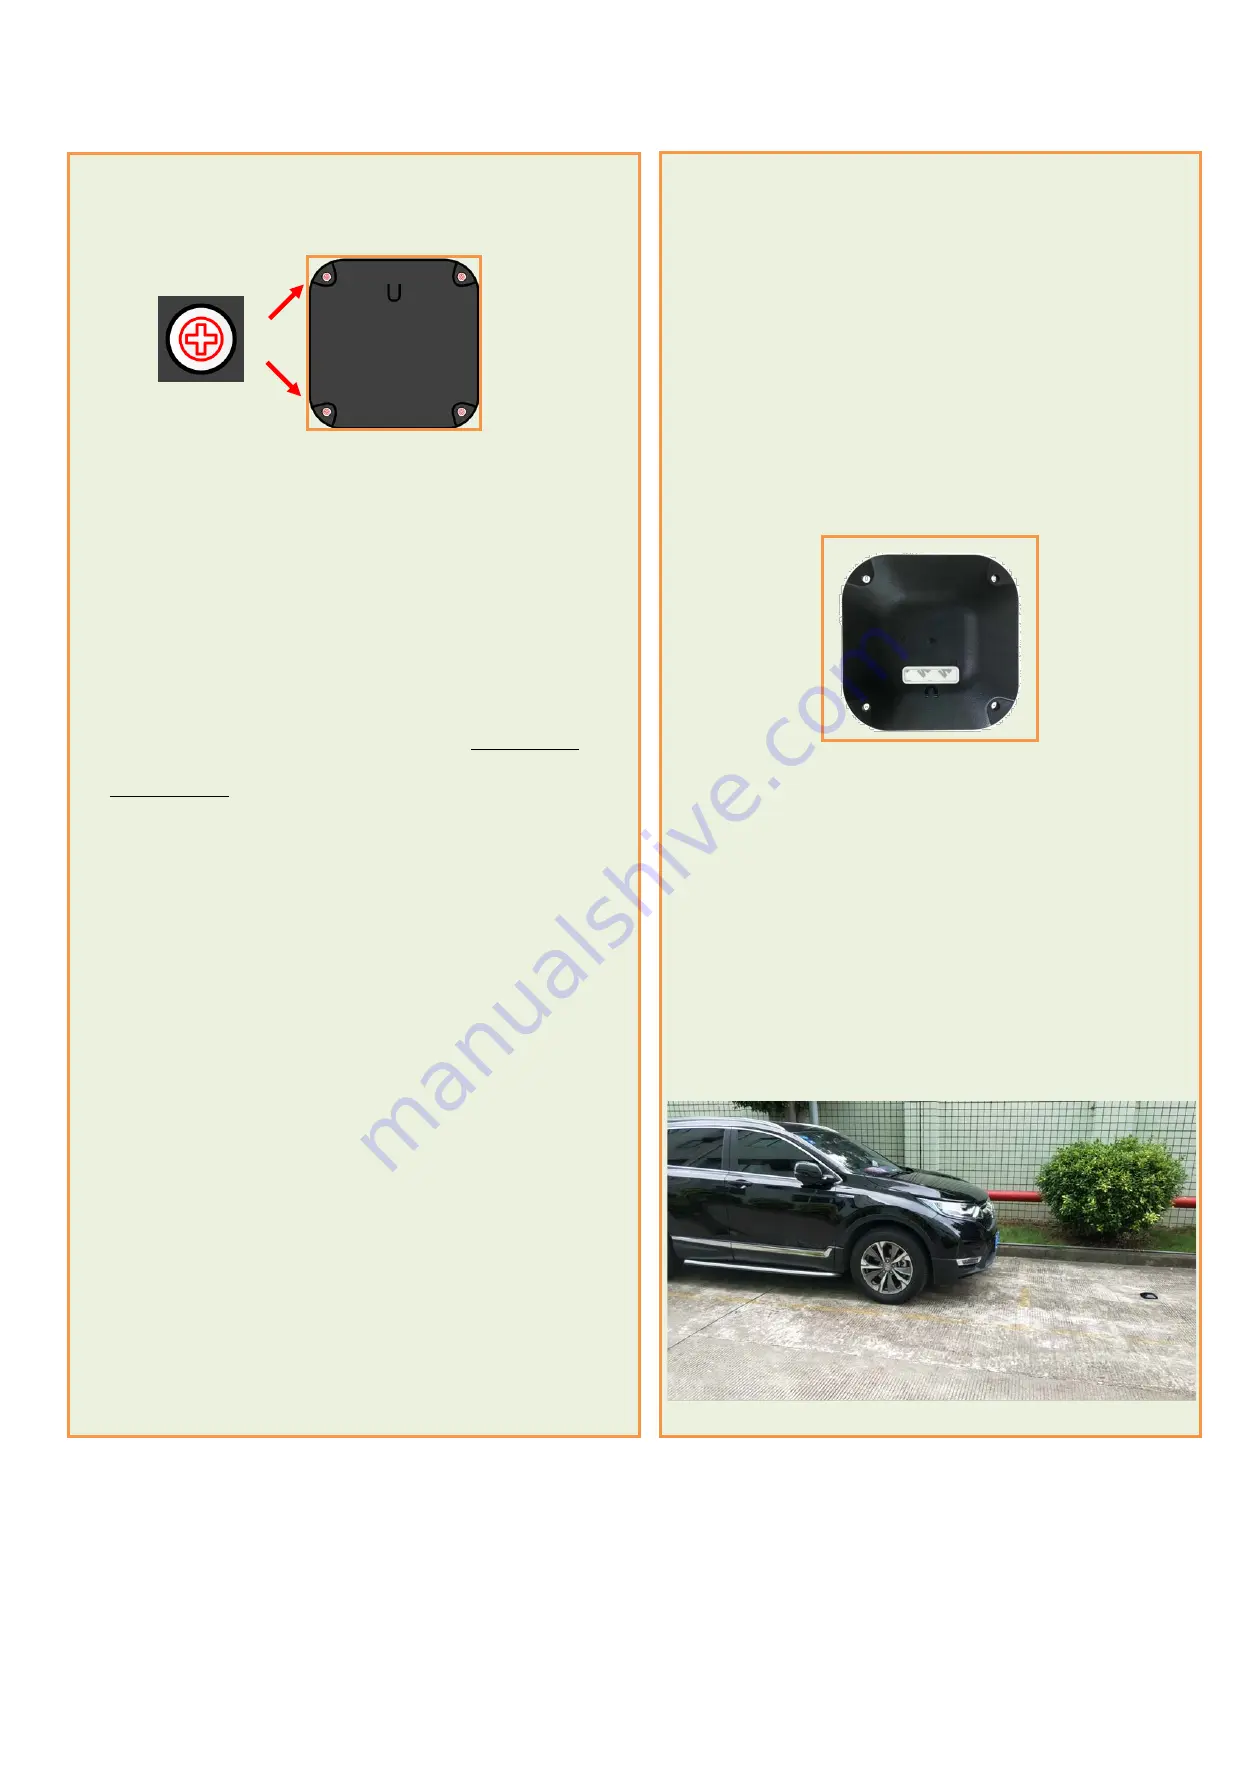
2. Place a magnet above the reed switch (the U-shaped part 

of the device) for 3 seconds to turn it on, connect to the 

network, join to the gateway to check if the device is 

operating normally and detecting the vehicle correctly, and 

the installation is completed. 

Note:   

The magnet is a magnet accessory that comes with the 

batch. 


3. When the device detects that the car has entered the 

parking space for 15 seconds, the reported data-- CarOnOff 

bit is “01”. When the car leaves the parking space for 15 

seconds, the reported data-- CarOnOff bit is “00”. 


4.


R719A can be applied to the smart parking lot. 

1.


R719A is installed in the middle of the parking space with 4 

screws ( purchased by self). 


Note 


The device is recommended to be installed in the middle of 

the parking space for best results. 


Make sure that there is no obstruction above the device when 

the device is turned on. 


The device is turned off by default. After the device is 

installed and turned on, the device needs a three-minute 

warm-up time, after three minutes, the geomagnetic field can 

work normally. 


After fixed installation and startup, do not use magnetic 

objects near the device. Otherwise, it will affect the 

initialization of the device and cause the device to 

malfunction. 


If users need to move the device, please power off the device, 

restart it after fixed installation, and wait for the device to 

initialize. 


Ensure that when the device is turned on and the 

geomagnetism configures the initial magnetic field within 

three minutes, it cannot be parked above the device, and there 

is no interference source within 5 meters of the surrounding 

area. 

Screw Fixation 

Содержание R719A

Страница 1: ...nology Co Ltd This document contains proprietary technical information which is the property of NETVOX Technology It shall be maintained in strict confidence and shall not be disclosed to other partie...

Страница 2: ...f Content 1 Introduction 2 2 Appearance 2 3 Main Features 3 4 Set up Instruction 4 5 Data Report 5 6 Installation 9 6 1 Battery Installation 10 6 2 Device Installation 12 7 Important Maintenance Instr...

Страница 3: ...LoRa spread spectrum modulation technique greatly extend the communication distance It can be widely used in any use case that requires long distance and low data wireless communications For example a...

Страница 4: ...a third party software platform data can be read and alerts can be set via SMS text and email optional Applicable to third party platforms Actility ThingPark TTN MyDevices Cayenne Improved power manag...

Страница 5: ...Network Joining Never joined the network Turn on the device and it will search for the network to join Had joined the network not at factory setting Turn on the device and it will search for the prev...

Страница 6: ...to detect the current voltage value per Min Interval Battery voltage 0x01 0 1V Geomagnetic Detect Threshold 0x28 40 Range 0x14 0xFFFF 0x14 is the most sensitivity Vehicle parking trigger When a car p...

Страница 7: ...of the device to prevent incorrect setting which will cause false detection of parking status Description Device Cmd ID Device Type NetvoxPayLoadData Config ReportReq R719A 0x01 0x59 MinTime 2bytes U...

Страница 8: ...xample 1 based on MinTime 1 Hour MaxTime 1 Hour Reportable Change i e BatteryVoltageChange 0 1V MaxTime MaxTime Sleeping MinTime Sleeping MinTime Note MaxTime MinTime Data will only be report accordin...

Страница 9: ...recommend to set the MinTime Interval value too low If the MinTime Interval is too low the device wakes up frequently and the battery will be drained soon 4 Whenever the device sends a report no matte...

Страница 10: ...commended to be installed in the middle of the parking space for best results Make sure that there is no obstruction above the device when the device is turned on The device is turned off by default A...

Страница 11: ...gure 1 Figure 1 Step 2 Remove the middle plastic cover The plastic cover is shown in the red area in Figure 2 Please note that the plastic cover is rectangular and pay attention to the direction when...

Страница 12: ...3 Figure4 Step 4 After installing the battery as Figure 5 Close the plastic cover and the back cover again and tighten the six screws Figure 5 Positive Pole Negative Pole Positive Electrode Negative...

Страница 13: ...needs to be replaced within 10 minutes after the device is turned on users need to the magnet approach to the top cover for 10 seconds to restore the factory settings after replacing the battery The...

Страница 14: ...elt some plastic parts Do not store the device in places that are too cold Otherwise when the temperature rises to normal temperature moisture will form inside which will destroy the board Do not thro...

Отзывы: