


71
19.The next field is “Operator”. Press
1
to allow it to print or
0
not to print.
20.The next field is “Month String”. Press
1
to allow it to print
or
0
not to print.
21. The next field is “Nutritional”. Press
1
to allow it to all line print
or
0
not to print.
22. The next field is “Cooking”. Press
1
to allow it to all line print or
0
not to print.
23. The next field is “Print Currency”. Press
1
to allow it to print or
0
not to print.
24. The last field is “Print SUB and GST” . If
1
is selected then
they will print; if
0
then they will not print.
25. Press
ESC
SET
. You are at the
Initial State
.
Note:
Although you may select things to print, if they are not in the label
format, then the Print Field Suppression setting will be ignored.
For example, if you use a label format that does not have ingredients
then it does not matter what the Print Field Suppression setting for
ingredients is set to: the ingredients will NEVER print on said labels.
1. Press
or
Enter
for checking.
2. Press
ESC
SET
. You are at the
Initial State.
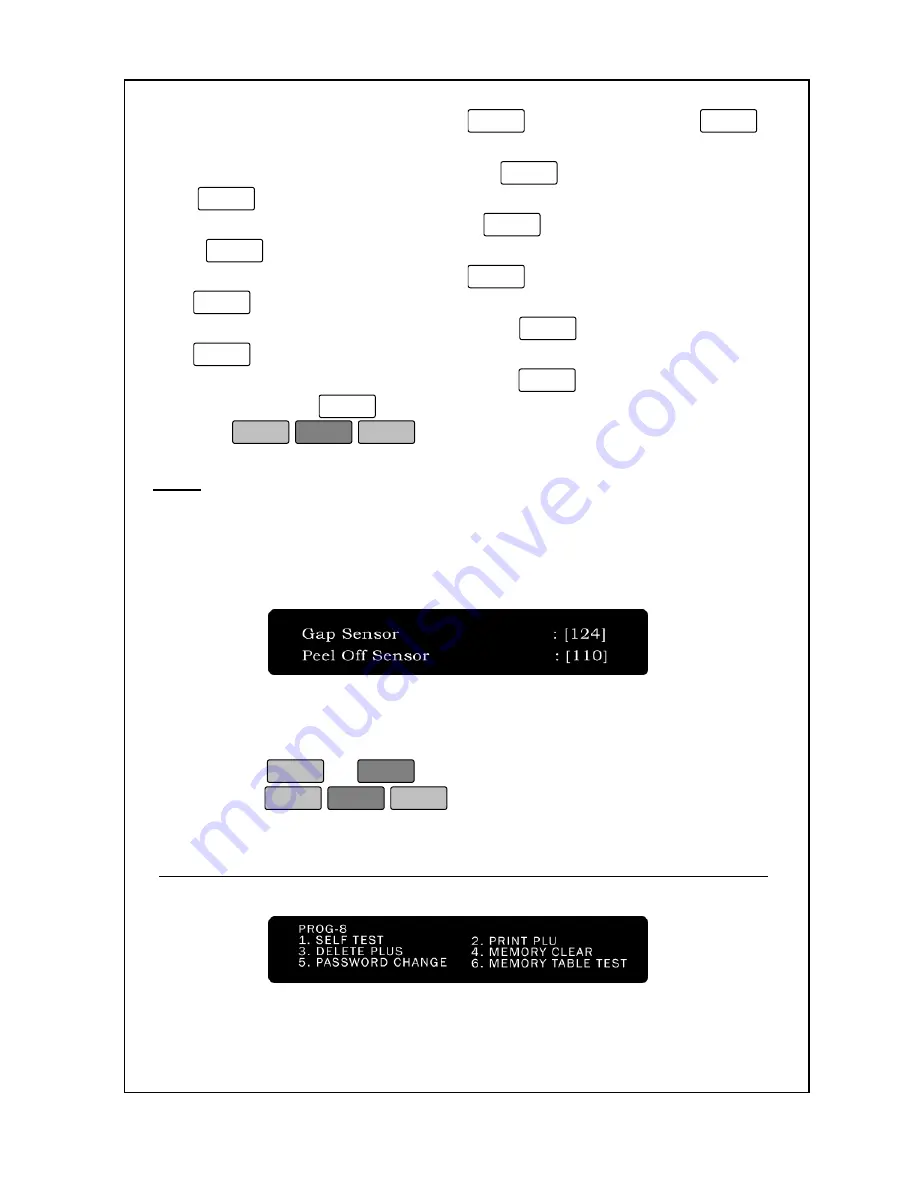
8.
System Settings
Содержание LABEL PRINTING SCALE
Страница 1: ...LABEL PRINTING SCALE NETS OPERATING MANUAL FULL GRAPHIC VER 1 00...
Страница 12: ......
Страница 44: ...39 PLU data Account Store name Group Operator Sale MSG Tax...
Страница 95: ......
Страница 97: ......


